
You might remember a number of months ago I did a tutorial on DIY cloth napkins, as I’ve always had this vision of a perfectly set, ready-for-company kinda table. Tasteful place settings, polished silverware, napkins and rings. Reality is, though, with a toddler the dining room table is usually covered in his artwork or dishes from the previous meal. The dream lives on….
I used to love a good table runner but a few years back we bought a really rustic wooden table and I haven’t had the heart to cover it up like that. Browsing Pinterest I came across a bunch of different centerpieces that I figured I could try out, just to bring some color and life to the table.
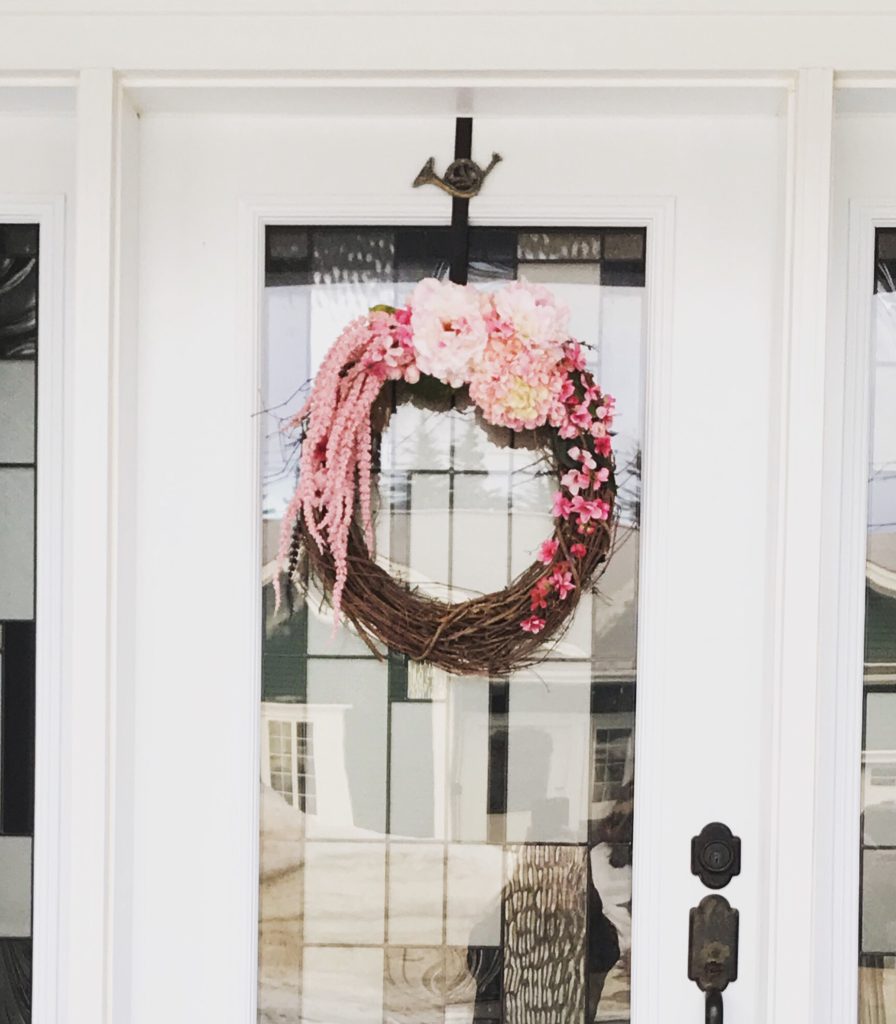
For some reason I’m really feeling the color pink right now. It’s not typically a color I use in my home at all, but something about the shades of pink I’m seeing lately just appeals to me. Last week I made a pink wreath for the front door:
Here are the materials you will need for this tutorial:
- Mason jars
- Wooden box
- Flowers (and floral accents, if you wish)
- Twine
- Acrylic paint
- Paint brush
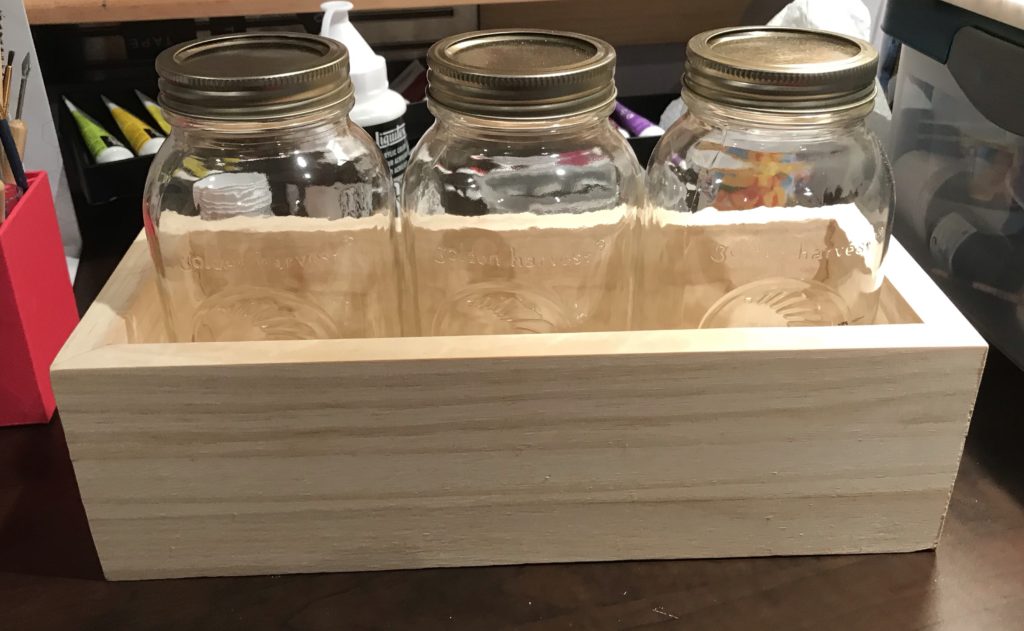
Initially I thought 3 large mason jars would be good for this project, until I saw the box that would fit 3 large mason jars and realized how massive the dining table kinda is. I then decided it might be worth trying a box to hold 5 large mason jars, and I think you’ll agree it worked! I decided to paint both, as I just know the smaller one will go somewhere in my house or it will make a fantastic gift.
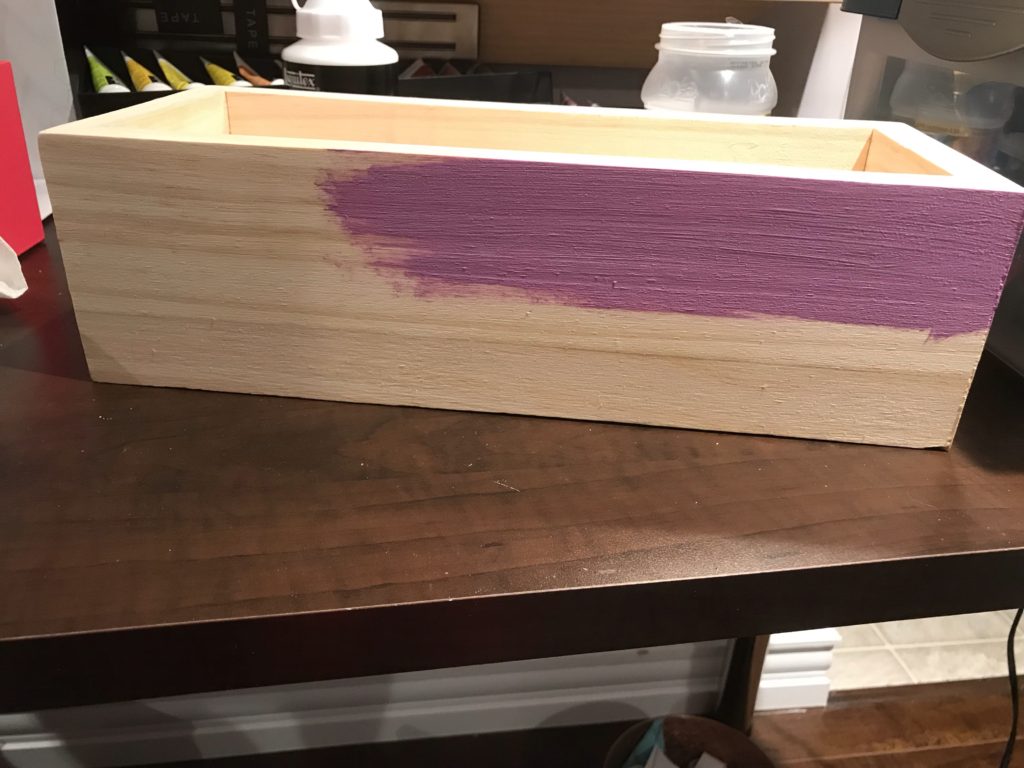
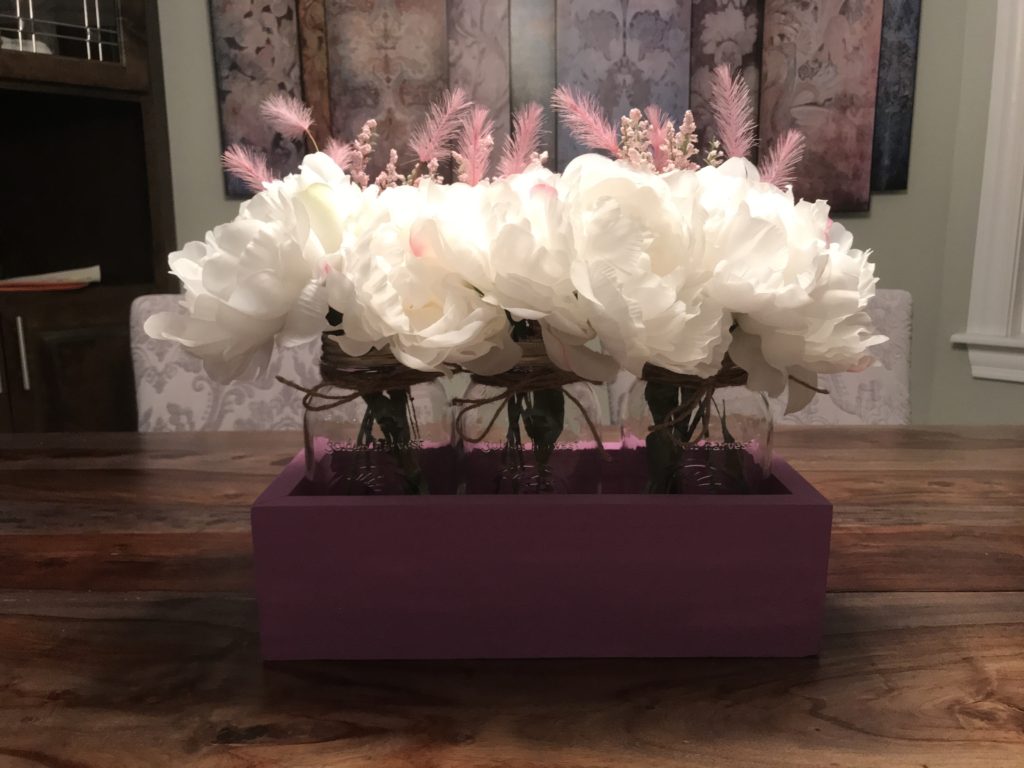
I started by painting the box. I used dollar store acrylic paint and an inexpensive paint brush, so nothing fancy there. As I didn’t see the exact shades I had in mind, I picked up a couple of paints I was drawn to (both happened to be deep shades) and grabbed some white paint to tone them down. I often find myself mixing paint colors for projects – the exact shade I want just doesn’t ever seem to exist!
I painted the box going with the grain. Plain wood is thirsty so I made sure to add a small amount of water to my brush before picking up paint each time. Too watery and the color retention won’t be good, but a little water helps the paint stretch a bit, and it helps the paint glide over the very dry surface.
After the box was painted (including on the inside) I set it aside to dry. Acrylic paint dries very fast, especially on a dry surface like wood. The paint just gets absorbed and, in no time, you can handle it without smudging.
For the jars, I had selected a pile of flowers and feathers from Michael’s. I pulled out the wire cutters and started snipping stems. I removed the huge leaves on the stalks of the blooms, but left the small leaves on the feathery pieces. I initially left the stems long so I could test them out in the jars to see how short I wanted them. I left the feathers and accent pink flowers a little longer than the white blooms.
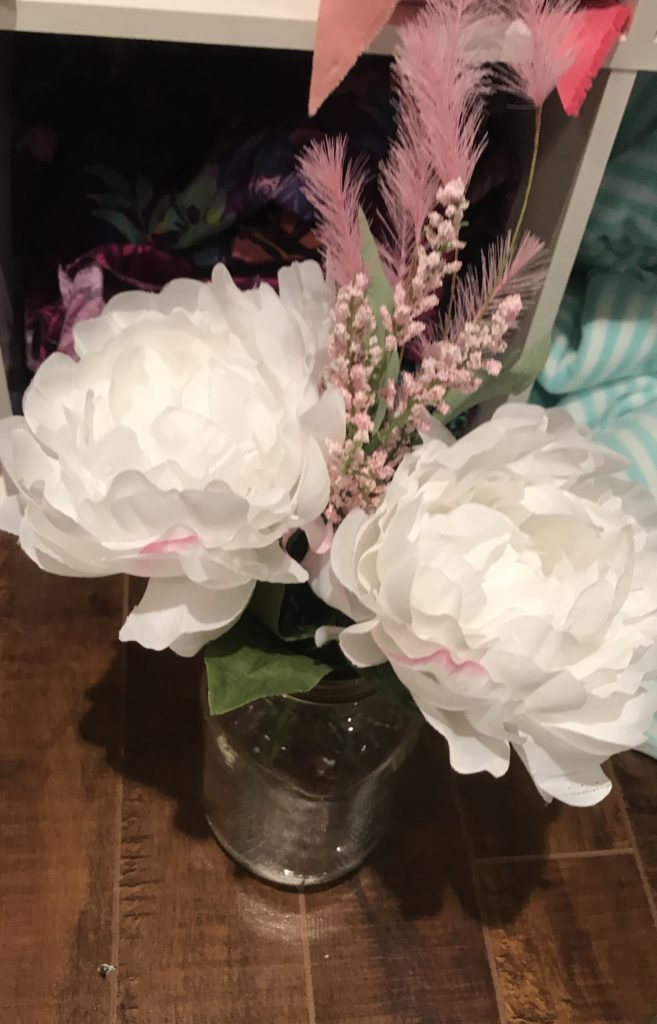
After settling on flower placement and height, I wrapped some twine around the top of the jar (4 times) and tied a small bow at the front of the jar.
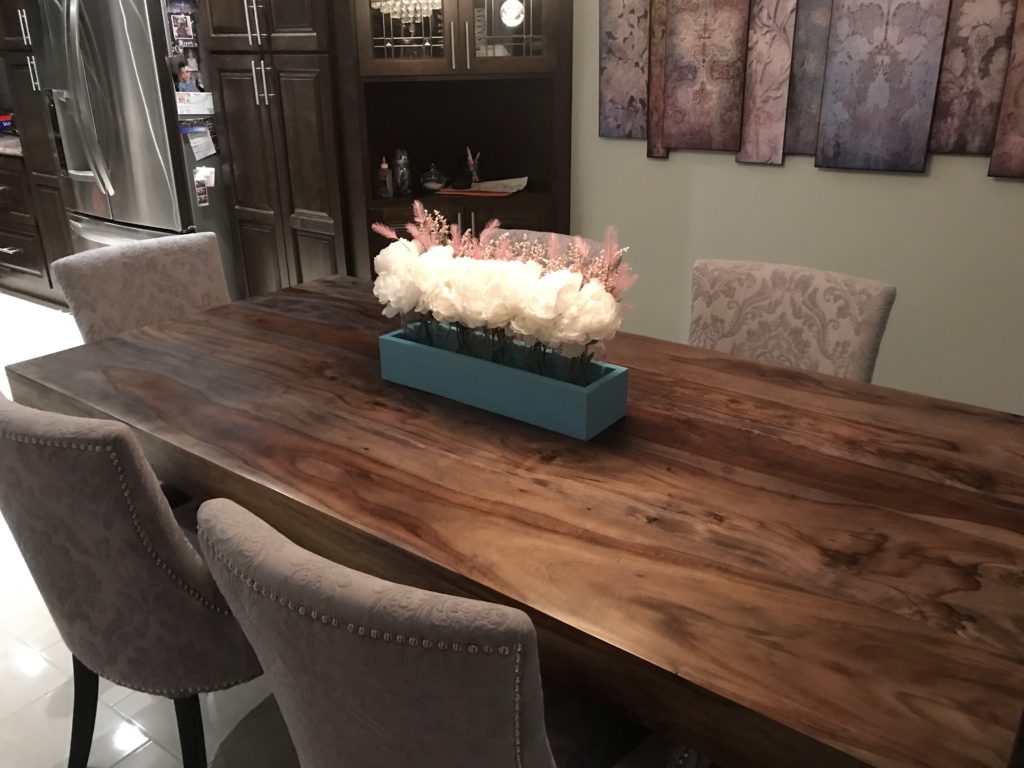
Once I had all jars done, the box was dry and I was ready to put the centerpiece together. This project took less than an hour, and I think you’ll agree that it really does add a nice little touch to a plain table.
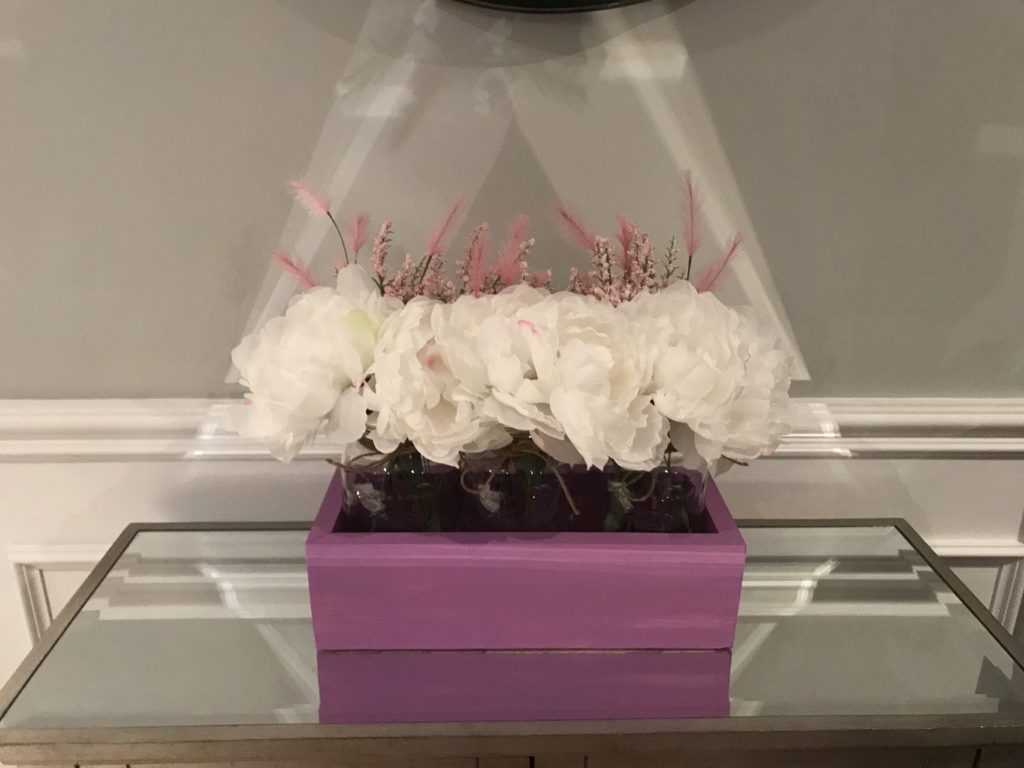
The 3-jar box was small and fit nicely on this little mirrored table in our living room. I did try it out on our table and it was so pretty, but just too small:
Next up was the turquoise box, which I felt would be the perfect size for this table.
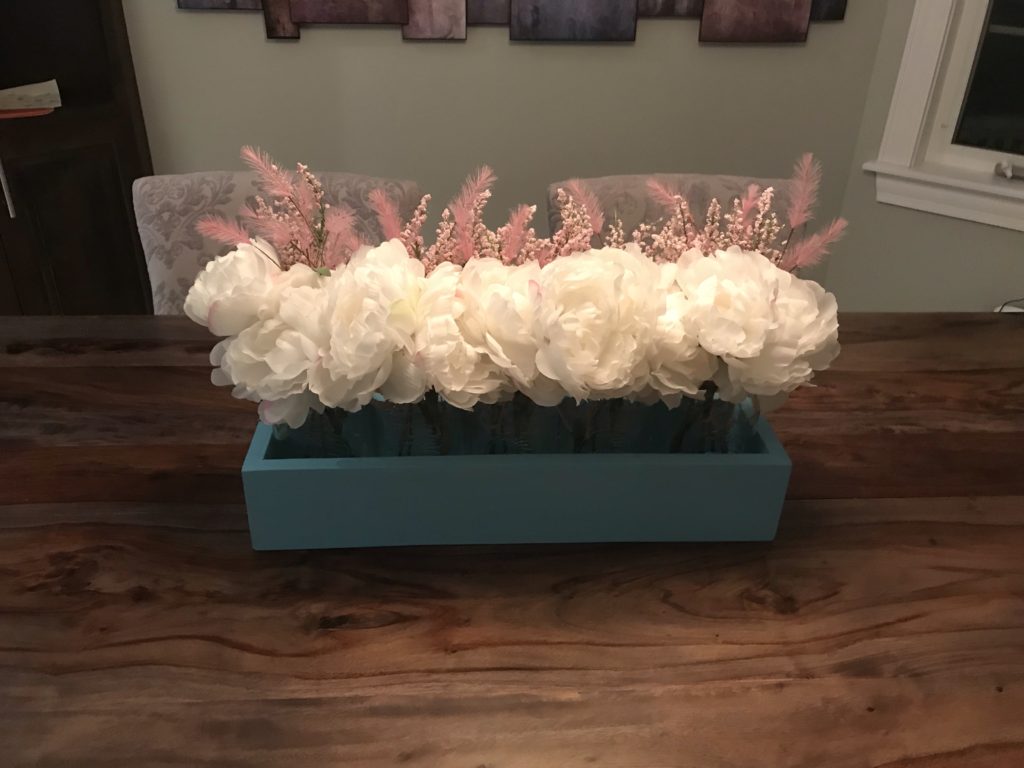
Ultimately either centerpiece would have worked, without a doubt. The larger centerpiece gave more of the statement look I was hoping for. I had originally wondered if I would paint the jars but I’ve decided to leave them clear. I’ve seen people use chalk paint on the jars and it’s definitely cute, but I’m not going to mess with it.
I think I will change up the flowers for the purple box and perhaps use white with navy accents. I wasn’t in love with the pink flowers and purple box, though I wasn’t totally displeased with it either.
One really nice thing about this project is that you can easily swap out the flowers when the seasons change or when you modify your decor/accent color. Likewise with the box, if something changes you can just paint it a different color.
Another great option is to use fresh cut flowers from your garden, which would also provide a little fragrance. We are more than a little ways from that option here in Newfoundland where our flower beds are still covered in thick blankets of snow and ice.
While I used this as a centerpiece for a dining room table, this would look great on a kitchen island, side table, sofa table, bathroom counter, etc.
I hope you enjoyed this little tutorial! Thanks for stopping by.
Heather