
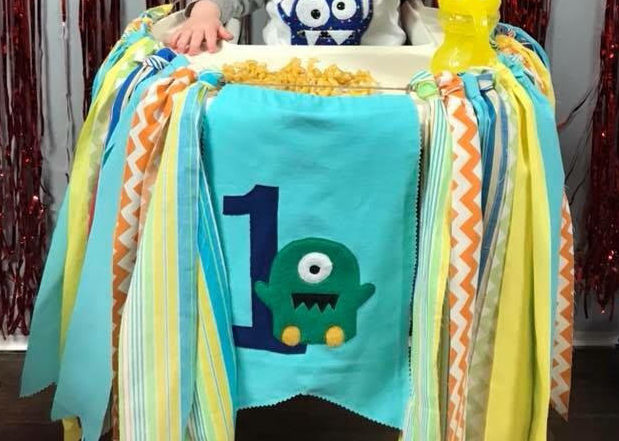
There’s something SO adorable about a little baby sitting in a high chair munching on cake. Of course the trend these days is to dress up that high chair with a banner or a garland.
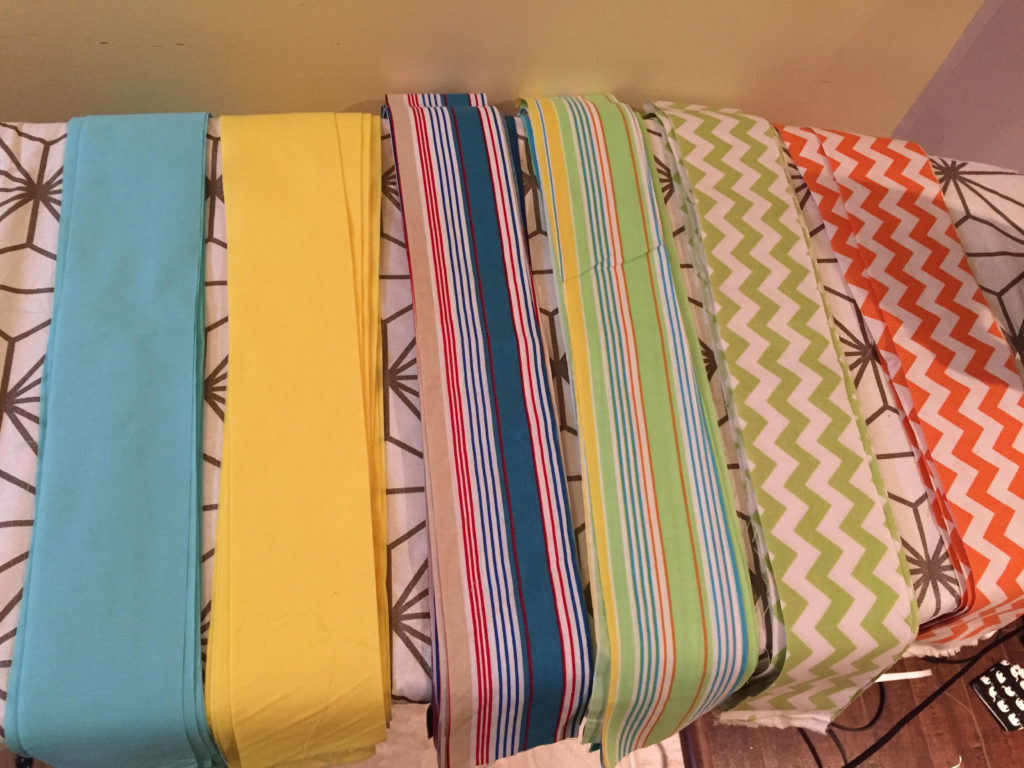
For Connor’s monster themed party I decided to do a really fun high chair banner. I headed to Fabricville and hit up the sale rack, scoring a great deal on some really adorable printed cottons. I also picked up some inexpensive broadcloth in complementary colors.

Here are the materials needed for this tutorial:
- 2.5 metres (total) of cotton and/or broadcloth
- 1/4 metre of fabric for hanging banner
- 1/4 metre of fabric for back of hanging banner (optional)
- Scraps of fabric (cotton, broadcloth, felt, denim) for applique on banner
- 6ft piece of twine
- Pinking shears
- Scissors
- Heat N’Bond Lite (for applique on banner)
If you just want to make a garland (without the hanging banner in the centre) you don’t need the Heat N’Bond Lite, scraps of fabric, or either of the 1/4 metres of fabric.
To start I strung a piece of twine (roughly 7-8ft long, which is way longer than it needed to be) and tied each end to handles on my cabinets. This will make it easier to loop the cotton pieces.
First you should iron all of your fabric. I forgot to do this somehow and ended up ironing each piece of fabric individually. Hello, time waster!
Once your fabric is ironed you will cut strips of fabric 3 inches wide by 42 inches long. If you have a rotary cutter, ruler and cutting mat this is a breeze. But it can easily be done with scissors as well. It doesn’t have to be exact. I did more of the fun prints and fewer of the solids.
Cut 28 strips in total.
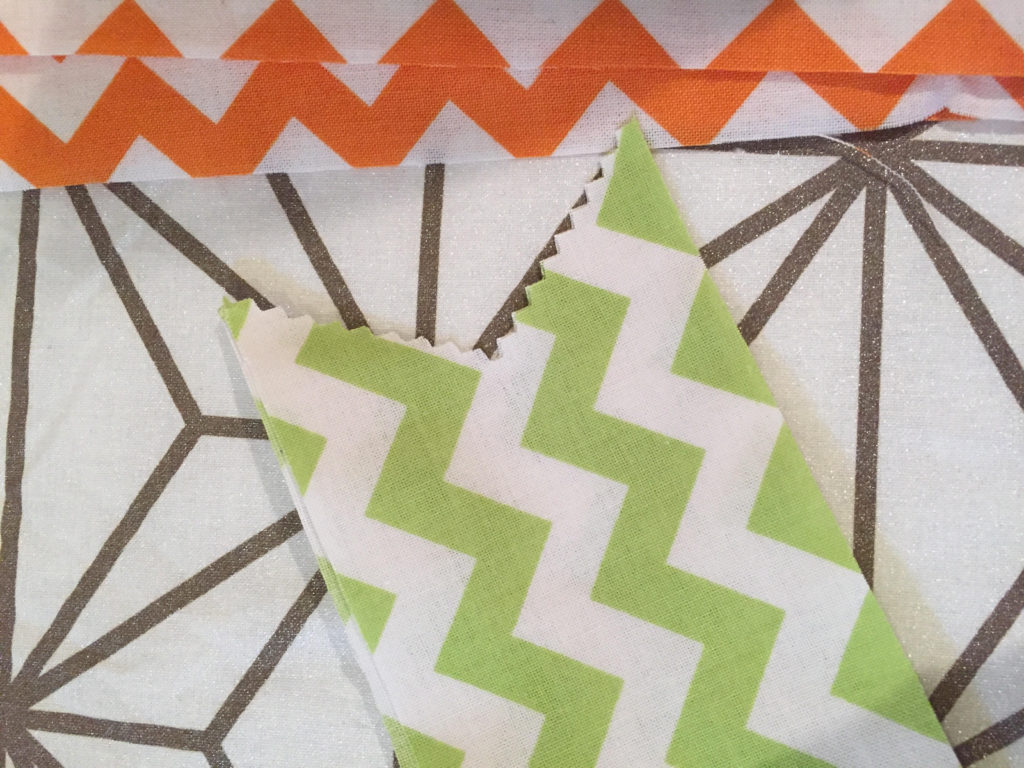
Once all of your strips are cut, fold each piece lengthwise and cut the ends with pinking shears. Here are a few options for the ends:
- Cut straight across
- Cut on a diagonal
- Fold fabric in half and cut a diagonal, making a V shape once the fabric is opened up again (pictured)

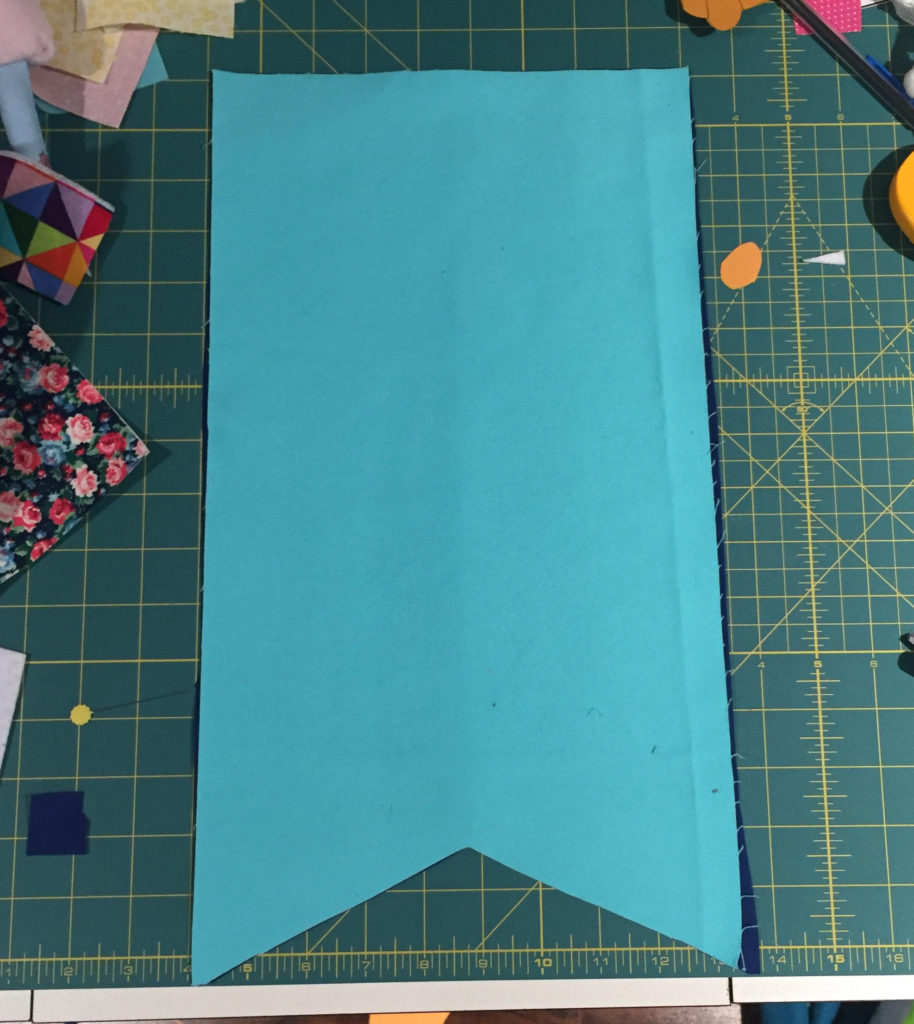
If you’re making a hanging banner you will want to cut out two pieces of fabric (from your 1/4 metre pieces) that will be 17 inches long by 9 inches wide. Iron these pieces of fabric and set aside.
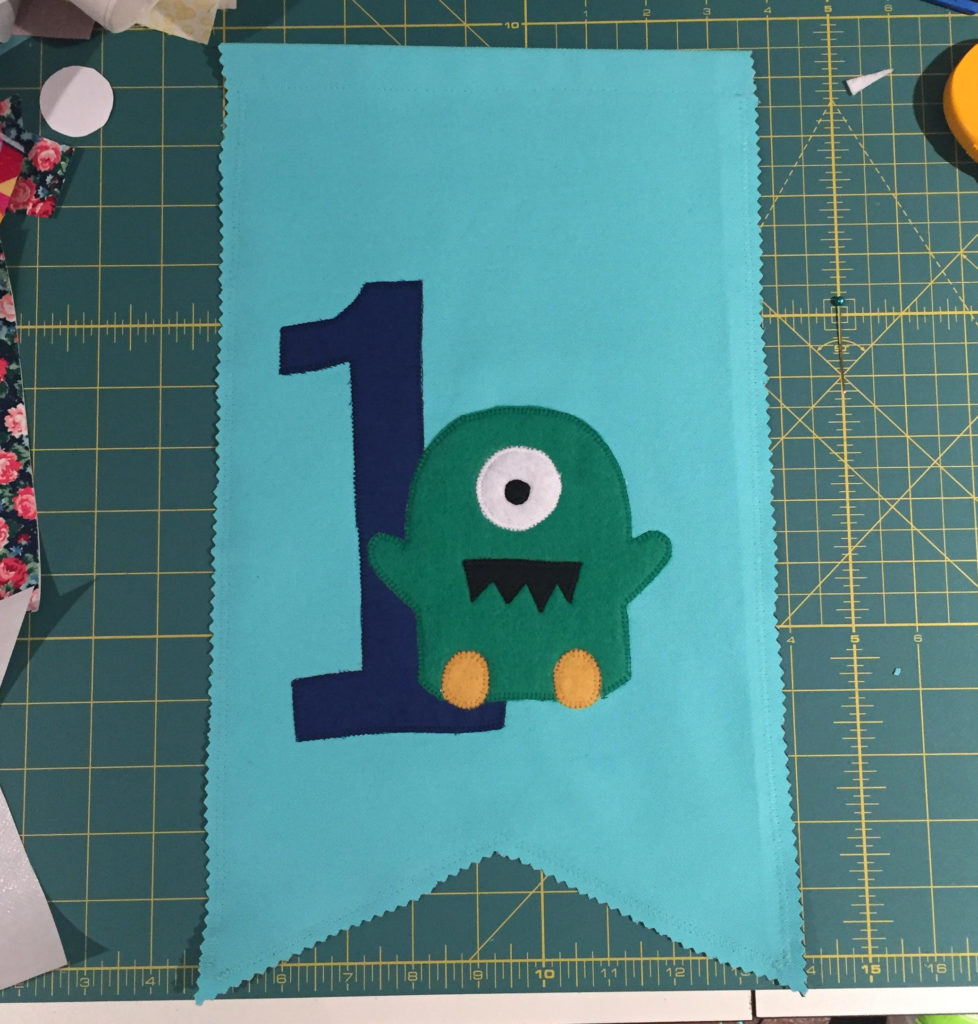
Take your scraps of fabric and attach to the Heat N’Bond Lite per the instructions on the package. Take a look at the fabric and decide how large you want the applique design. In the appropriate size, cut out the numbers, shapes, letters, etc that you want on your banner. I did the number “1” and the monster freehand but you can certainly trace something if you’re more comfortable.
Place both pieces of 9X17 fabric together, right sides facing out, and turn down one of the short ends (one of the the 9 inch ends) about 1/2 an inch. Press. Turn down again and press. Using a straight stitch, stitch along the first folded edge to form a pocket for the twine to go through.
Next you will want to attach the applique designs to your hanging banner per the instructions on the Heat N’Bond Lite. Always make sure you are turning off the steam setting when using applique paper.
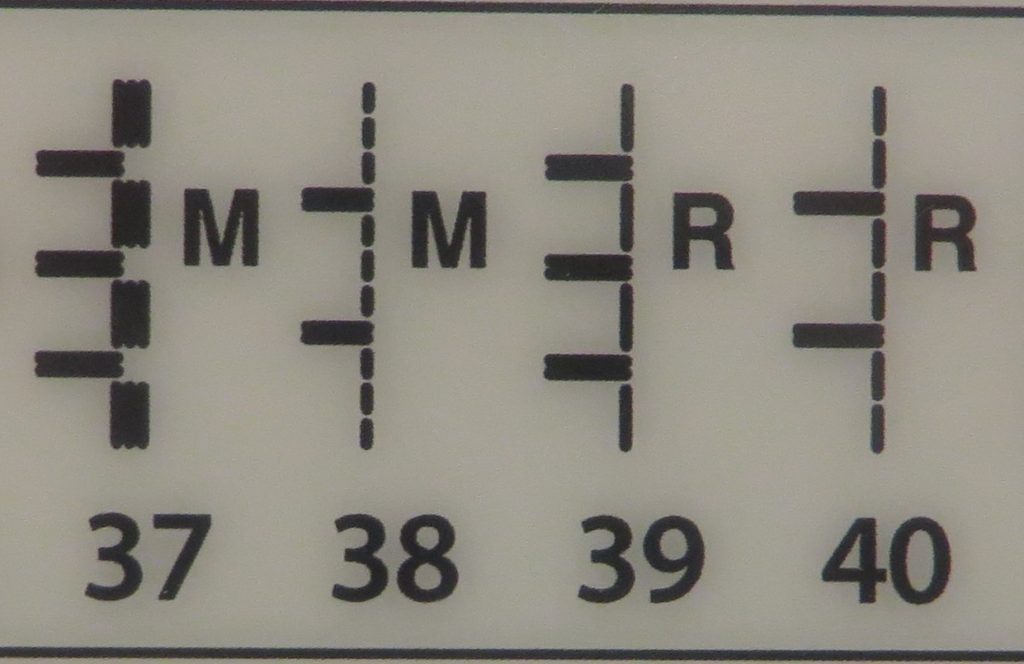
Once the design is placed and pressed on, you are ready to applique. I have a Janome Horizon Memory Craft 8200 sewing machine and I use stitch number 39 for applique.
Separate the two layers of the hanging banner. You want to applique only the front piece, as the back piece will later get attached to hide all of the threads and make the project look neater.
Stitch along the outer edge of all applique pieces using either a contrasting thread or a matching thread.
Place both 9X17 pieces of fabric together. The bottom edge can be left straight or you can repeat the “V” pattern that I did on the bottom edge of the cotton pieces.
Next I did a zigzag stitch along the perimeter of the banner, stitching the front and back pieces together. I did not stitch over the ends of the pocket where the twine will thread through.
Once the perimeter is stitched, I used my pinking shears to clip the edges, just for texture.
String the twine through the pocket of the banner. If you are having difficulty with this, I recommend wrapping the twine around one side of a safety pin a few times, then threading the safety pin through the pocket.
Centre the banner along the twine.
You are now ready to string on all of those beautiful pieces of cotton and/or broadcloth! This is my favorite part.
You will use the same technique for this project as you would from my DIY Tutu tutorial. If you go to this video you will get an excellent demonstration of the looping technique at about 3mins 30secs.
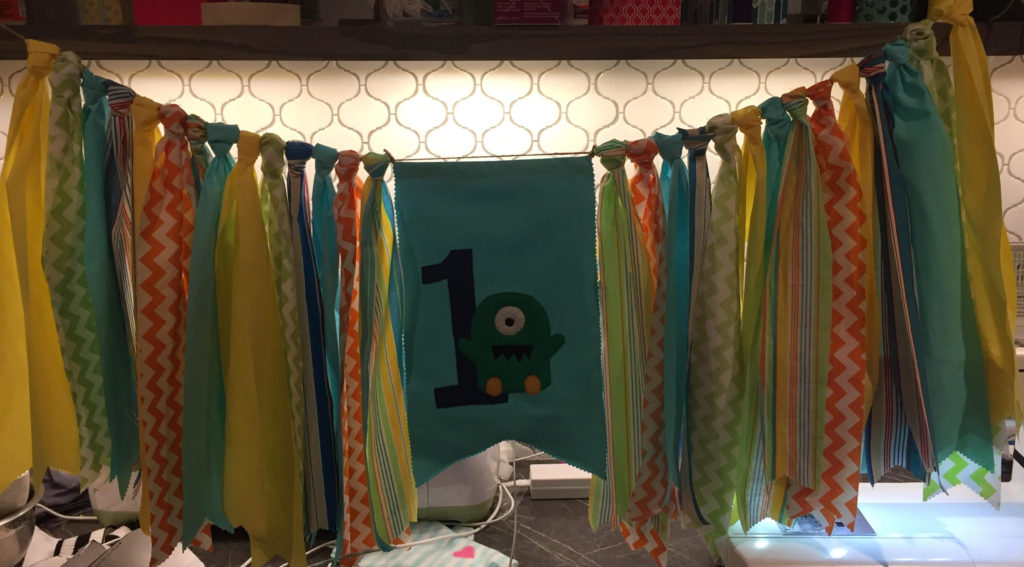
Continue looping evenly on either side of the hanging banner. I made each side a mirror image of the other, but you can do it more randomly.
Once you’ve added in all of your pieces, you are done! Your high chair is ready to party!
This is such an easy project, especially if you are simply making a garland and skipping the hanging banner in the centre. You can use any color combination you like.
Thanks for checking out my post! Happy Monday!
Heather
With thanks! Valuable information!