Easy Throw

Happy Friday, lovelies! I hope you had a fantastic week.

You may have noticed I’ve been MIA here for a little while, and it’s not that I haven’t been sewing but rather I’m making gifts for people and, well, posting them on my blog would ruin the surprise so I’ve been holding off.

Today, though, I have a very quick and easy tutorial for you. Actually, a pretty great gift idea with just a very small time commitment.

As you know I’ve been de-stashing my sewing room for some time now. I am slowly (but surely!) making my way through many, many meters of fabric that have been sitting uncut for ages. For today’s tutorial I used a heavy, knit chevron print from the stash. I paired it with a bargain bin mustard colored fleece I found at our local Fabricville.

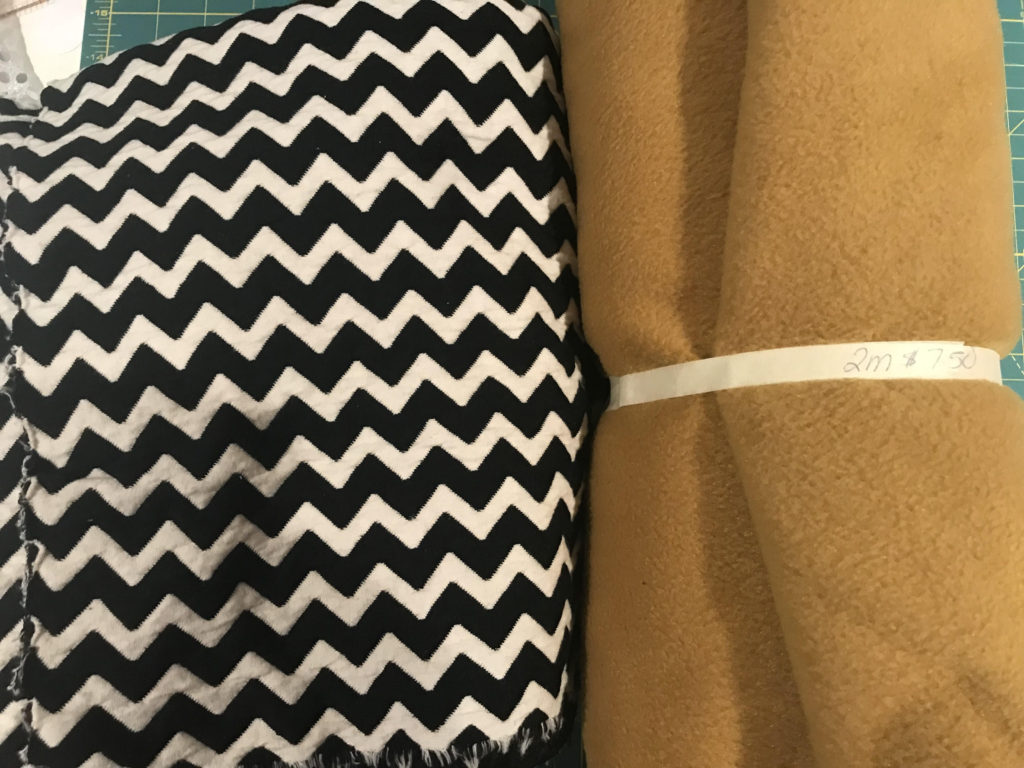
In my stash I had exactly 2 meters of the chevron fabric so it was pretty much fate when I came across exactly 2 meters of this fleece. You will see from the “tag”, I snagged the fleece for $7.50 which is a total steal!

My work colleague and I frequently get cold at the office so I made matching lap quilts. These are totally functional and definitely cute.

Here are the materials you will need for this project:

  • 1 meter of fabric for top of quilt
  • 1 meter of fabric for underside of quilt

Pretty simple, right?

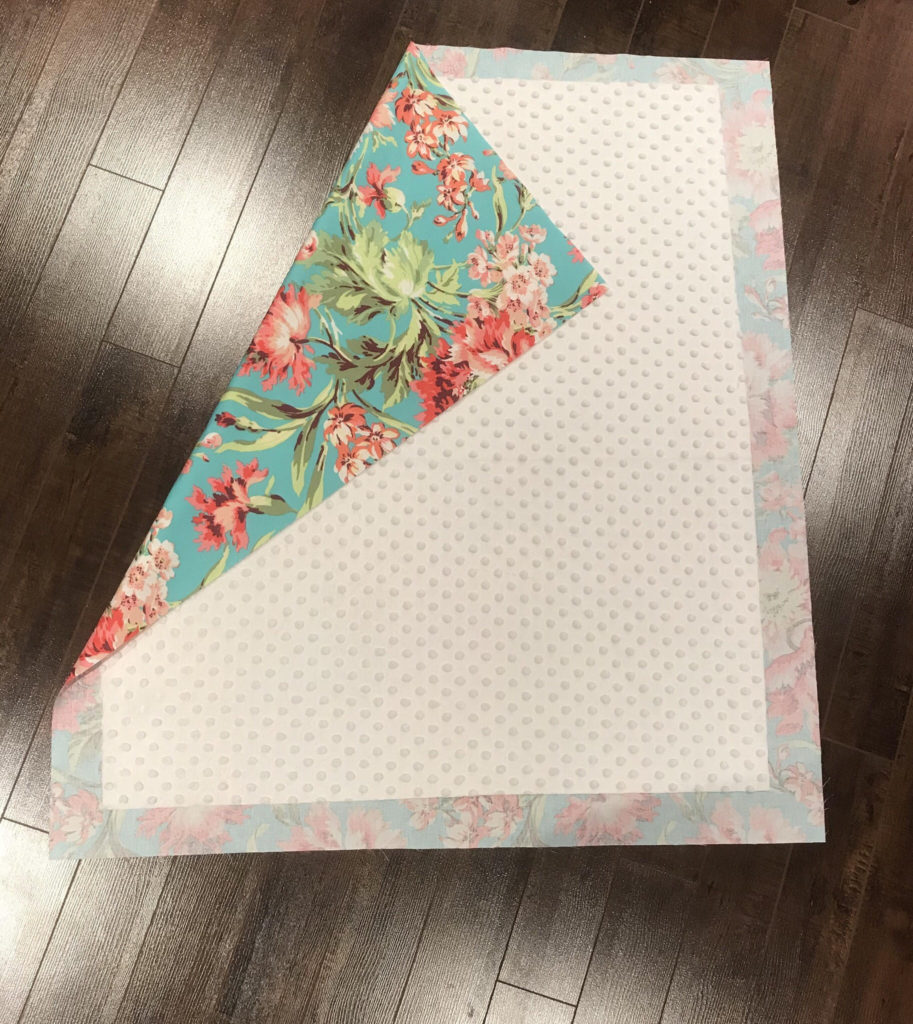
To start I simply cut 1 meter each of the chevron and fleece. I took the chevron fabric and squared it up using a ruler and cutting wheel. Then I laid the fabric (right  side down) on the floor, taped it in place at the corners, and laid the fleece over top, with right side facing up. So now I have the fabric laid flat with wrong sides together.

I carefully trimmed the fleece so it rested 3″ inside the edge of the chevron. I wanted a nice, wide binding around the blanket. If you would prefer something more narrow, I would go with 2″.

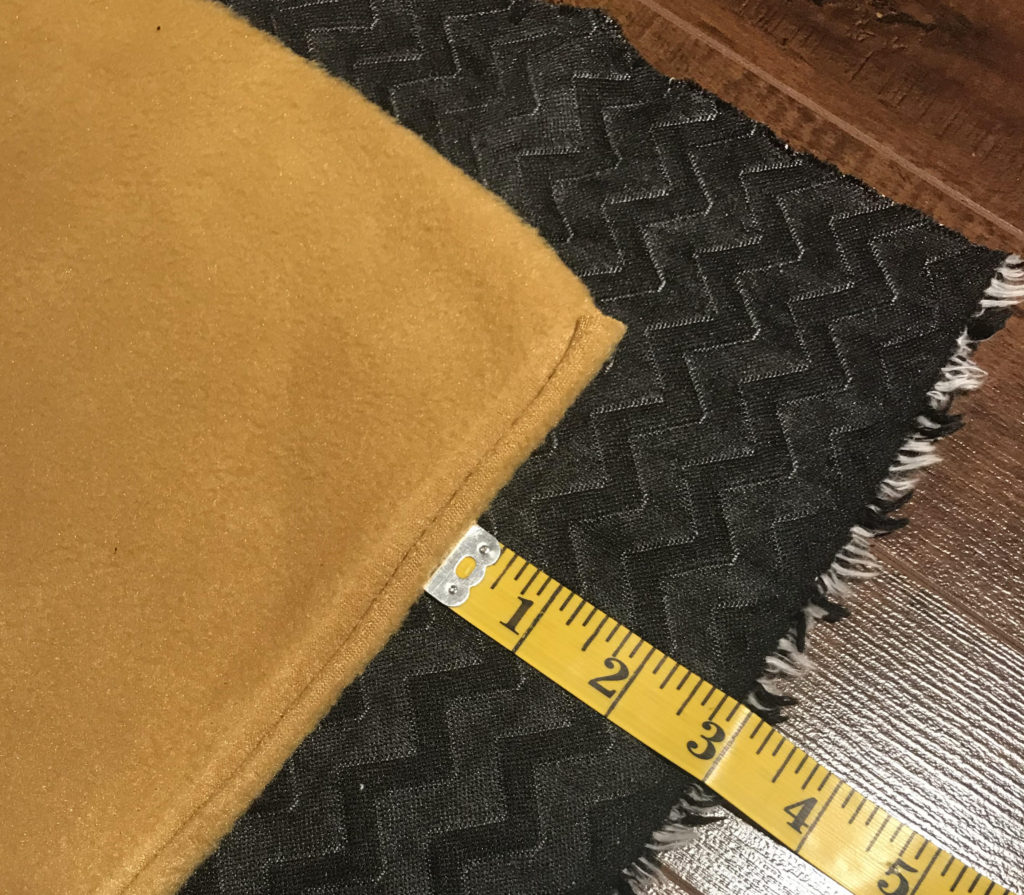
I went along the edge of the blanket, folding the chevron over the raw edge of the fleece, then tucking the fold in a second time so no raw edges were exposed.

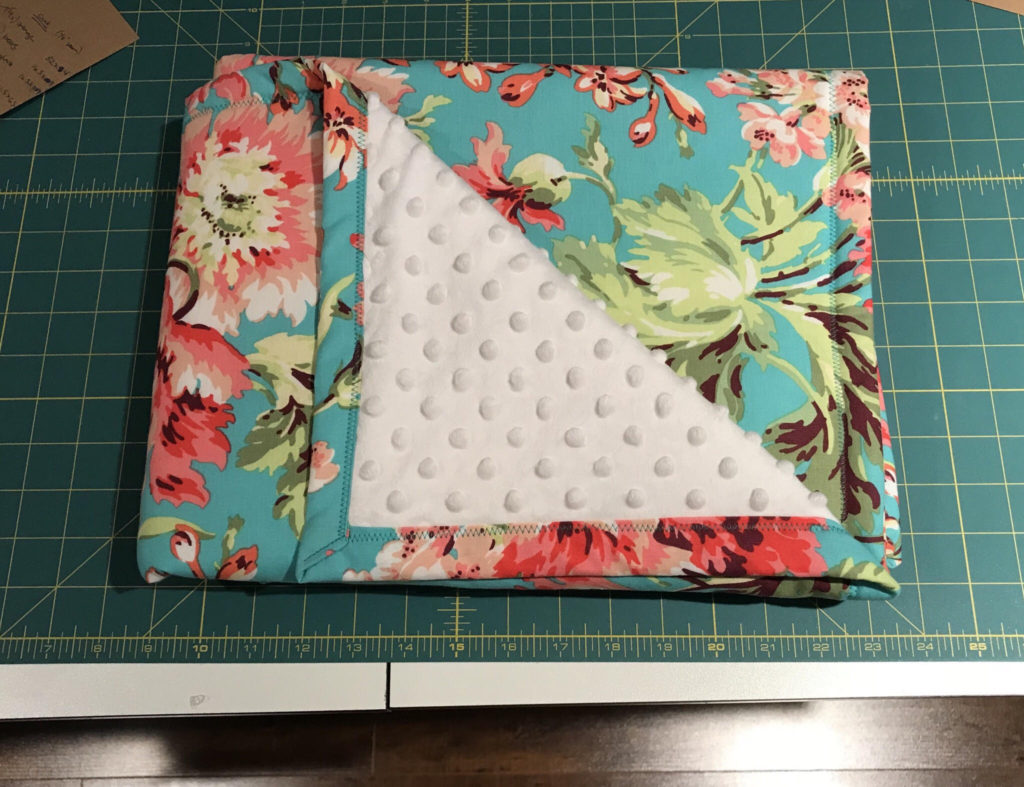
I used a zig zag stitch for the perimeter of the blanket. Annnnd done!

Because there is no batting in the middle of the two fabrics there’s no need to quilt it down or do anything fancy.

This is *literally* a project that can be done in 30 minutes.

Thanks for stopping by today!

Heather

Baby Blankets

My most frequent sewing project is, without a doubt, baby blankets. All different shapes, colors, themes, sizes. It’s my favorite gift to give at a baby shower, and you can pretty much rest assured the receiver won’t get a duplicate.

Whether you’re doing tummy time, reading books on the couch or heading outside for a picnic, baby blankets are sure to get used.

Recently I’ve had the pleasure of making a bunch of blankets, so tonight I will walk you through my process. There are plenty of standard sizes for blankets, but you can absolutely use your imagination when planning out your blanket.

The first blanket was made for a new baby in my very extended family, I will say. A beautiful little girl named Isabelle. I actually used fabric from my stash (still working away at it…….) and I was really happy with it.

Previously I had used these exact fabrics to make Big Sis and Little Sis blankets for a good friend of mine. I made a mini version of that quilt for Isabelle.

I started by drawing out a pattern. I cut 10 6X6″ blocks for the top and bottom of the quilt. I cut 2 30X4″ pieces for the long rectangular sections. Then I cut 4 15X8 pieces for the center. I knew that once I joined the pieces I could trim the uneven edges caused by the seam allowances. Sometimes I am more precise, but this time I didn’t feel the need to be.

I used a 1/4″ seam allowance and joined the blocks across each row. Once each row was formed, I joined them horizontally to form the blanket.

It came together quite quickly as there weren’t that many pieces. This is a photo of the quilt top once I appliqued the elephant and her name.

I gave the fabric a good press with a hot iron here to flatten out the seams.

I picked out cotton batting for the centre of the quilt and a soft minky for the backside. Once I put the quilt together with right sides facing out and the batting in the middle, I started pinning the 3 pieces together. Lots and lots and lots of pins. The next step is to quit down the fabric. This essentially means you will sew all 3 pieces together in some pattern, which will help the blanket keep its shape over time as it gets washed more and more.

I quilted down along each seam on the quilt, both sides of the seam in fact. So I essentially made railroad tracks right on top of each seam. This part takes a bit of time but really does add to the blanket.

Once the quilting down was complete, I made the binding for the edge of the quilt. I cut 2.5″ wide strips of cotton and used this technique to join it to the quilt.

Some people hand sew the binding in place but I don’t typically do that. I actually don’t enjoy hand sewing, and the time commitment is significant.

Voila! A personalized gift that will get used over and over and over and over…..

The next blanket was quite simple and was made for a customer. She gave me permission to share this project with you.

The customer had seen fabric by Amy Butler called Bliss Bouquet (in Teal) and fell in love. She wanted a baby blanket made for her soon-to-be-arriving baby girl. She wanted a basic blanket with minky on the back.

This fabric is very difficult to get, but I was fortunate enough to find it at The Fabric Merchant here in St. John’s, NL. Don’t even get me started on how much I love this store…

I picked up a slightly cream colored minky fabric and got sewing. She wanted a blanket that was 28X33″.

I started by ironing the cotton Amy Butler fabric. I cut out a rectangle that was 32X37, to ensure I had plenty for a nice folded edge over the minky.

I cut the minky and the cotton batting to 28X33.

I laid out the pieces on my floor and smoothed out any wrinkles.

Next I went around the edge of the blanket, folding down the printed cotton twice, and pinning in place in preparation for sewing.

I zig zag stitched around the blanket and it was done!

This blanket is so soft and pretty, and took about an hour to make.

There are many variations of baby blankets and they really do make wonderful gifts. You can get really creative and mix colors and prints, and you never have to do the same blanket twice.

I hope you’ve enjoyed this post. Thanks for stopping by today!

Heather