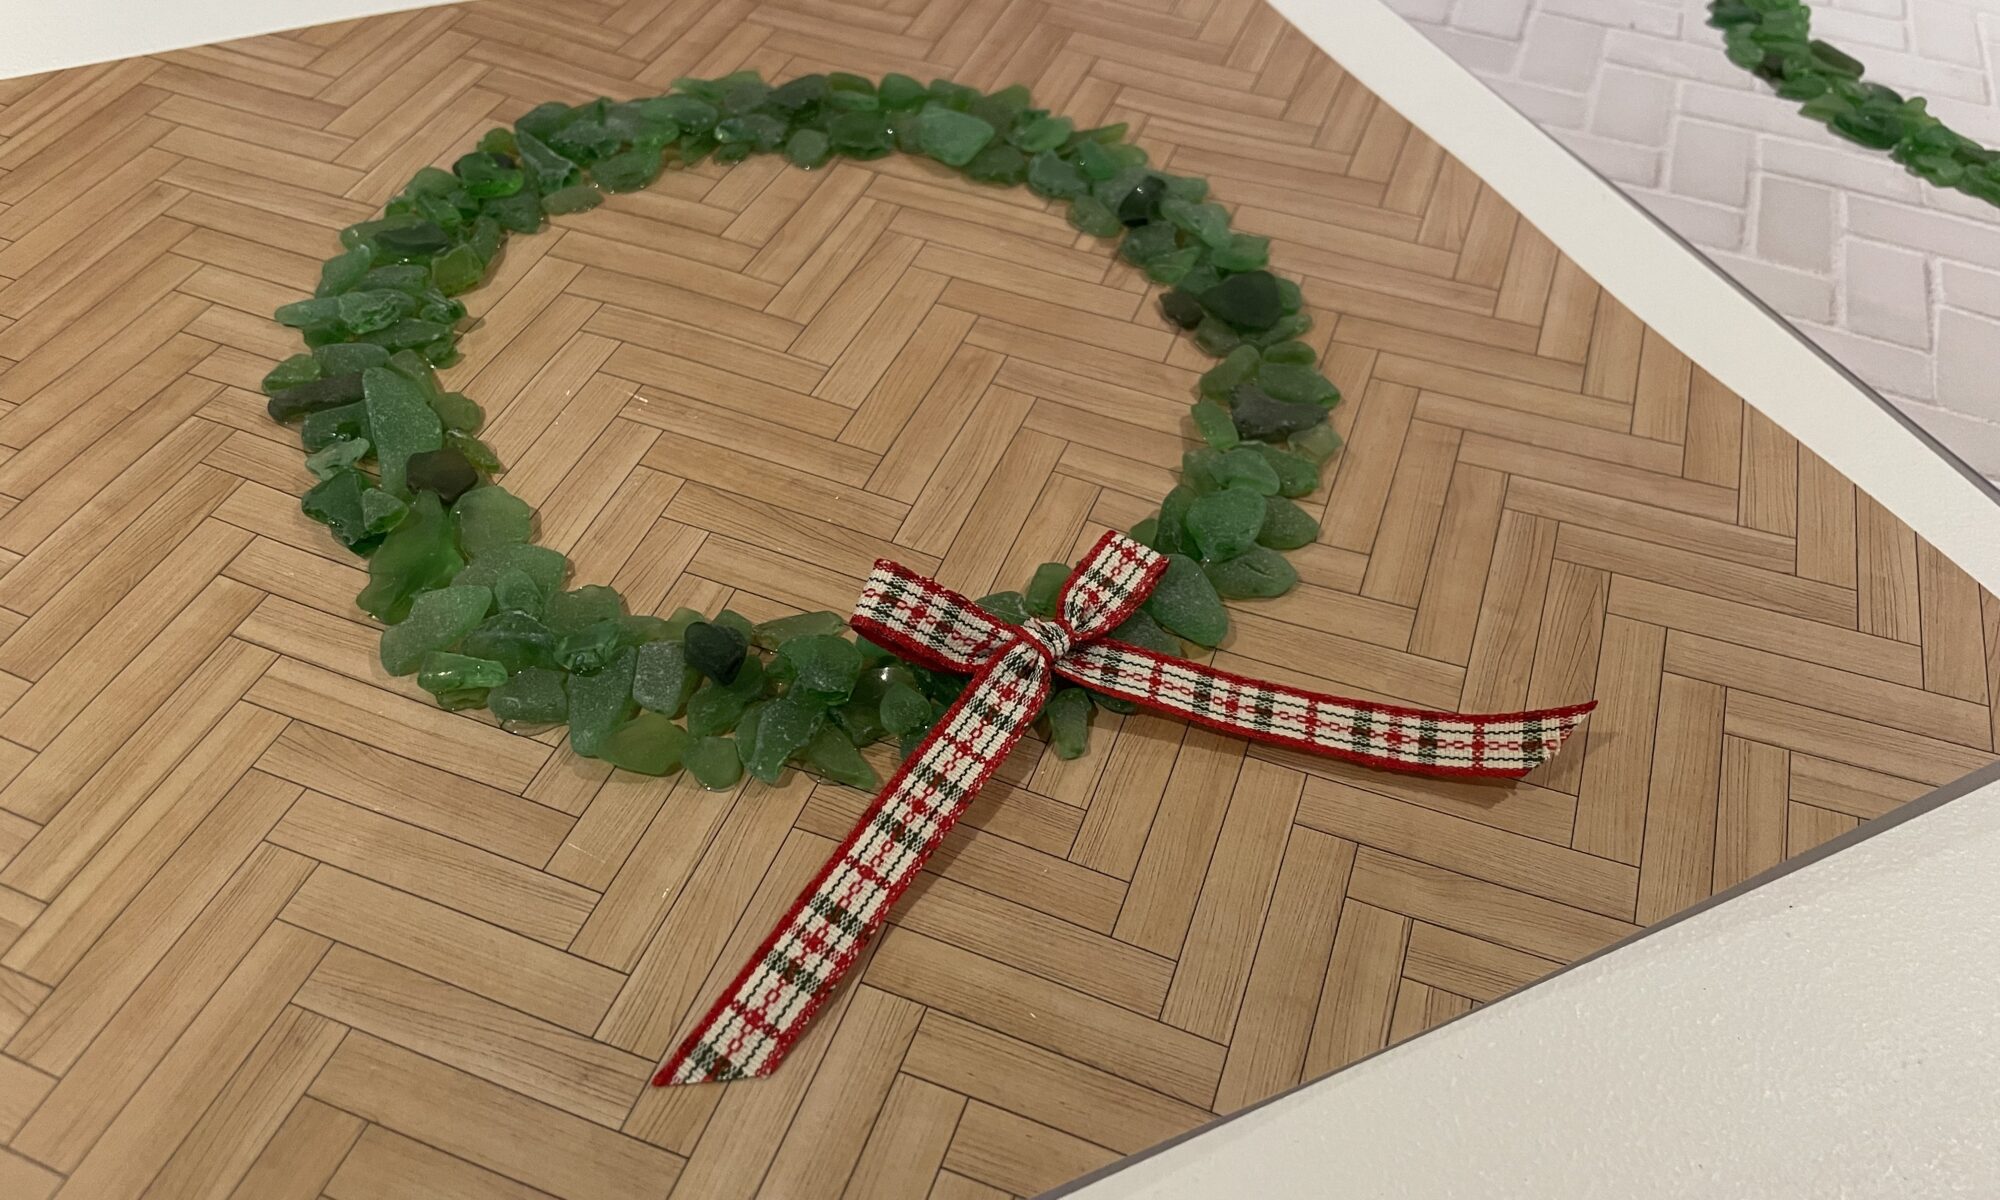
This tutorial was requested by a friend, and I am happy to share what I’ve learned about making these beautiful, eye-catching Christmas wreaths.
To start, you must have a decent stash of green seaglass. You will utilize some larger pieces (think: the size/width of a toonie), as well as many small pieces. Various shades of green really give these wreaths dimension.
In 2021 I made these wreaths for the first time, and the response was incredible. I shared as my own creation, but quickly I had people requesting them for gifts for their parents, friends and coworkers.
This year I’ve moved forward with a plan to make (and sell) about 20 of these wreaths for the Christmas season. I’ve been gathering green glass all year for this!
The materials you will need for this project are as follows:
- Cardstock
- Shadowbox frame
- Green seaglass
- E6000 glue
- Ribbon
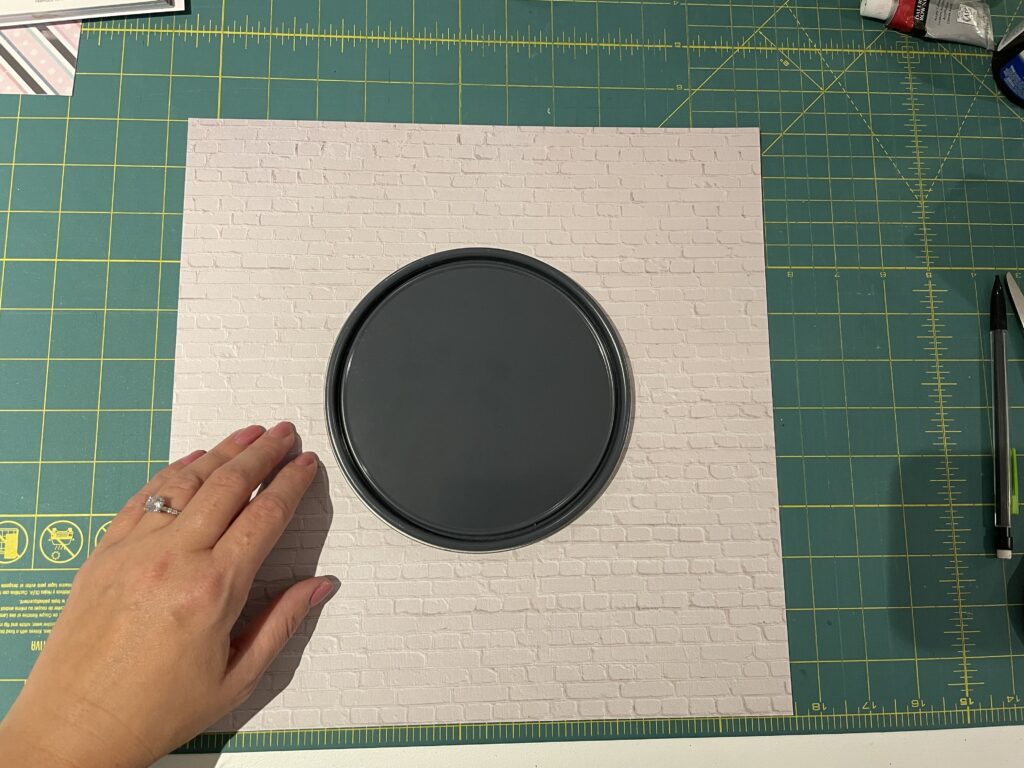
- Circular object for tracing
- Pencil
As always, we start with clean glass. I use a bleach solution to clean seaglass. I soak the glass for at least a few hours, rinse well and lay on a towel to dry. Then I store it in containers for use.
Your cardstock will need to be cut to fit your shadowbox. I recommend you always do this step before gluing anything onto the cardstock, as it can be very difficult to cut once your project is done. I use a Fiskars paper cutter to cut my cardstock, as it makes for a very straight edge.
I take a large circular object and trace gently with a pencil. Dark marks can be difficult to fully cover up with glass, so I do recommend a light outline, and I do not recommend pen or markers for the outline. (You’ll only make that mistake once!)
Do your best to center the circle (horizonally and vertically) on your page. Sidenote: you might notice the photos here are from different wreaths. I’ve made so many this season, I just snapped photos at random 🙂
To start the base for your wreath, you can use larger pieces for the main outline. I like to place glass above and below the markings, as I enjoy the look of a slight fuller wreath.
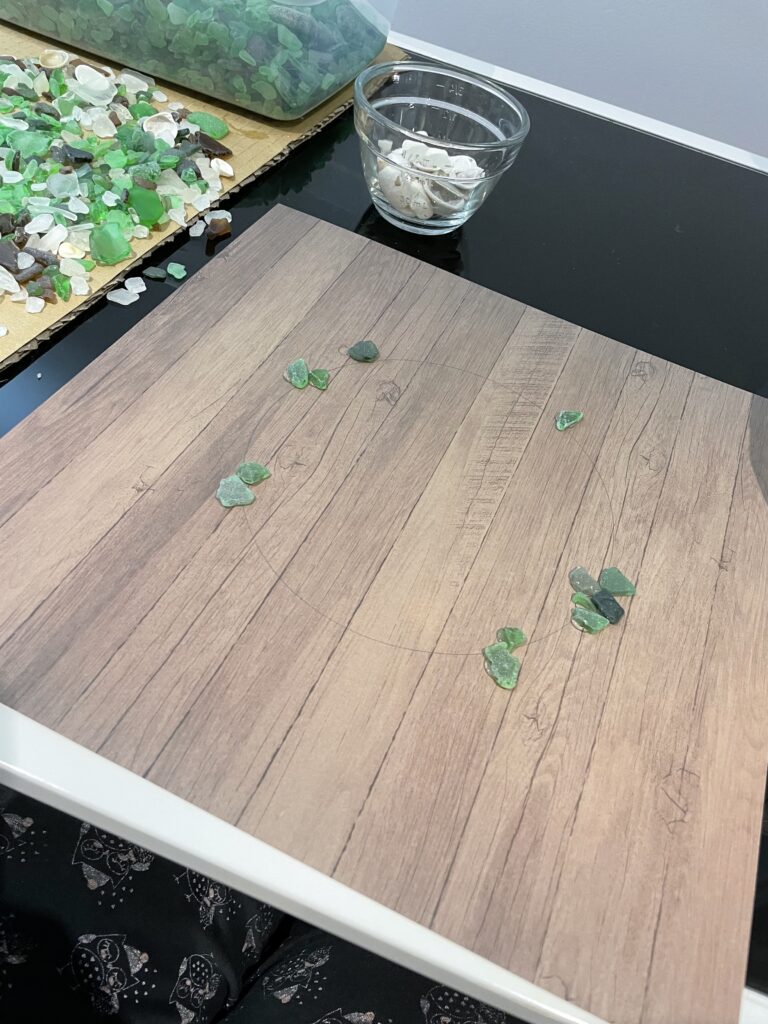
I tend to choose glass with “points” and face the points outward or inward, to give the appearance of branches. The adhesive isn’t fast-drying, so you can move pieces around slightly if needed.
Once you’ve completed the outline, you will want to layer some pieces of glass over the top of the other glass, to add dimension. This is where various shades of green will really come in handy!
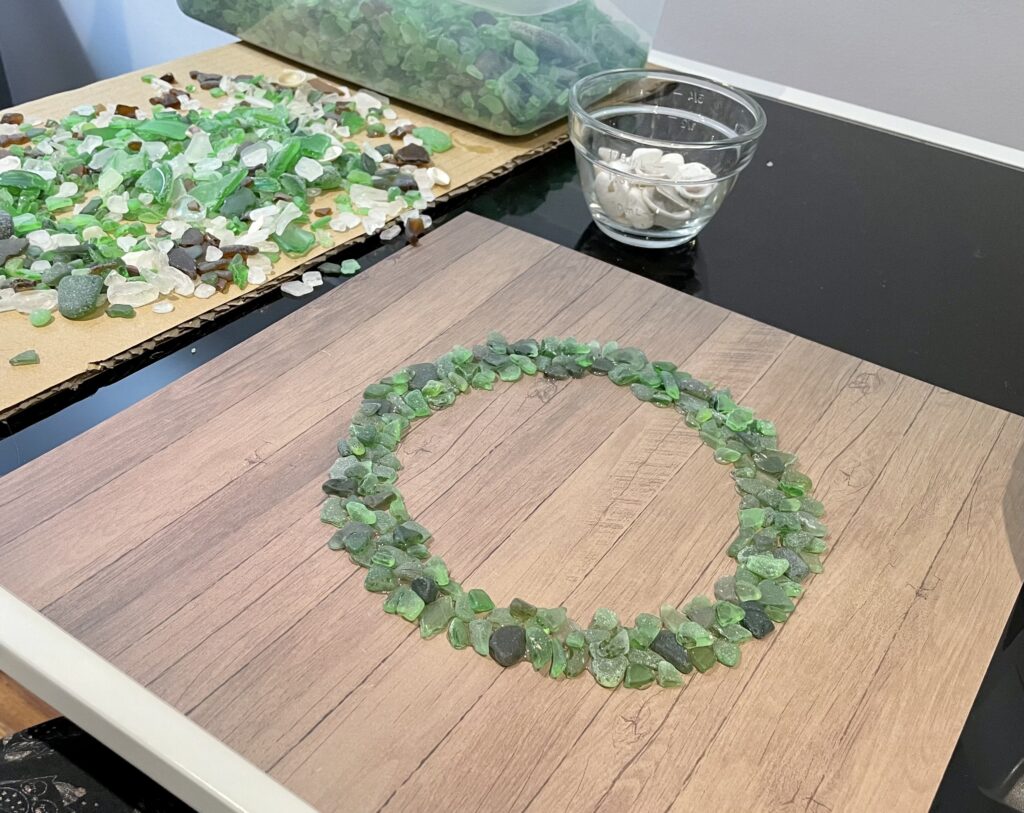
Once you are done layering glass, you should leave the cardstock in place for up to 24 hours before attempting to frame it. As I said, E6000 does not dry down immediately, so you want to ensure all pieces are given proper time to dry so they don’t shift.
Next you will make a bow for your wreath. I use double-sided ribbon, and I definitely love the traditional Christmas prints (ie. plaids).
Cut a piece of ribbon to about 12″, and tie it into a tidy bow. The ends of the ribbon should be cut on a 45 degree angle.
Place some E6000 on the backside of the ribbon (knot), and lay in place. I normally put the bow on the bottom of the wreath, but I’ve done the top as well and it looked sweet.
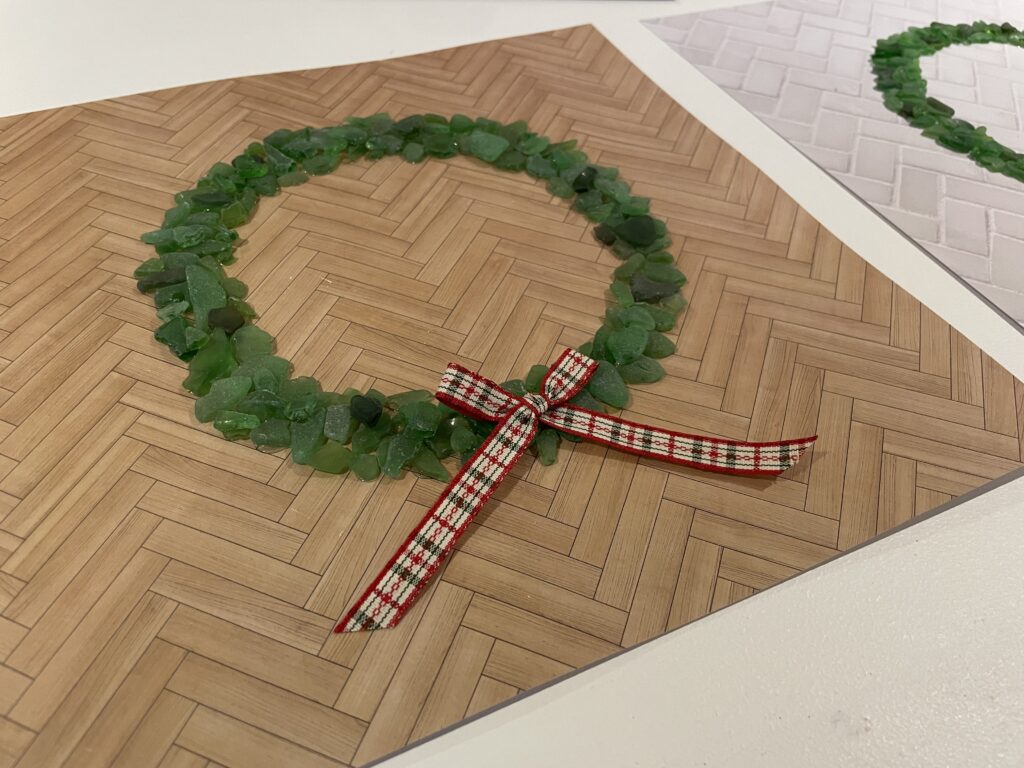
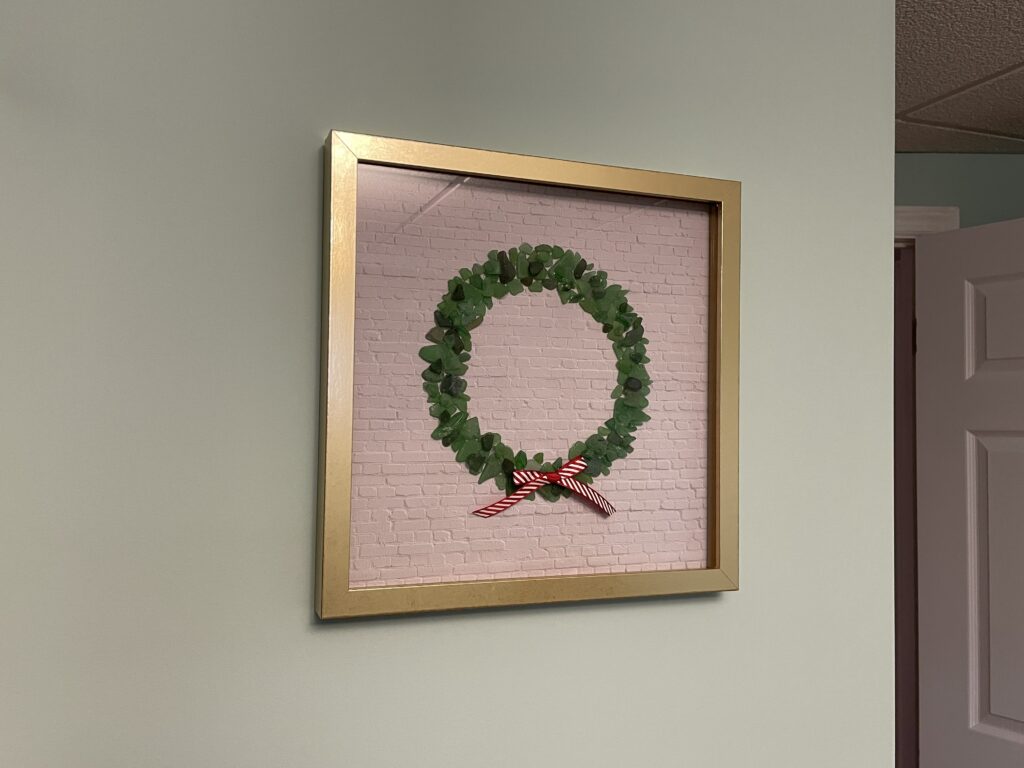
Once your art has fully dried, it’s ready to be framed! I recommend removing the glass pane and cleaning, front and back, prior to using it. Your art will look so much better with clean glass.
Pop in your cardstock, and you have a festive delight to gift, or to keep for your own home.
Thanks for stopping by today to check out my post.
Heather
