DIY Seaglass Christmas Wreath

This tutorial was requested by a friend, and I am happy to share what I’ve learned about making these beautiful, eye-catching Christmas wreaths.

To start, you must have a decent stash of green seaglass. You will utilize some larger pieces (think: the size/width of a toonie), as well as many small pieces. Various shades of green really give these wreaths dimension.

In 2021 I made these wreaths for the first time, and the response was incredible. I shared as my own creation, but quickly I had people requesting them for gifts for their parents, friends and coworkers.

This year I’ve moved forward with a plan to make (and sell) about 20 of these wreaths for the Christmas season. I’ve been gathering green glass all year for this!

The materials you will need for this project are as follows:

  • Cardstock
  • Shadowbox frame
  • Green seaglass
  • E6000 glue
  • Ribbon
  • Circular object for tracing
  • Pencil

As always, we start with clean glass. I use a bleach solution to clean seaglass. I soak the glass for at least a few hours, rinse well and lay on a towel to dry. Then I store it in containers for use.

Your cardstock will need to be cut to fit your shadowbox. I recommend you always do this step before gluing anything onto the cardstock, as it can be very difficult to cut once your project is done. I use a Fiskars paper cutter to cut my cardstock, as it makes for a very straight edge.

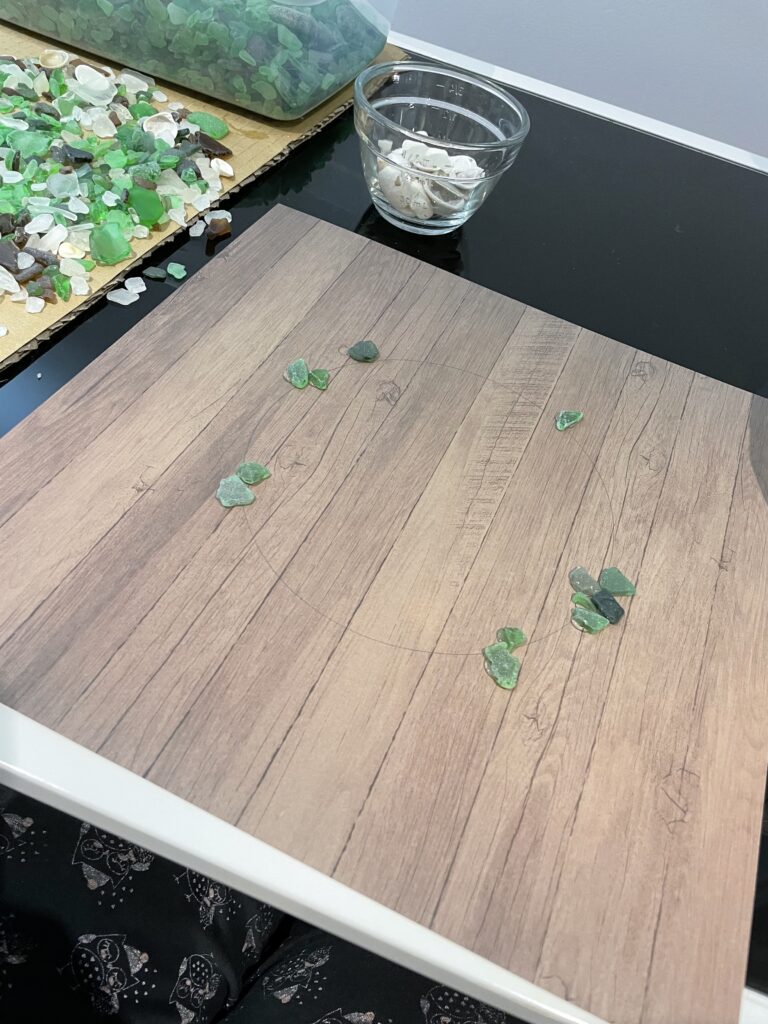
I take a large circular object and trace gently with a pencil. Dark marks can be difficult to fully cover up with glass, so I do recommend a light outline, and I do not recommend pen or markers for the outline. (You’ll only make that mistake once!)

Do your best to center the circle (horizonally and vertically) on your page. Sidenote: you might notice the photos here are from different wreaths. I’ve made so many this season, I just snapped photos at random 🙂

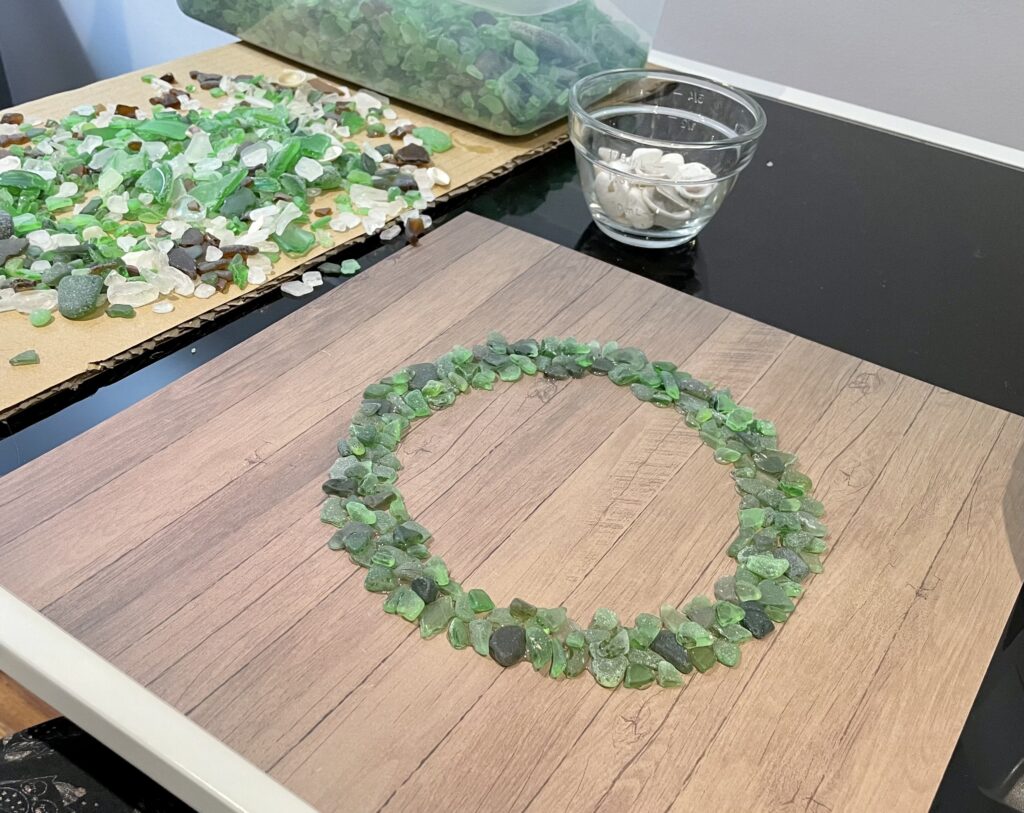
To start the base for your wreath, you can use larger pieces for the main outline. I like to place glass above and below the markings, as I enjoy the look of a slight fuller wreath.

I tend to choose glass with “points” and face the points outward or inward, to give the appearance of branches. The adhesive isn’t fast-drying, so you can move pieces around slightly if needed.

Once you’ve completed the outline, you will want to layer some pieces of glass over the top of the other glass, to add dimension. This is where various shades of green will really come in handy!

Once you are done layering glass, you should leave the cardstock in place for up to 24 hours before attempting to frame it. As I said, E6000 does not dry down immediately, so you want to ensure all pieces are given proper time to dry so they don’t shift.

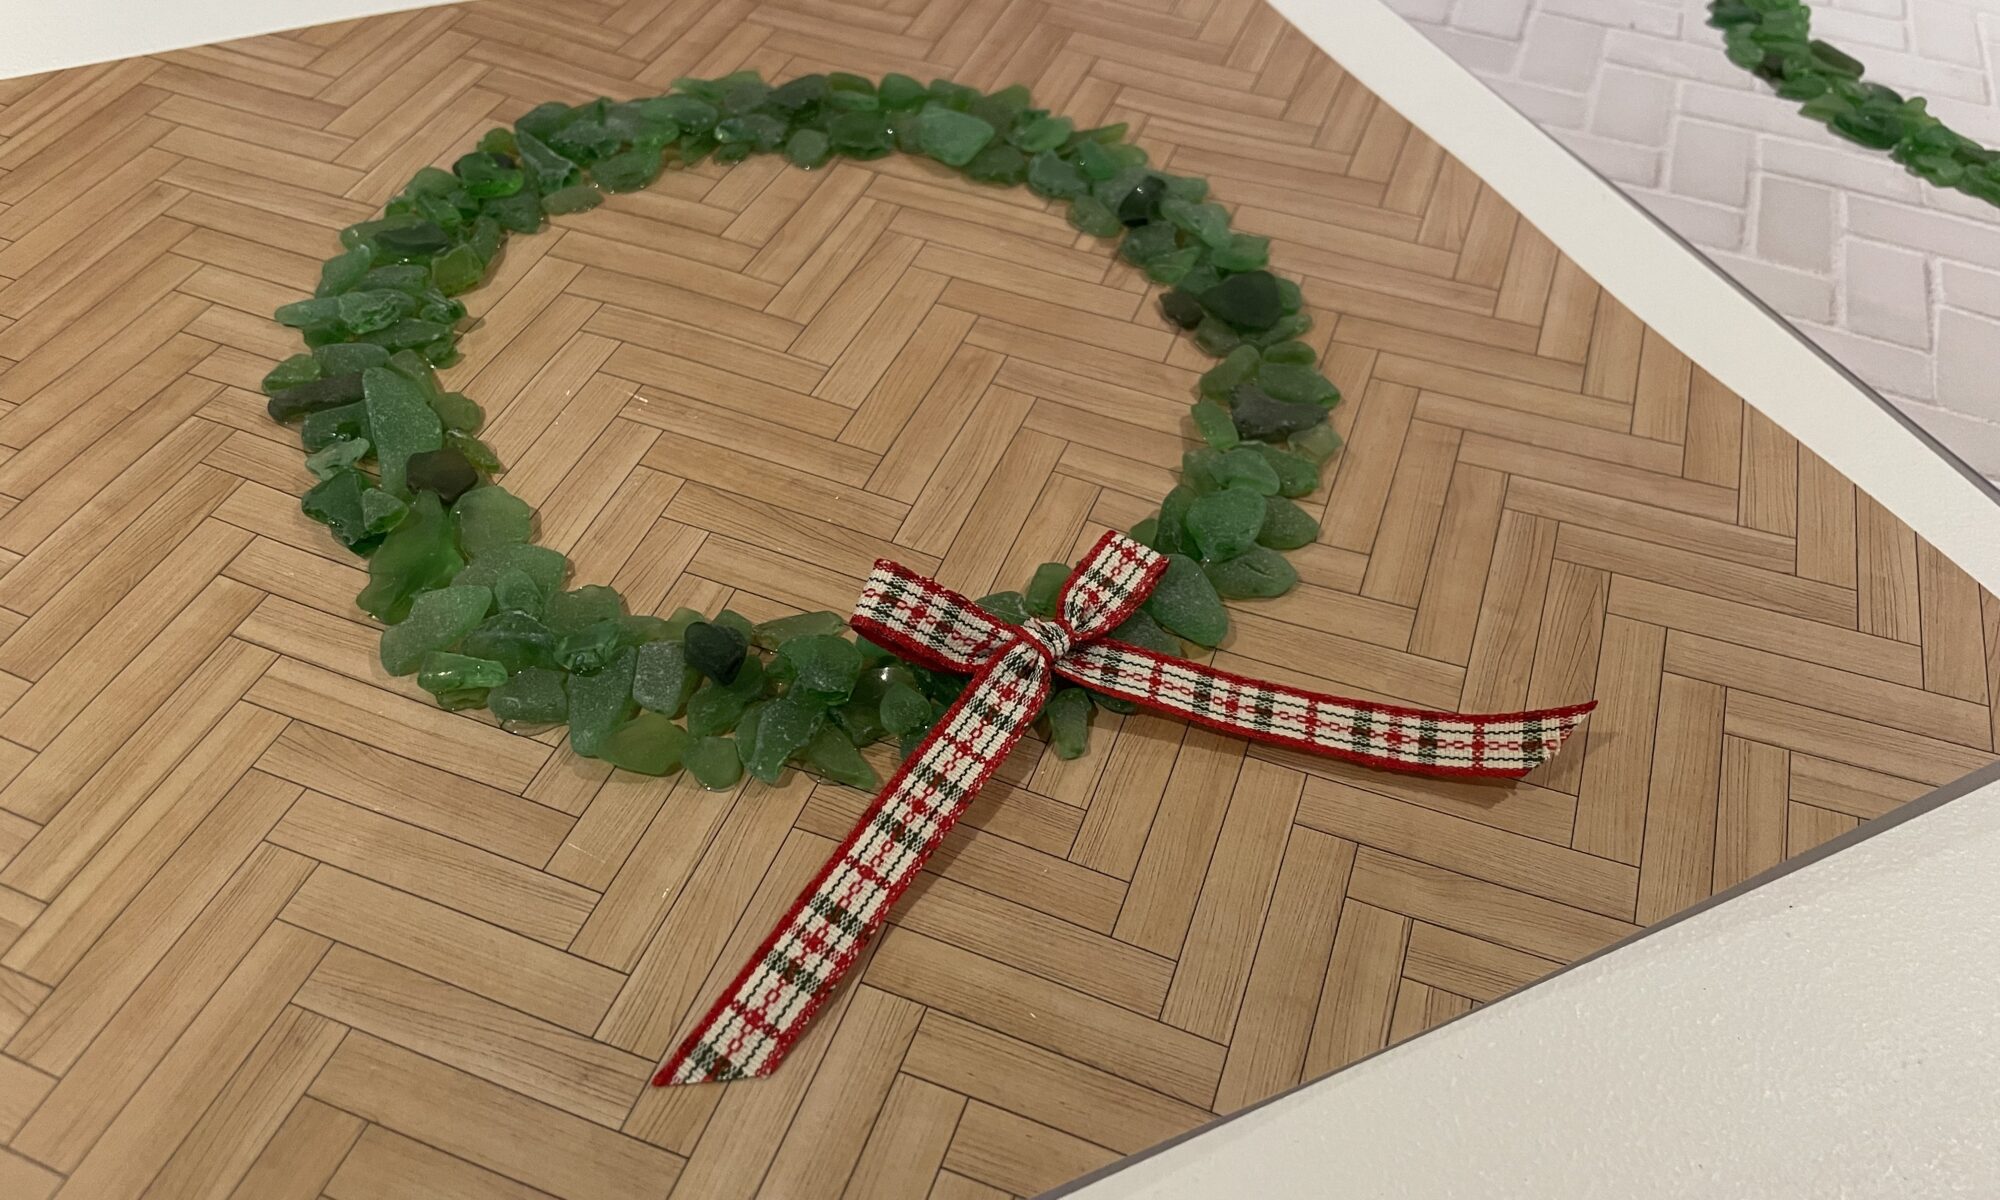
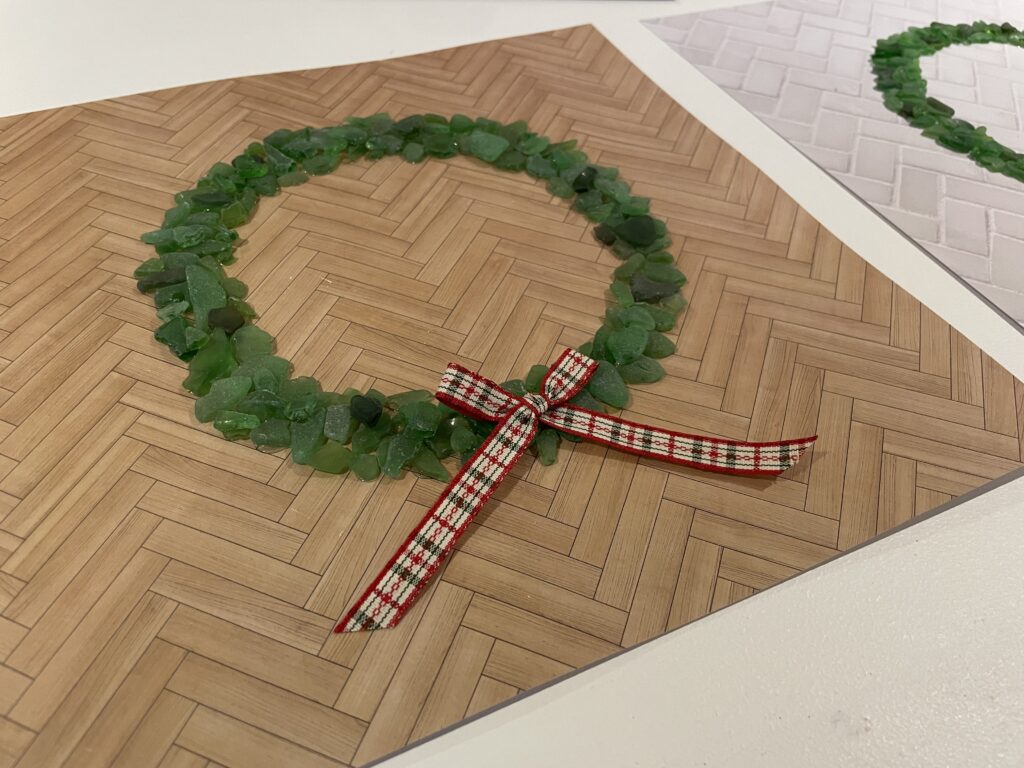
Next you will make a bow for your wreath. I use double-sided ribbon, and I definitely love the traditional Christmas prints (ie. plaids).

Cut a piece of ribbon to about 12″, and tie it into a tidy bow. The ends of the ribbon should be cut on a 45 degree angle.

Place some E6000 on the backside of the ribbon (knot), and lay in place. I normally put the bow on the bottom of the wreath, but I’ve done the top as well and it looked sweet.

Once your art has fully dried, it’s ready to be framed! I recommend removing the glass pane and cleaning, front and back, prior to using it. Your art will look so much better with clean glass.

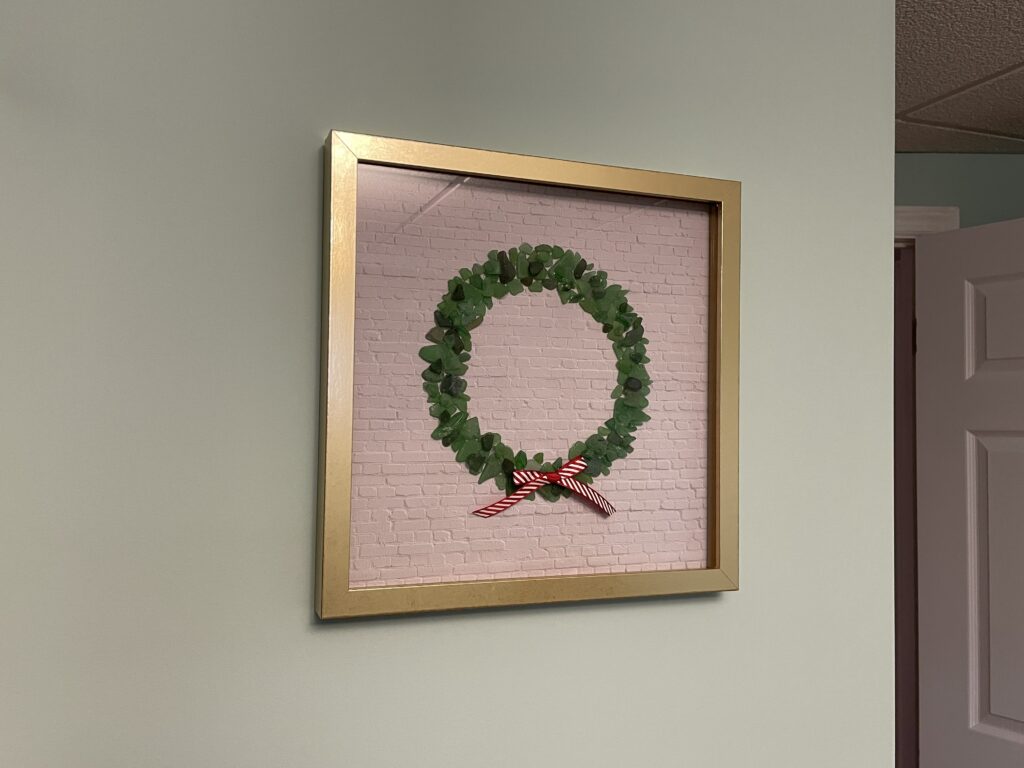
Pop in your cardstock, and you have a festive delight to gift, or to keep for your own home.

Thanks for stopping by today to check out my post.

Heather

DIY Christmas Bulb Wreath

The holidays are in full-swing, which means I am suffering minor burns from my glue gun pretty much daily. Few things make me more excited than wreath-making though, so it’s all worth it.

I’ve made this wreath a number of times in a few color combinations, mostly reds with silver and/or gold. The first bulb wreath I made is currently hanging on my front door. Sure, I’ve glued a few bulbs back in place over the years, but I’m proud to say it’s about 5 years old and going (mostly) strong.

I purchase foam wreaths from Michael’s when I have a 50% off coupon because these things are expensive for what they are. I also usually wait for the bulbs to go on clearance because otherwise the cost of this wreath gets really out of hand.

Materials needed for this tutorial:

  • Foam wreath
  • Glue gun with many, many glue sticks
  • Regular plastic bulbs
  • Small plastic bulbs, bells, etc for filler

The stem on plastic bulbs typically comes off pretty easily, which is convenient because for the base layer on this wreath you’re going to need to take the stems off in order to puncture the foam and glue the bulbs in place.

I take stems off as I go, that way I don’t remove too many. Often times the plastic stems break as they are coming off so I can’t count on them going back on nicely (if at all).

Next I heat up my glue gun. I use a mini glue gun because I find the size really comfortable for prolonged use. That said, I go through mini glue sticks like it’s nobody’s business. A tremendous amount of glue is used in the making of this wreath.

With the wreath laying flat on the floor I take a bulb that has the silver stem removed and puncture the foam. I do this to essentially make a pocket for the glue.

Next you can either fill the hole up with hot glue or you can put glue directly on the bulb before you push it in. I’ve not noticed a difference in either technique.

I leave a small gap between each bulb as I continue to add bulbs to the face of the wreath.

I do the entire face of the wreath, then I start the inside and outside rings. It’s important to be careful when you are doing this next step because you want the wreath to lay flat on your door, so if your bulbs are placed too low around the sides of the wreath it simply won’t lay flat. I very slightly angle the inner and outer bulbs upward.

I do my best to stagger the bulbs along the sides, however it’s not perfect.

Once the inside ring is done I move to the outside of the wreath. Same process – take off the silver stem, puncture the foam wreath, add glue, push ornament stem back into wreath. Also, the amount of glitter on my floor in this next picture is what nightmares are made of. (Pro tip: dry Swiffer cloths are amazing at cleaning up glitter)

Once you’ve covered the wreath with bulbs you will notice lots of gaps – there’s plenty of foam visible. Not to worry! First I use more regular sized bulbs to fill in space. Once you’ve filled with regular bulbs, you can fill smaller spaces with small bulbs, small ornaments, bells, etc.

I keep adding small filler ornaments until no more foam is visible. Then I take more glue (!!!) and add wherever it seems necessary. I would rather over-glue than have ornaments falling off every time the door shuts.

When gluing ornaments to other ornaments, I try to glue each item in 3 places. If it’s a star, for example, I want at least 3 pieces of the star to make contact with other bulbs.

This wreath takes me about 2-3 hours to make, but it’s SO worth it. It’s eye-catching and unique, and it can be made with whatever color combo you can dream up! I like to stay away from big contrasts (black and silver, for example) because bulb placement gets really tricky, as you don’t want to be too dark or light in areas. Balance is key. If you add a dark blue ornament to one side, try to add one to the other to balance it out.

I hope you’ve enjoyed this tutorial. Happy holidays!

Heather