
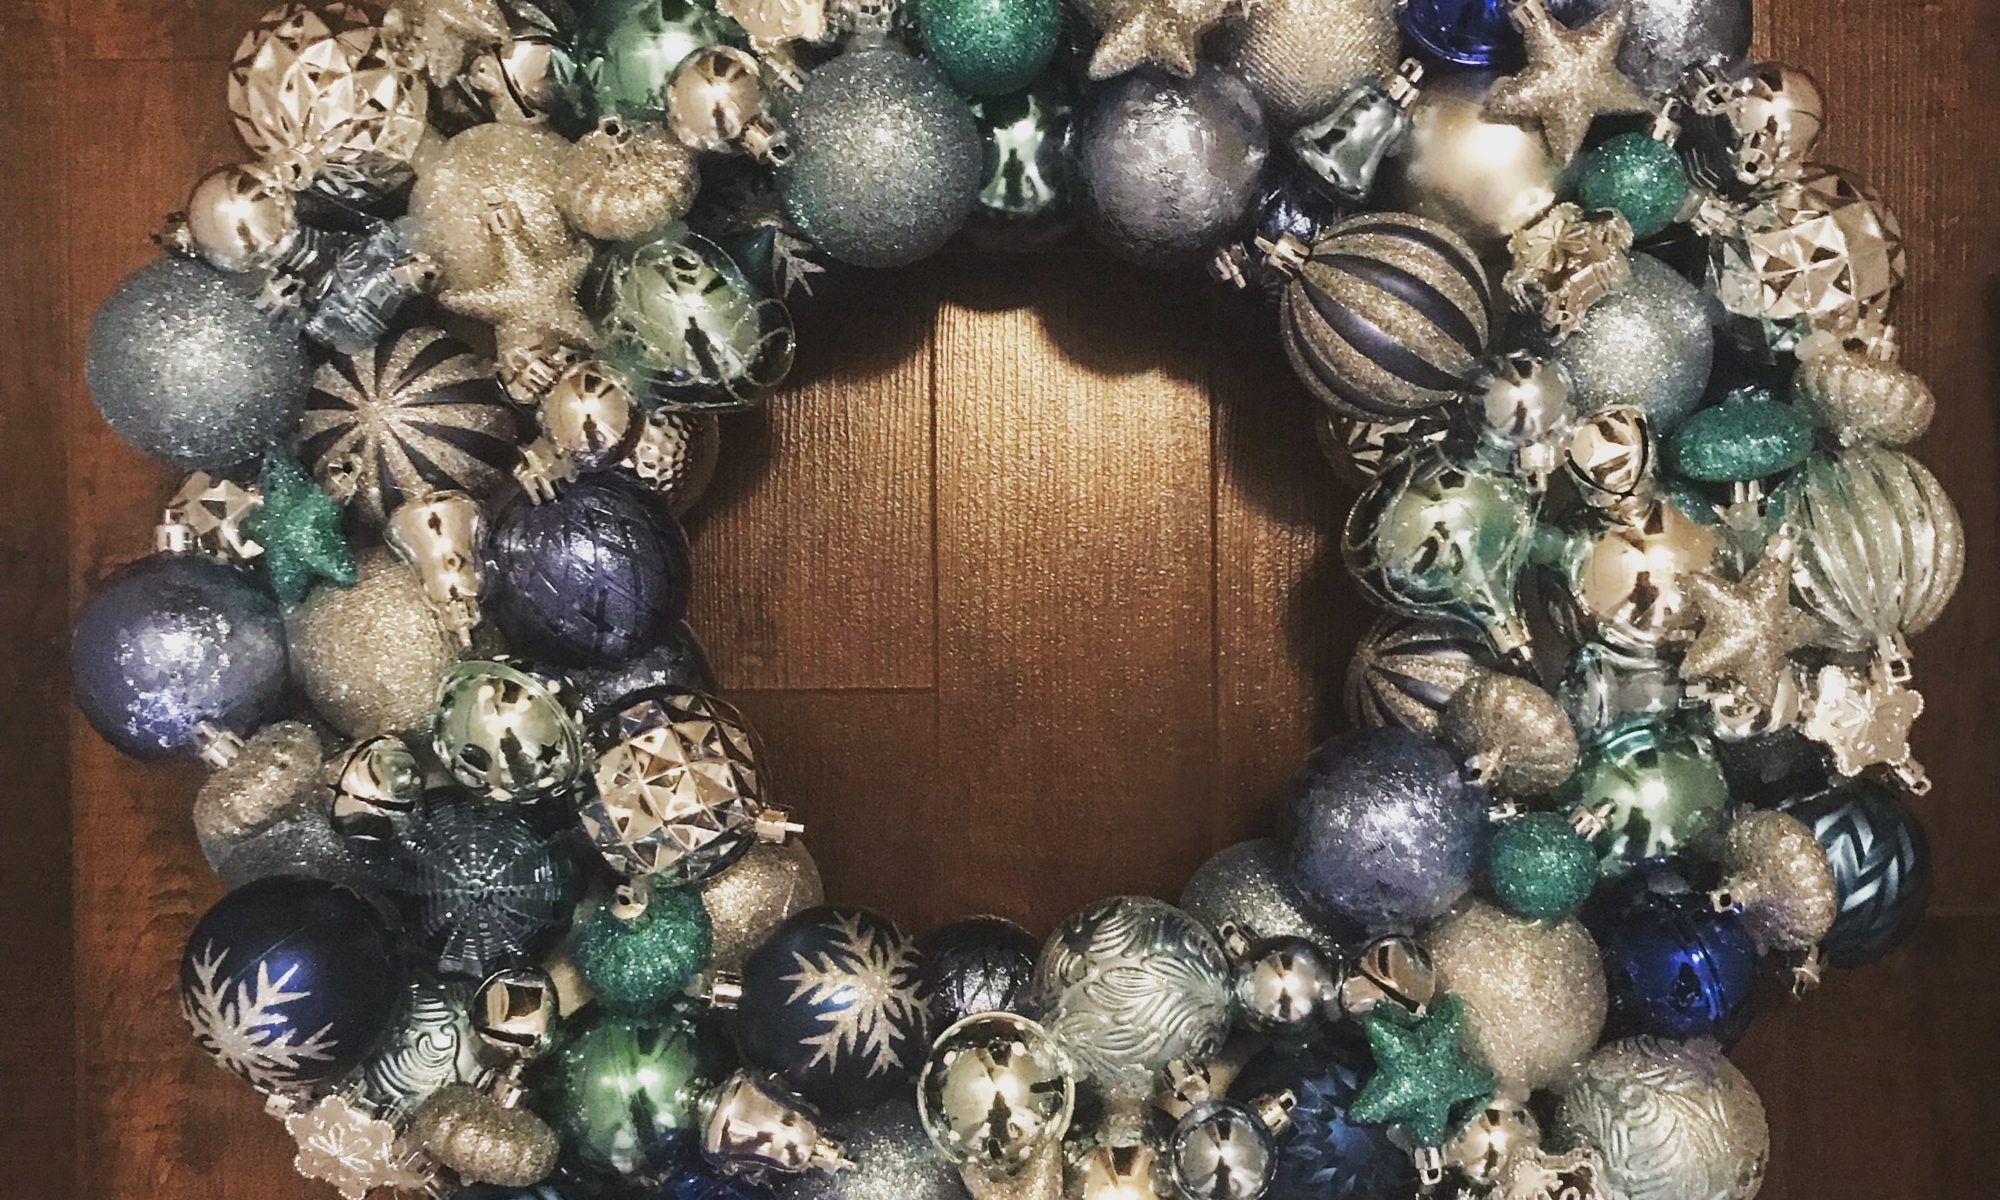
The holidays are in full-swing, which means I am suffering minor burns from my glue gun pretty much daily. Few things make me more excited than wreath-making though, so it’s all worth it.
I’ve made this wreath a number of times in a few color combinations, mostly reds with silver and/or gold. The first bulb wreath I made is currently hanging on my front door. Sure, I’ve glued a few bulbs back in place over the years, but I’m proud to say it’s about 5 years old and going (mostly) strong.
I purchase foam wreaths from Michael’s when I have a 50% off coupon because these things are expensive for what they are. I also usually wait for the bulbs to go on clearance because otherwise the cost of this wreath gets really out of hand.
Materials needed for this tutorial:
- Foam wreath
- Glue gun with many, many glue sticks
- Regular plastic bulbs
- Small plastic bulbs, bells, etc for filler
The stem on plastic bulbs typically comes off pretty easily, which is convenient because for the base layer on this wreath you’re going to need to take the stems off in order to puncture the foam and glue the bulbs in place.
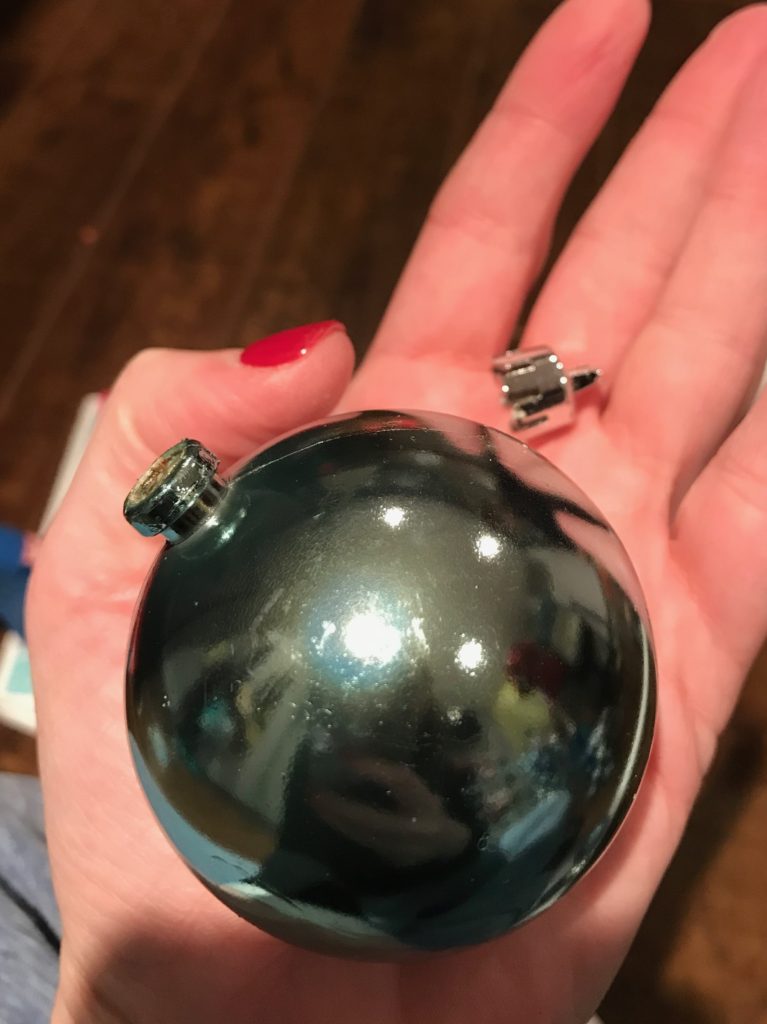
I take stems off as I go, that way I don’t remove too many. Often times the plastic stems break as they are coming off so I can’t count on them going back on nicely (if at all).
Next I heat up my glue gun. I use a mini glue gun because I find the size really comfortable for prolonged use. That said, I go through mini glue sticks like it’s nobody’s business. A tremendous amount of glue is used in the making of this wreath.
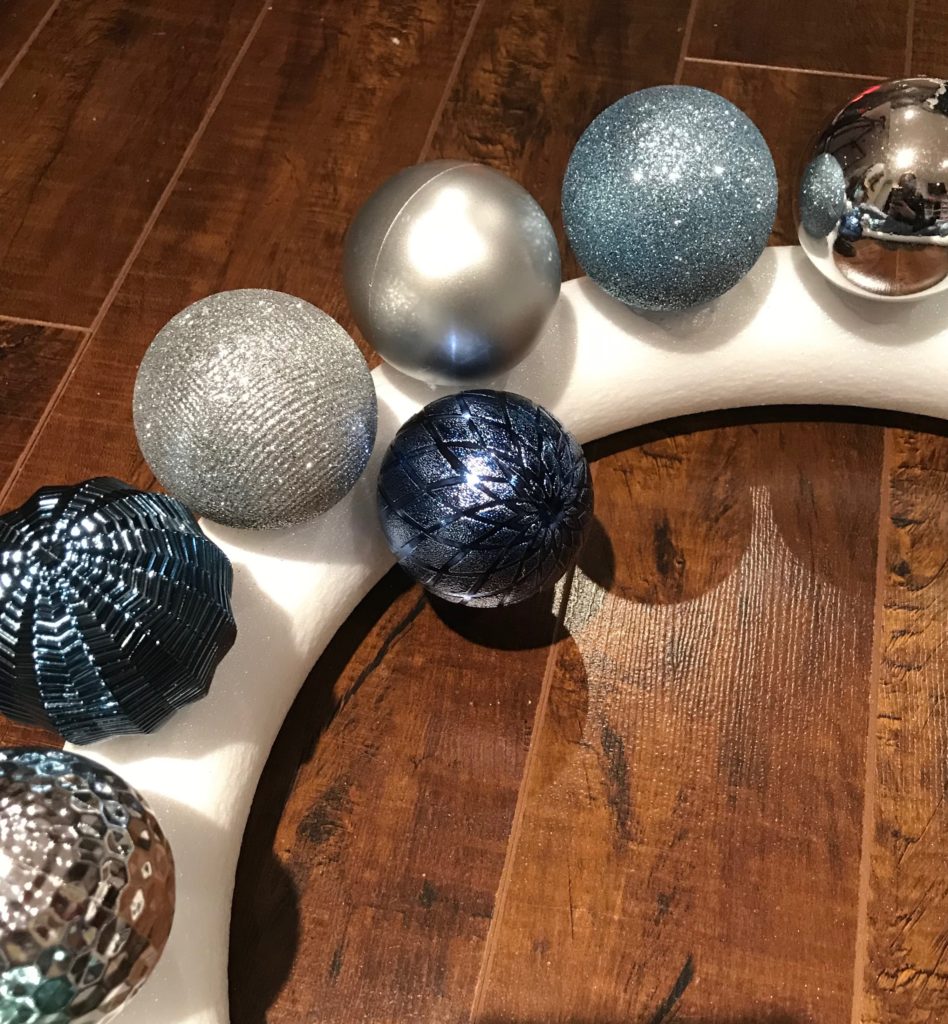
With the wreath laying flat on the floor I take a bulb that has the silver stem removed and puncture the foam. I do this to essentially make a pocket for the glue.
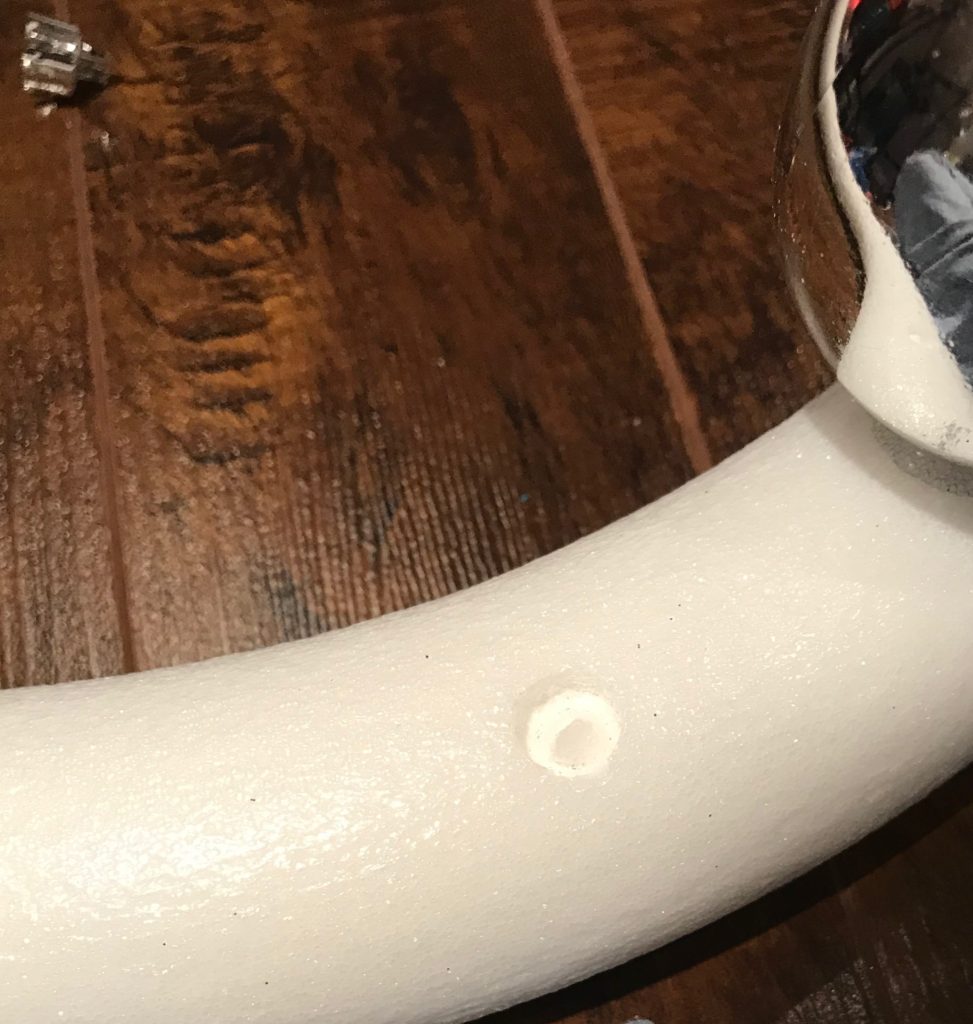
Next you can either fill the hole up with hot glue or you can put glue directly on the bulb before you push it in. I’ve not noticed a difference in either technique.
I leave a small gap between each bulb as I continue to add bulbs to the face of the wreath.
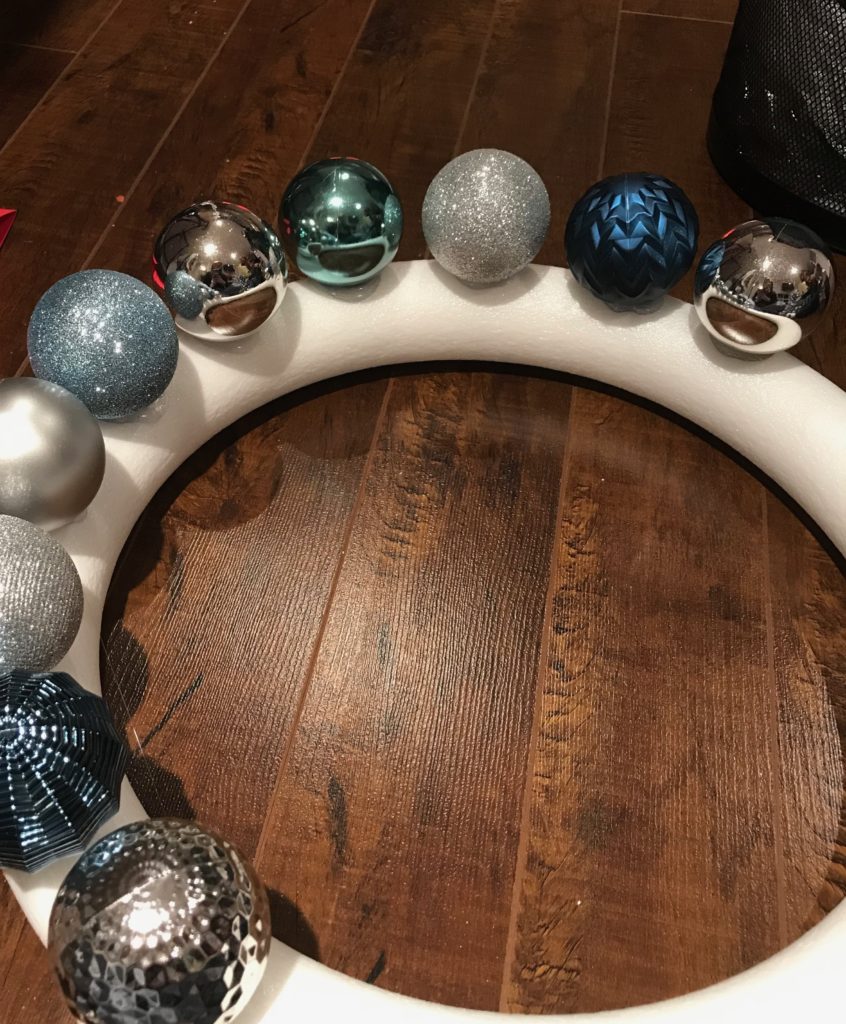
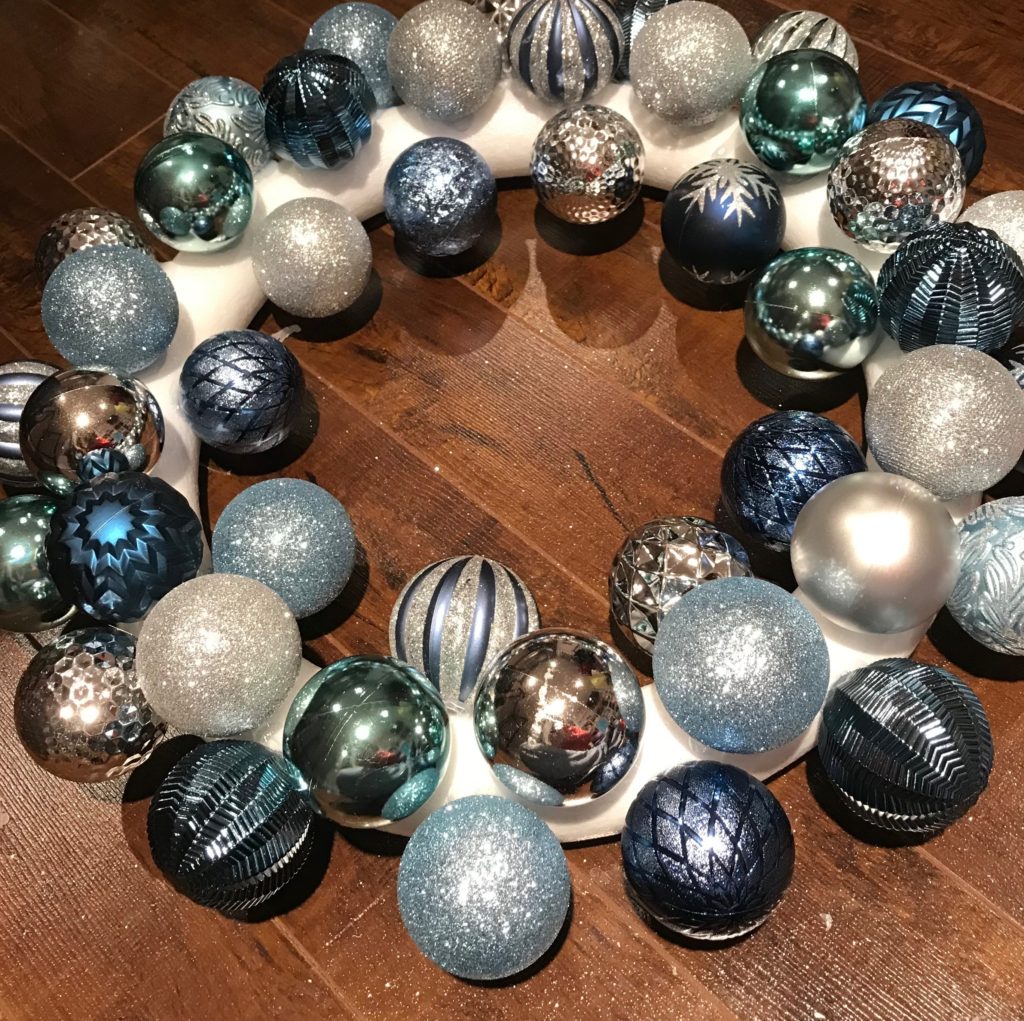
I do the entire face of the wreath, then I start the inside and outside rings. It’s important to be careful when you are doing this next step because you want the wreath to lay flat on your door, so if your bulbs are placed too low around the sides of the wreath it simply won’t lay flat. I very slightly angle the inner and outer bulbs upward.
I do my best to stagger the bulbs along the sides, however it’s not perfect.

Once the inside ring is done I move to the outside of the wreath. Same process – take off the silver stem, puncture the foam wreath, add glue, push ornament stem back into wreath. Also, the amount of glitter on my floor in this next picture is what nightmares are made of. (Pro tip: dry Swiffer cloths are amazing at cleaning up glitter)
Once you’ve covered the wreath with bulbs you will notice lots of gaps – there’s plenty of foam visible. Not to worry! First I use more regular sized bulbs to fill in space. Once you’ve filled with regular bulbs, you can fill smaller spaces with small bulbs, small ornaments, bells, etc.
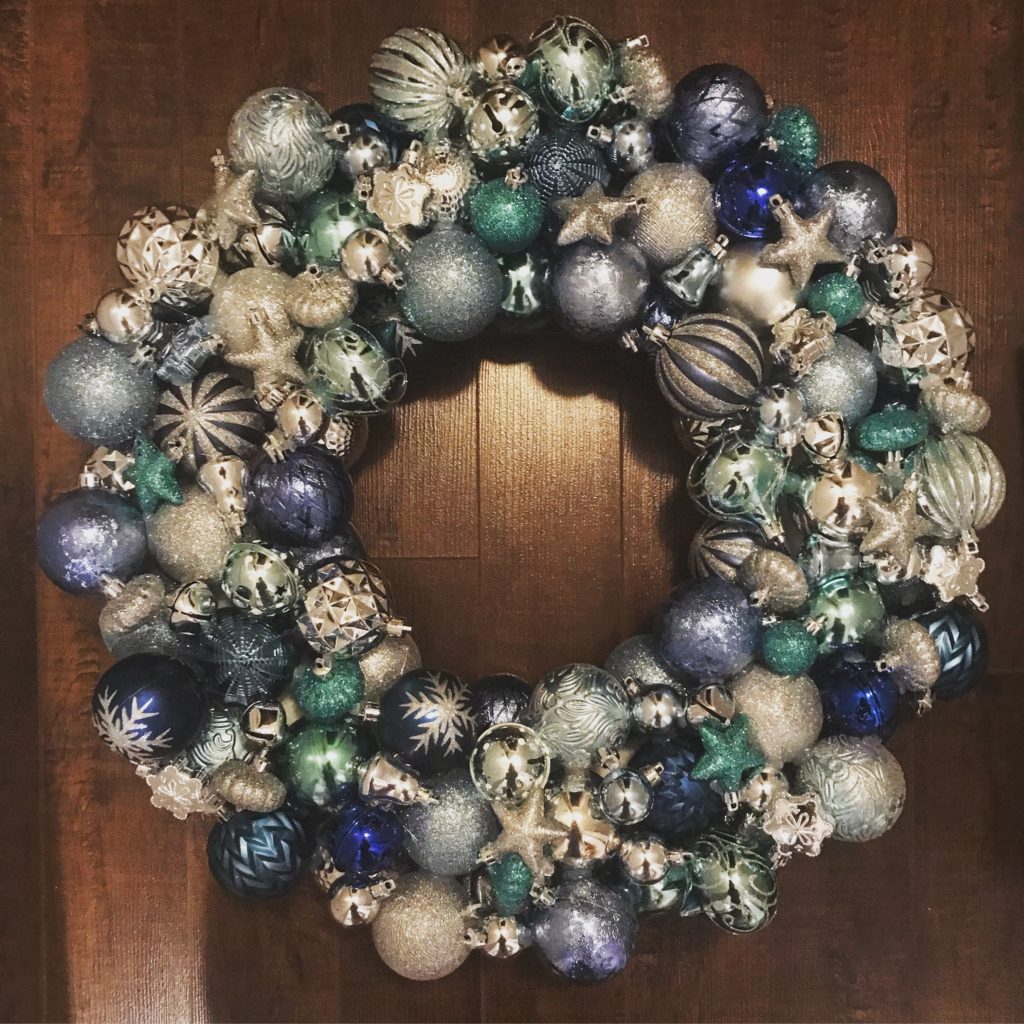
I keep adding small filler ornaments until no more foam is visible. Then I take more glue (!!!) and add wherever it seems necessary. I would rather over-glue than have ornaments falling off every time the door shuts.
When gluing ornaments to other ornaments, I try to glue each item in 3 places. If it’s a star, for example, I want at least 3 pieces of the star to make contact with other bulbs.
This wreath takes me about 2-3 hours to make, but it’s SO worth it. It’s eye-catching and unique, and it can be made with whatever color combo you can dream up! I like to stay away from big contrasts (black and silver, for example) because bulb placement gets really tricky, as you don’t want to be too dark or light in areas. Balance is key. If you add a dark blue ornament to one side, try to add one to the other to balance it out.
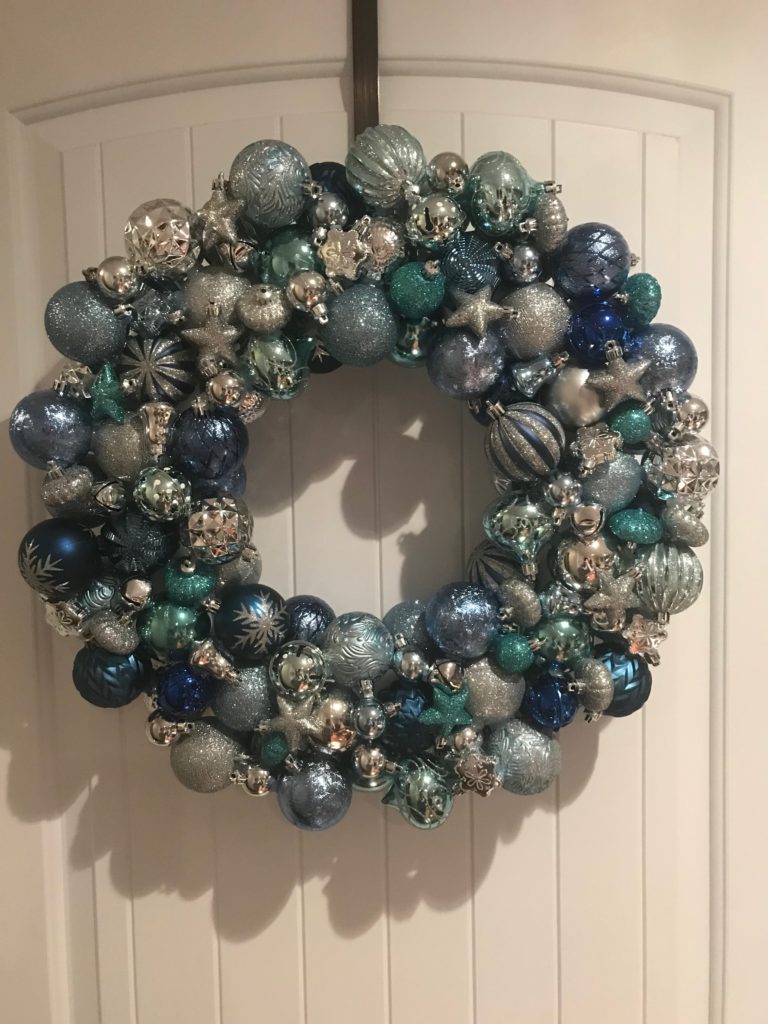
I hope you’ve enjoyed this tutorial. Happy holidays!
Heather