
If you have kids and you live near water you might just have jars and containers full of “sea treasures” lying around your house. Shells, driftwood, seaglass, sand and other randon findings are plentiful around my house – somewhat because of my son, and definitey somewhat because of me!
These findings can be pretty special to kids and parents alike. I am always looking at ways to incorporate our findings into permanent fixtures in our home.
This project is really versatile and can be done with your kids treasures, your own treasures, or for sure any little odds and ends around your house. Think about things like loose buttons, paperclips, scraps of paper. Let their imaginations run a little wild here.
The materials you need for this tutorial are as follows:
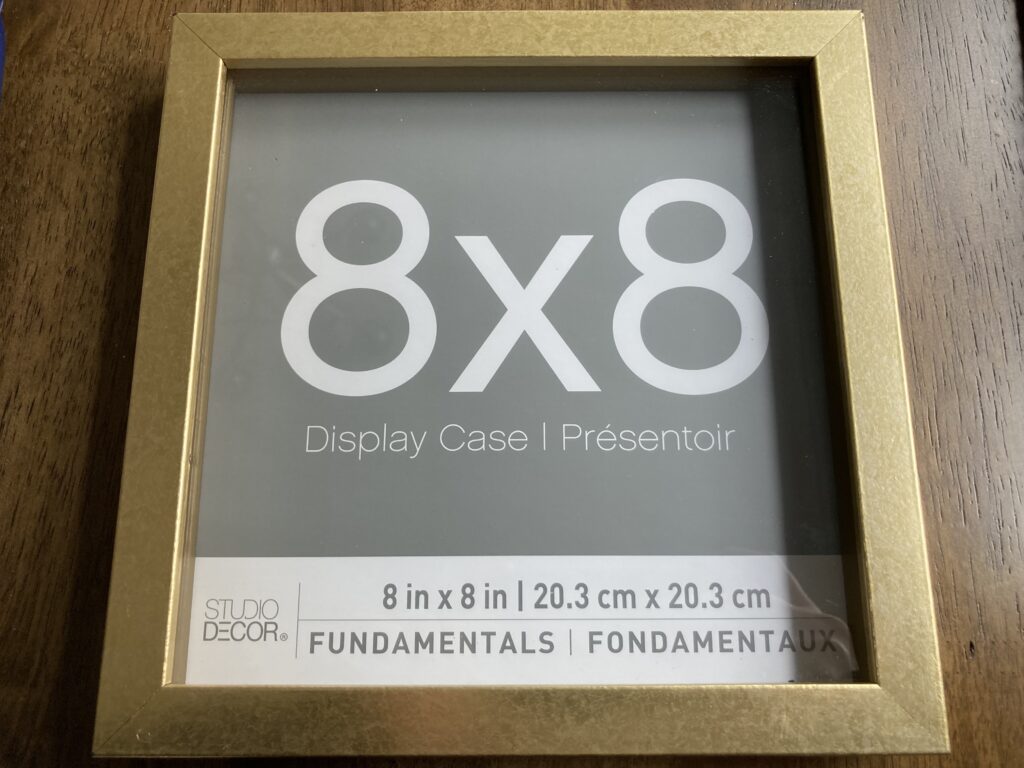
- A shadowbox frame (I use 8X8 primarily but any size will do)
- Cardstock
- E6000 glue (recommend an adult uses this glue, NOT a child)
- Shells, buttons, seaglass or whatever treasures you like (that will fit in the frame)
The shadowboxes I use are from Michaels, and I buy them in packs of 3. I love the gold frames, however you can get silver or woodgrain as well. You can also spraypaint the frames if you had a specific color in mind.
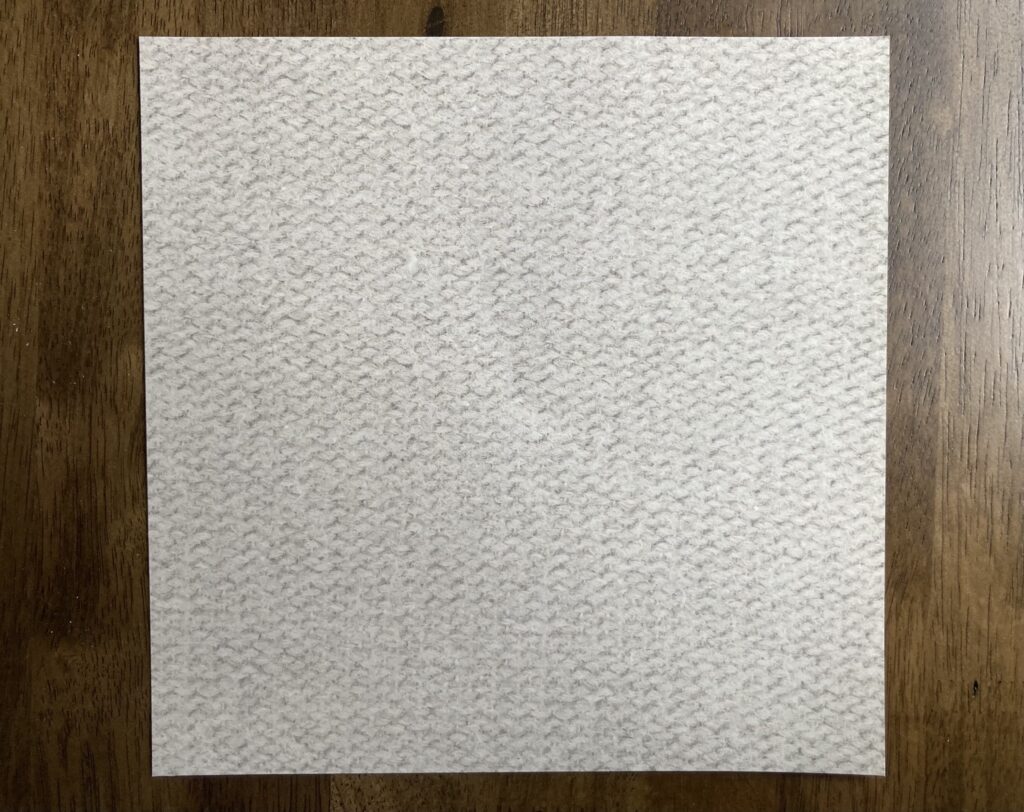
To start, find a piece of cardstock you love. I used to use plain white cardstock, and then I found cardstock that was a little textured and I fell in love. You will want to cut your cardstock to the proper size (to fit inside the shadowbox).
If you’re using seashells, I recommend cleaning them a day or two before attempting this project. To clean shells I use a bleach solution (water and bleach, about 10:1). I soak the shells in the solution overnight. Rinse them with clear water the next day, and lay them on a towel to dry. Ensure your shells are fully dried before attempting to glue them. You can clean seaglass the same way.
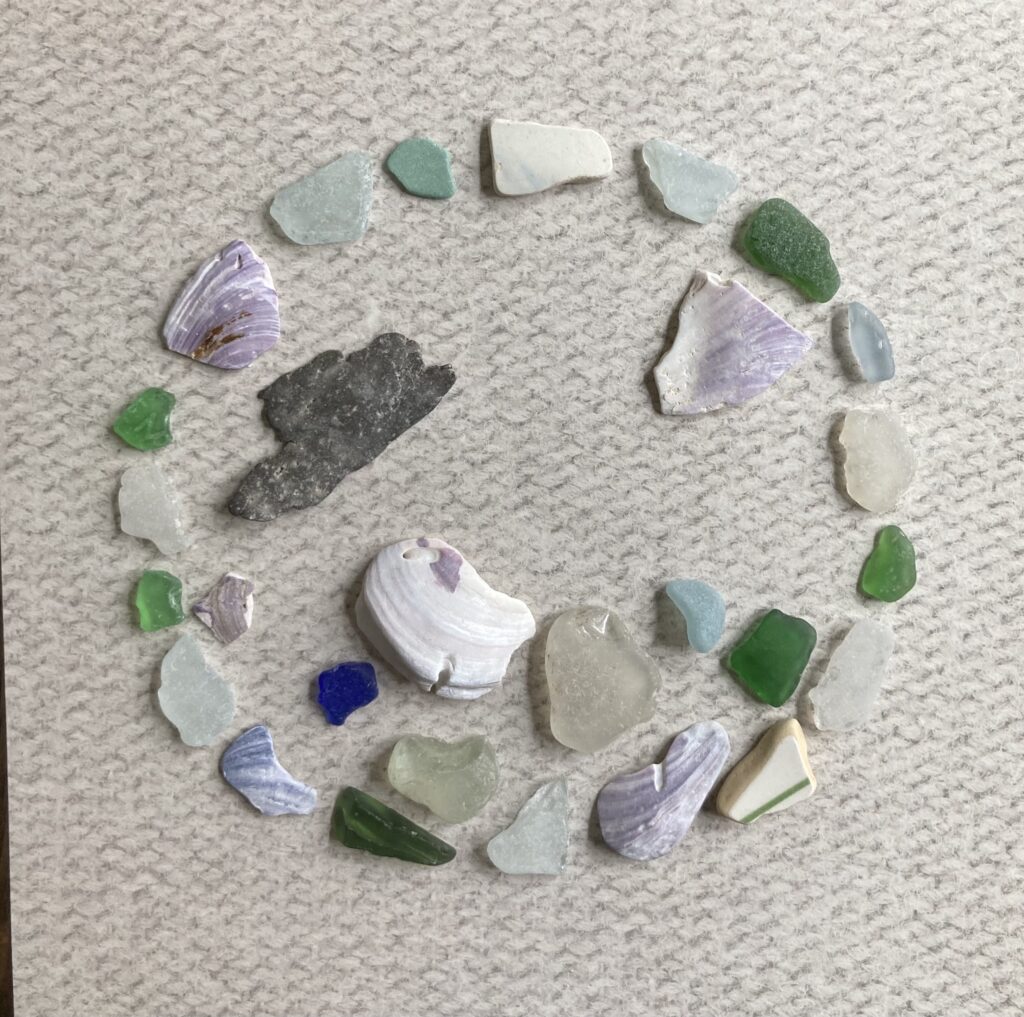
You can make whatever shape you like, however for this tutorial I stuck with a circle.
I start by making a rough outline of the shape using the objects I will later glue in place. Once you’ve made a rough outline, take a photo of it. If you’re happy with the shape in the photo, you’re off to a good start! Adjust as needed.
Once you have the desired outline in place, glue those pieces down using a little E6000. The glue doesn’t dry immediately so you can move it around a little once you’ve laid it in place. But you can also unintentionally move it if you aren’t careful 🙂
Fill in the circle with shells, glass, etc. Keep filling until the circle looks full. Ensure you are balancing colors as you go. You don’t want all white glass on one side, for example. Make sure you’re evenly distributing color.
Once the shape is filled in, it’s time to set it aside to dry. I like to take a book or a piece of cardboard and slide (don’t lift!) the cardstock onto a flat surface to dry. I normally let them dry overnight.
Once the glue is fully set, it’s time to pop your art in the frame. I clean the glass (front and back) so I don’t have to take it apart again later. Pro tip 🙂
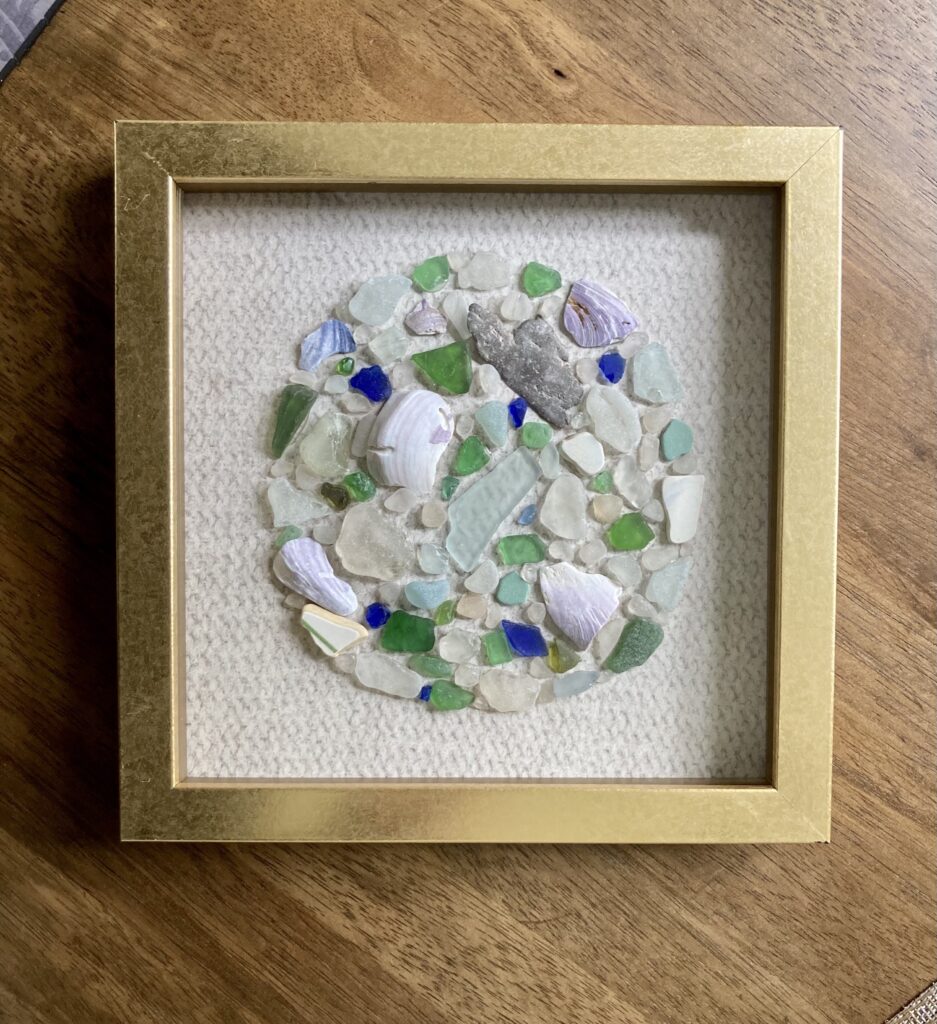
Now your wall art is ready to hang!
PS. They make great housewarming, Christmas, Mother’s Day, etc gifts too!
Thanks for checking out my post today, and happy gluing!
Heather