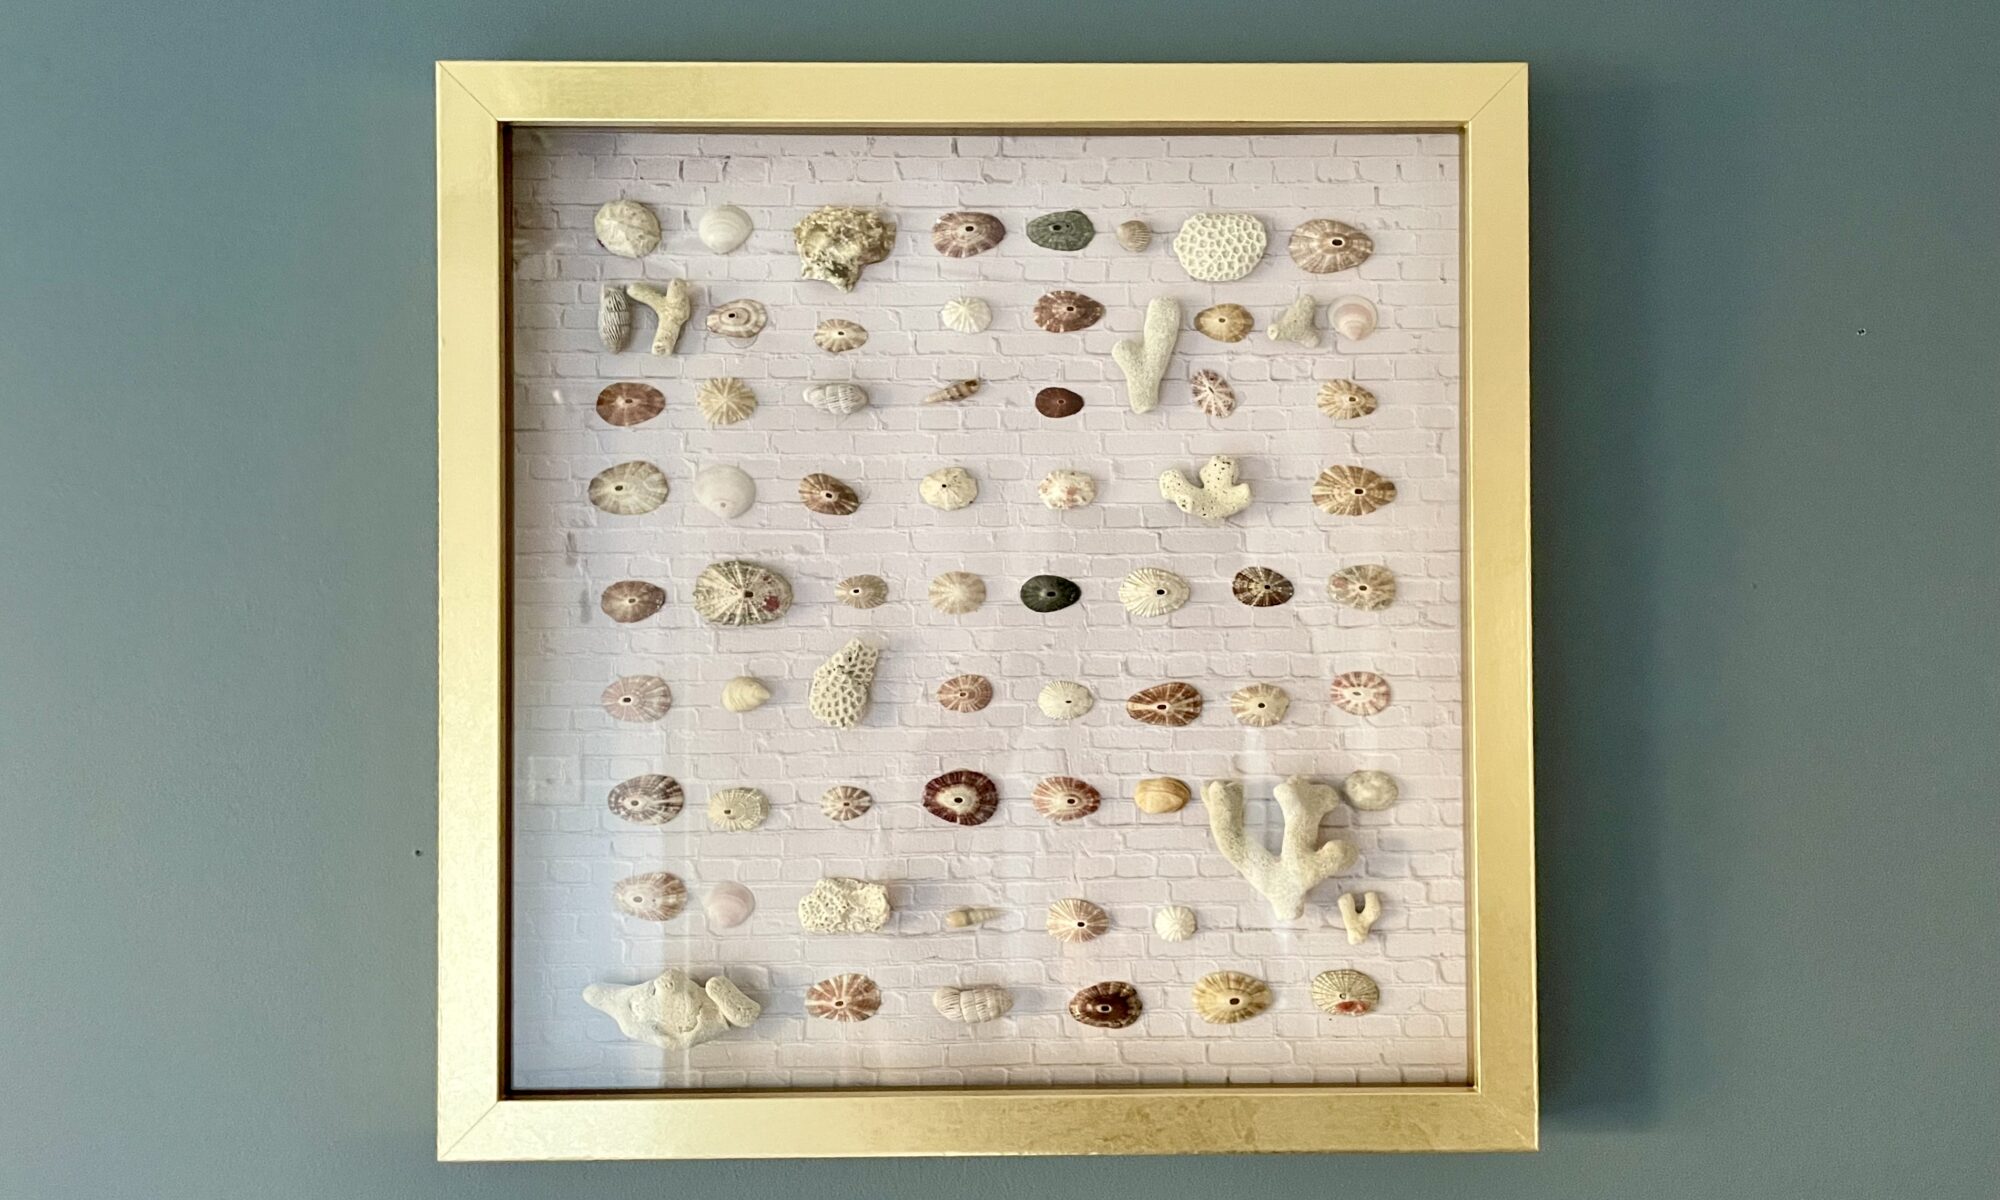
One of the most peaceful hobbies I have is beachcombing. For many years, whenever I’ve been near a beach, I would be found digging for natures treasures, taking shells and other finds home for “future projects”, many of which never really materialized.
In 2020 I began combing beaches for seaglass, which is one of my favorite things in the world to do. Sitting on the beach, often barefoot, with just the sound of the gentle waves rolling in…..heaven!
Recently my partner and I traveled to the Dominican Republic for a week at an all-inclusive resort. We enjoyed walking the coastline every morning, catching the early sun. Of course, we couldn’t resist gathering a few treasures to bring back with us.
Upon our return, I cleaned all of these empty shells and dried up coral with bleach solution, as I do with seaglass. I didn’t soak them long, as bleach can make delicate shells brittle.
This project is fantastic if you have a passion for beachcombing yourself, or if you are looking to utilize special treasures your kids find (or bring back from trips).
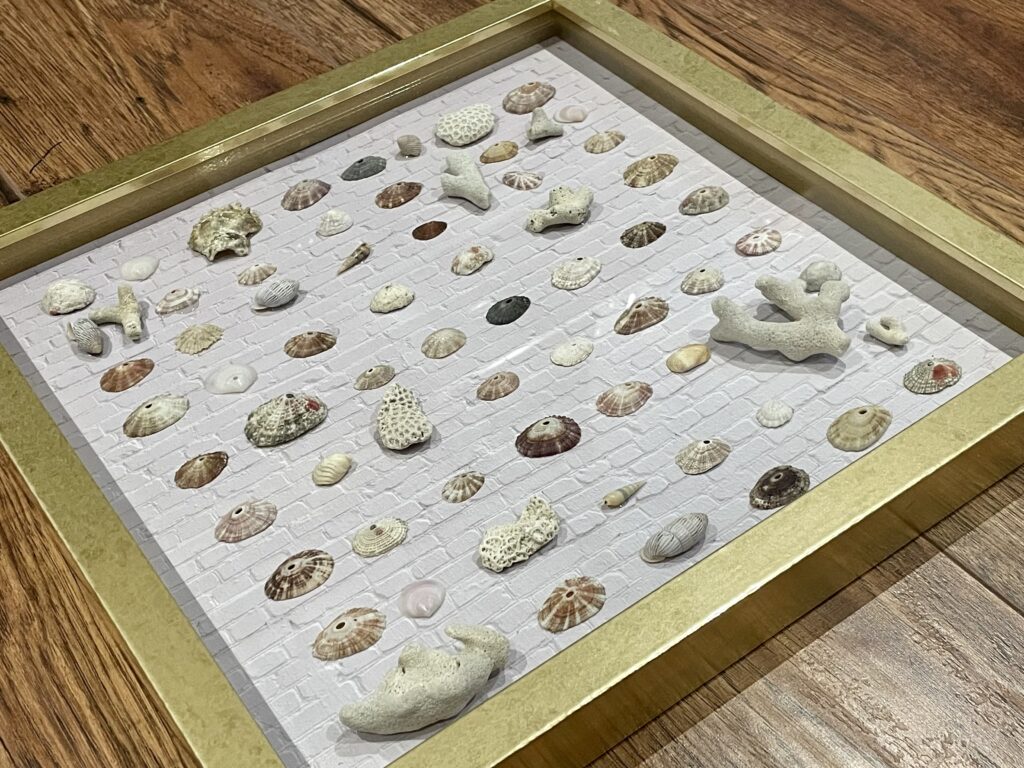
For this tutorial you will need the following:
- A shadowbox frame (I used a 12X12″ frame here)
- E6000 glue
- Clean, dry treasures
- Cardstock (I used a 12X12 piece to fit the frame)
I love lightly-patterned cardstock, however you can use plain.
Depending on the size of your shadowbox, you may need to cut your cardstock to fit. I use a Fiskars paper cutter to get a nice, even cut. Make sure to cut your cardstock *before* you start gluing items onto the page.
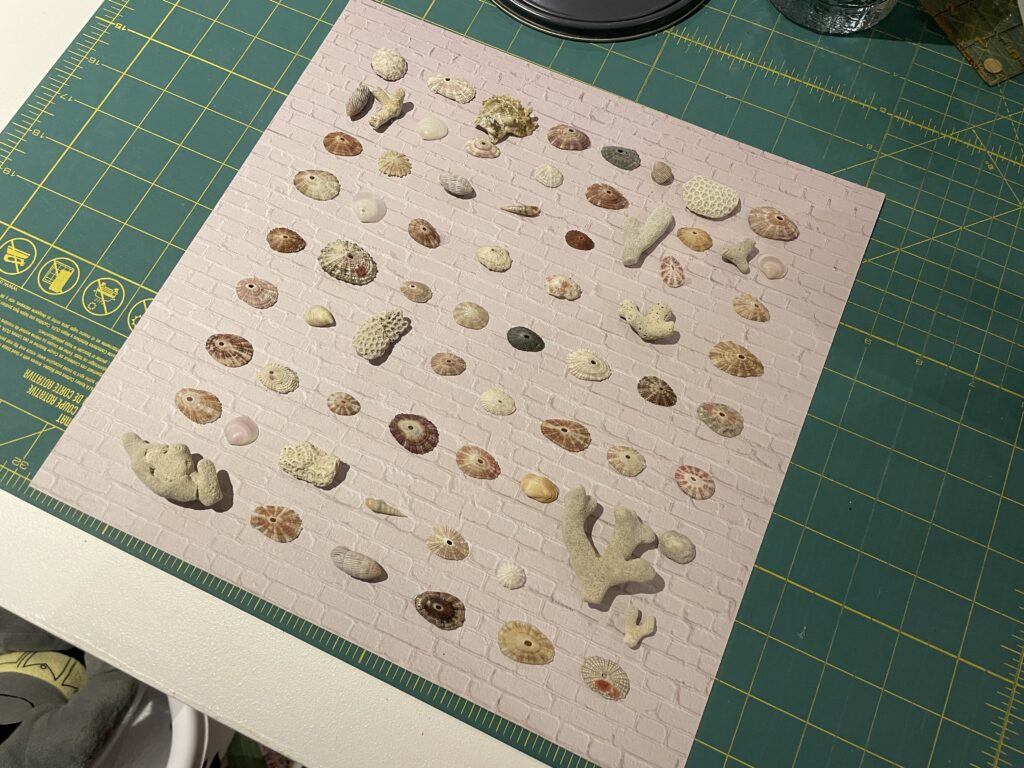
First you will plan out the placement of your items. I recommend that you work 1-2 inches in from the border of your page. Gently place your treasures on the sheet, but don’t glue them down just yet. You may want to adjust them as you go. Try to balance colors (ie. dark and light) and larger pieces to bring an aspect of symmetry to your art.
When you’re happy with the placement of the treasures, pick each one up individually and place a little E6000 adhesive on the underside, and replace it on the paper. E6000 doesn’t dry immediately, so you have time to make small adjustments. Also be mindful that if you accidentally nudge the treasures, they will likely move.
Once you’ve glued all of your treasures in place, I recommend *not moving the cardstock* until the treasures have had a chance to dry. Dry time is a few hours, but I typically leave them for about 24 hours before framing.
To frame, take the glass pane out of the shadowbox and give it a good clean with glass cleaner, front and back. Frames normally aren’t totally clean when you get them from the store, so don’t skip this step.
Pop your art in your shadowbox and, voila!
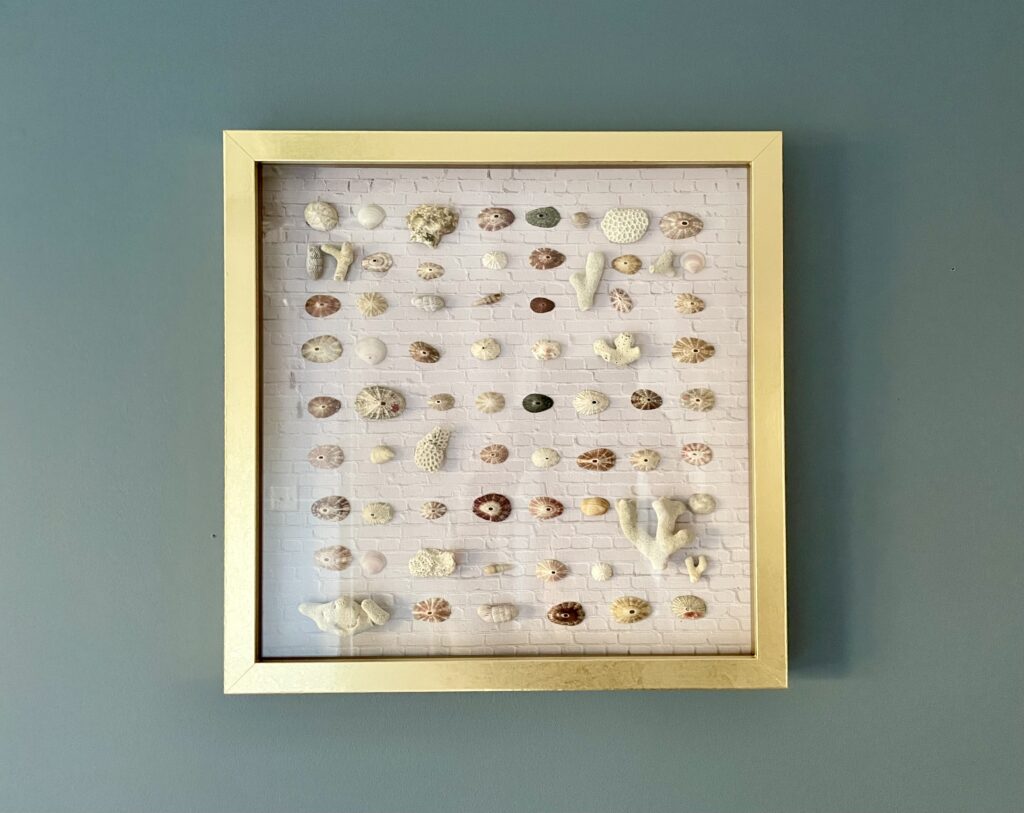
Every time I look at this piece, I will remember that relaxing and wonderful trip to the Dominican Republic. This makes a great gift for your travel partner as well!
Thanks for stopping by to check out my post today!
Heather
