
In July I moved into a new-to-me home, which has brought on a lot of opportunities to get creative. I’ve been spending my time painting and making new decor like throw pillows and, now, a wall hanging!
I kept seeing these boho style wall hangings and, though they don’t fit my usual styling, they do certainly have a place in my home – my craft room!
This project is fun, easy, and can be done with older children for sure. It’s inexpensive and you can let your imagination really run wild. I’ve seen other additions of flowers, feathers and lace.
My version was quite simple, though I will say I have another in the works that may end up being a bit more elaborate.
Materials needed for this tutorial:
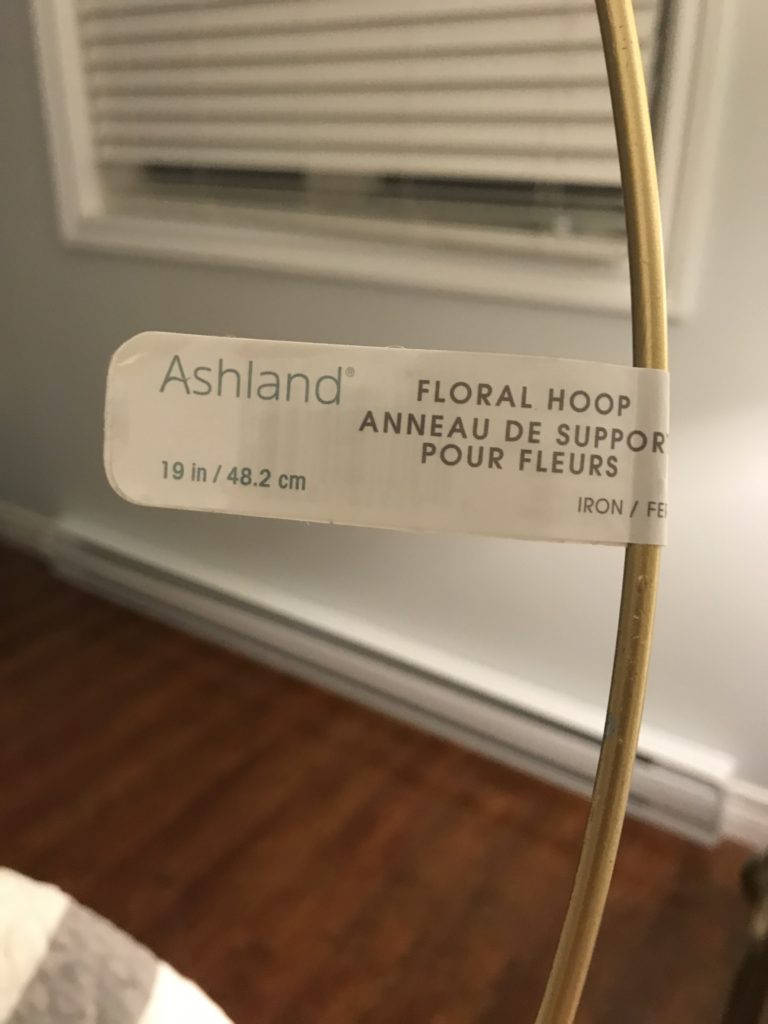
– A hoop (or two)
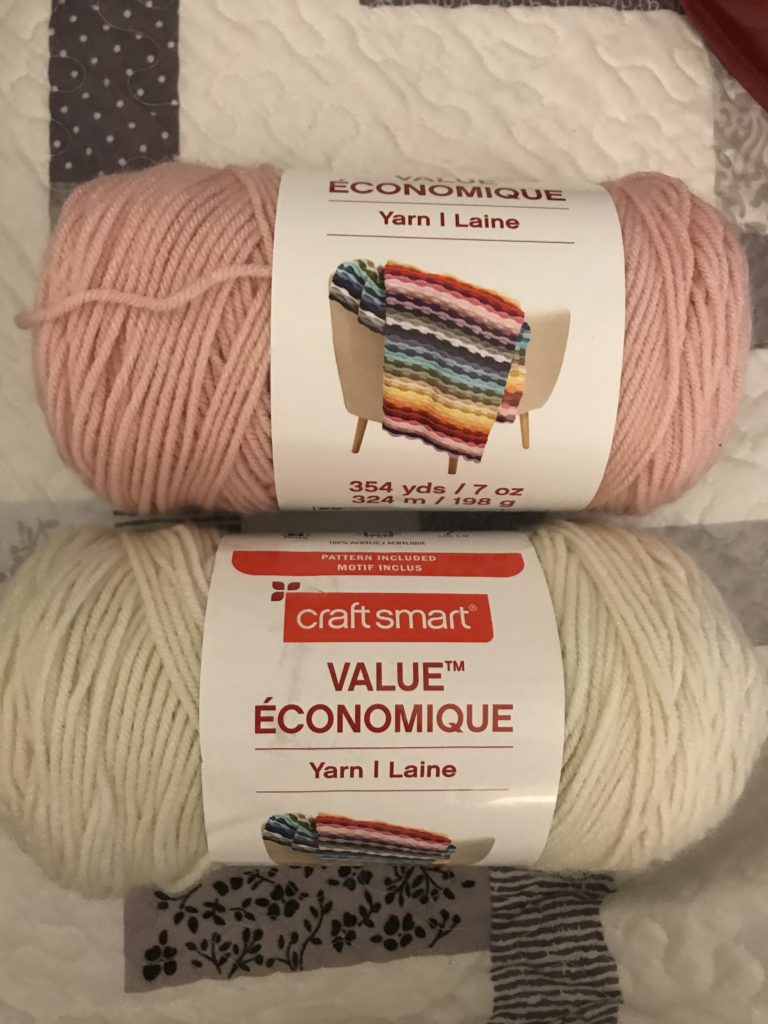
– Various colors of yarn
– Scissors
– Wooden beads
I picked up gold and silver hoops at Michaels for less than $5 each. They had several sizes to choose from, and I wanted to use two hoops for this hanging so I grabbed two different sizes in gold.
I have a stockpile of yarn at home, but I did grab some ivory and blush pink for this piece. I knew I wanted faded pink, purple and ivory, etc. Value yarn works as well as expensive yarn for a project like this. My sewing room is a lavender color so I felt it would match the decor.
I started by cutting pieces of yarn approximately 62″ in length. I knew this would be long and that the strands would need to be cut after assembly, so the exact measurement of each piece is not critical. Just a rough cut at that length.
Once the yarn was cut I hung the hoop on the back of a chair and started adding pieces. I put two strands of yarn together for each loop, but you could easy do 4-5 and it would take even less time.
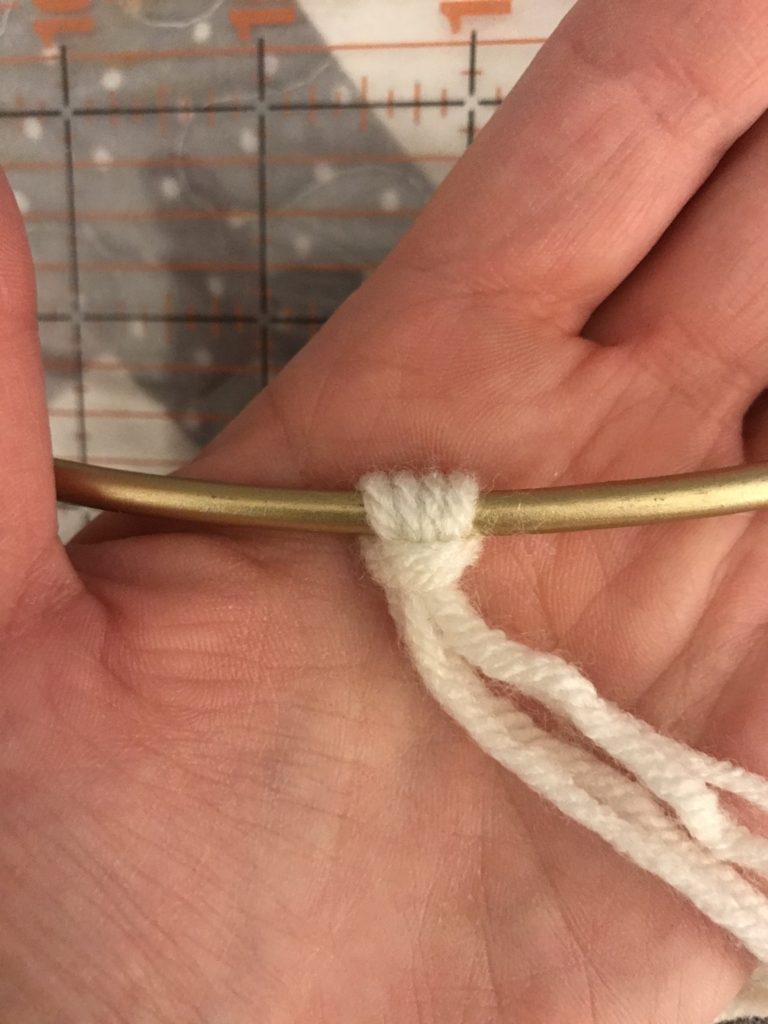
To form the loops, just fold over your two pieces of yarn, holding the folded section at the top. Place over the hoop, pull the yarn through the loop and pull downward. Make sure that you loop the same way every time.
Throughout this project I did add some braided sections. I put about 10-12 pieces of yarn together, looped them as normal, and then proceeded to braid the sections. NOTE: Braiding will make the section shorter, so you may want to cut slightly longer pieces for the braids.
I hung the hoop up, smoothed down all of the pieces, and then decided where to add the beads. I used wooden beads from Wal-Mart , along with a darning needed (not necessary but surely helpful) for threading the yarn through the bead openings. I knotted below where each bead would sit. You could also do entire strings of beads or large pearls. If you don’t like it, take the individual section off and try again. You really can’t go wrong.
Finally I hung the wall hanging and decided how to cut the bottoms. Lots and lots of options but I went diagonal for one, and v-shaped for the other.
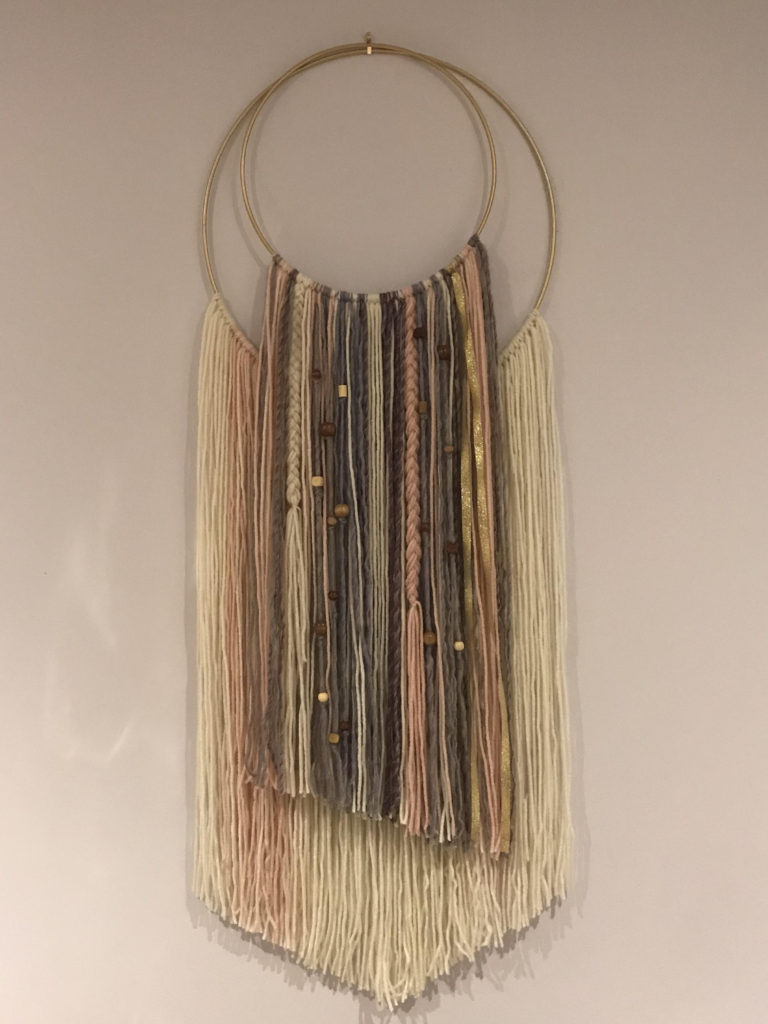
This piece sits on a wall with a lot of locally made artwork I’ve collected over the years, and some artwork I did myself. Simple but pretty, it adds a pop of texture to the wall. Next time I’ll add in lace, more beads and perhaps feathers. For now, I’m enjoying the way the lengths of yarn sway every time I walk past it.
Thanks for checking out my post today!
Heather