
Many years ago I came across a project that has stuck with me since I was about 12 years old. It’s a project I’ve made many times, for my own use as well as gifts, and I’m excited to share this one.
If your child has a special friend or famliy member that they want to do something kind for, this really is sure to be a hit! This project is entirely customizable and takes about an hour to do.
Here are the materials you will need for this project:
- White pillowcase (100% cotton)
- Black Sharpie (permanent)
- Crayola crayons (not the washable variety)
- Wax paper
- Iron
- Cardboard
- Coloring sheet
- Tape
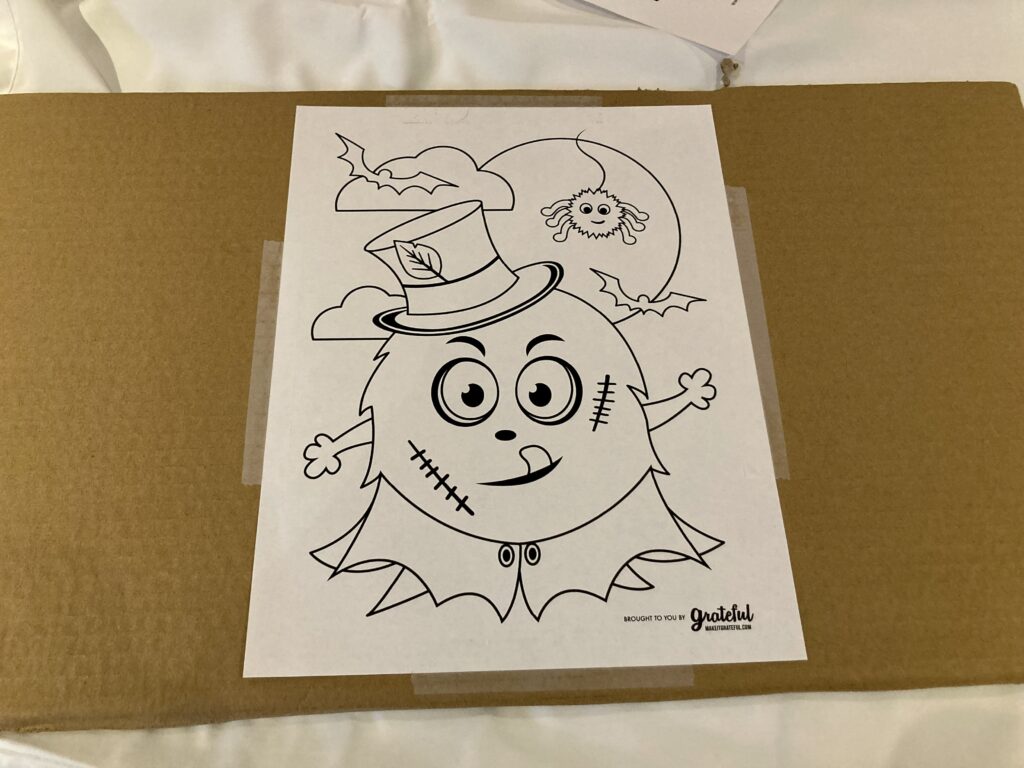
To begin, the child can pick out a coloring page if they wish. You can quite easily print free coloring pages from the internet, or perhaps they already have a coloring book to select an image from. If they prefer to free-hand, that works too. For lettering I suggest using block letters as they can be colored in.
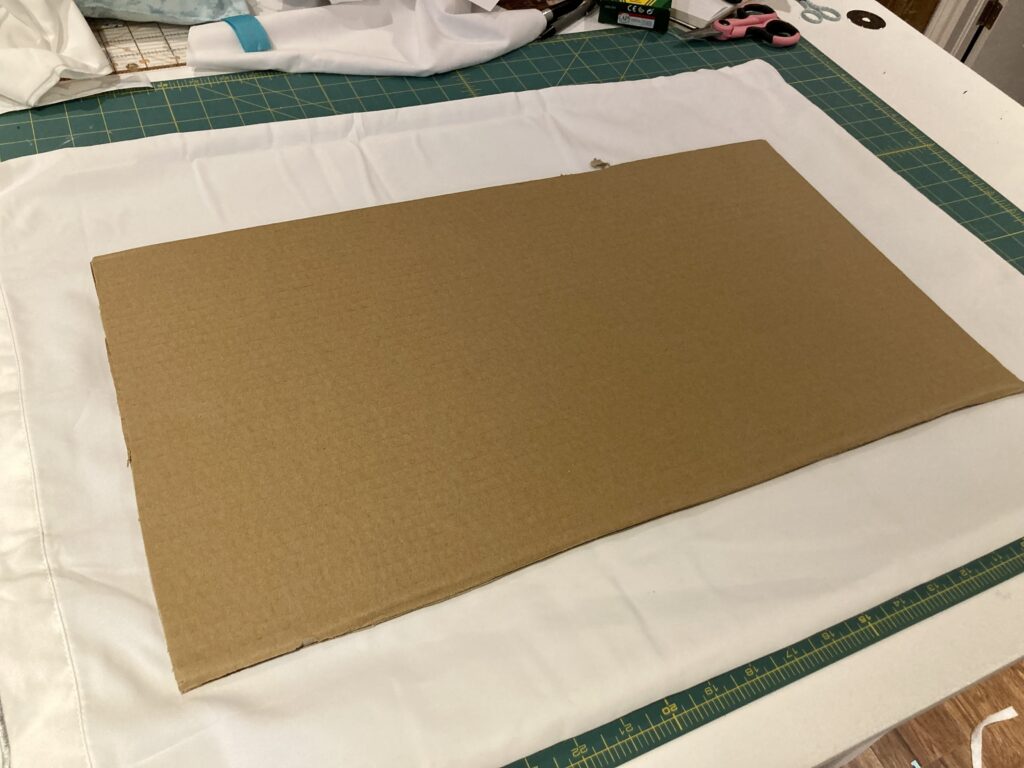
I start by ironing the pillowcase to get all the wrinkles out. Next you need a piece of cardboard that will fit inside the pillowcase, and the cardboard must be at least as large as the coloring page (or the drawing area). You need the cardboard to prevent the ink from running through to the opposite side of the pillowcase. And hey, if your kiddo enjoys this project they just might want to decorate both sides!
The next step is optional but I do find it very helpful. I tape the coloring sheet to the cardboard. This prevents the page from shifting as the image is traced.
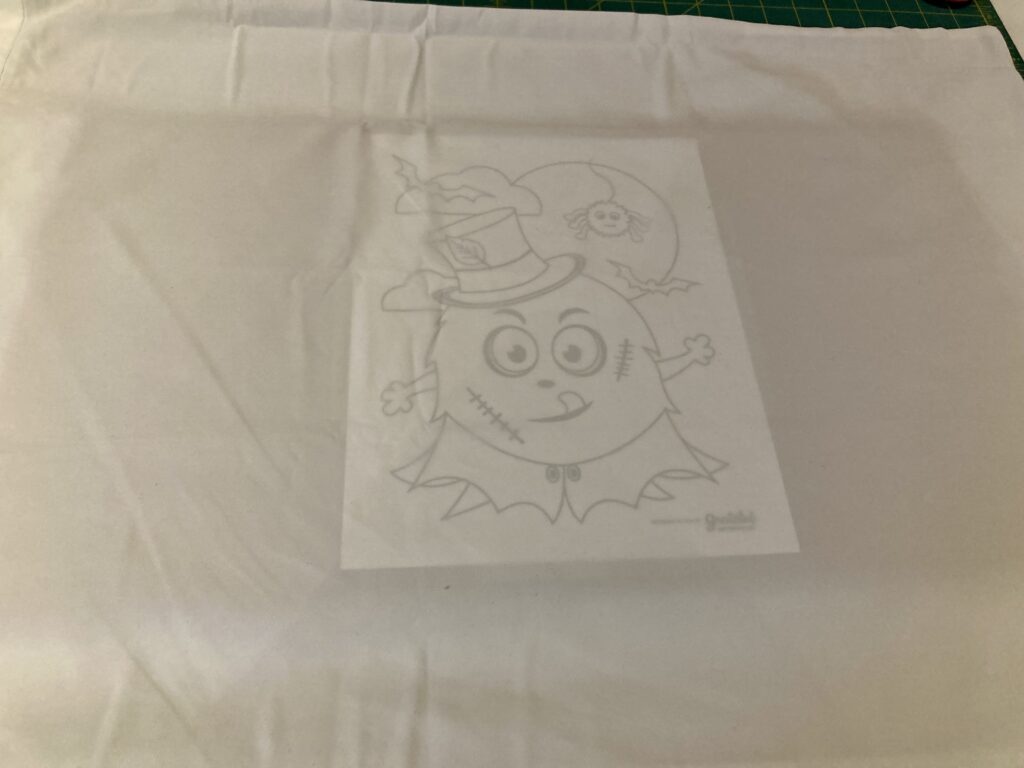
The next step may require adult supervision, depending on the child and their age. You will tuck the cardboard (with coloring sheet attached) inside the pillowcase. You should be able to see the outline of the image through the pillowcase.
Next you will take the black Sharpie and trace the outline onto the pillowcase. Try not to press too hard as it can lead to “bleeding” ink. If this happens, you can certainly color over it with the crayons.
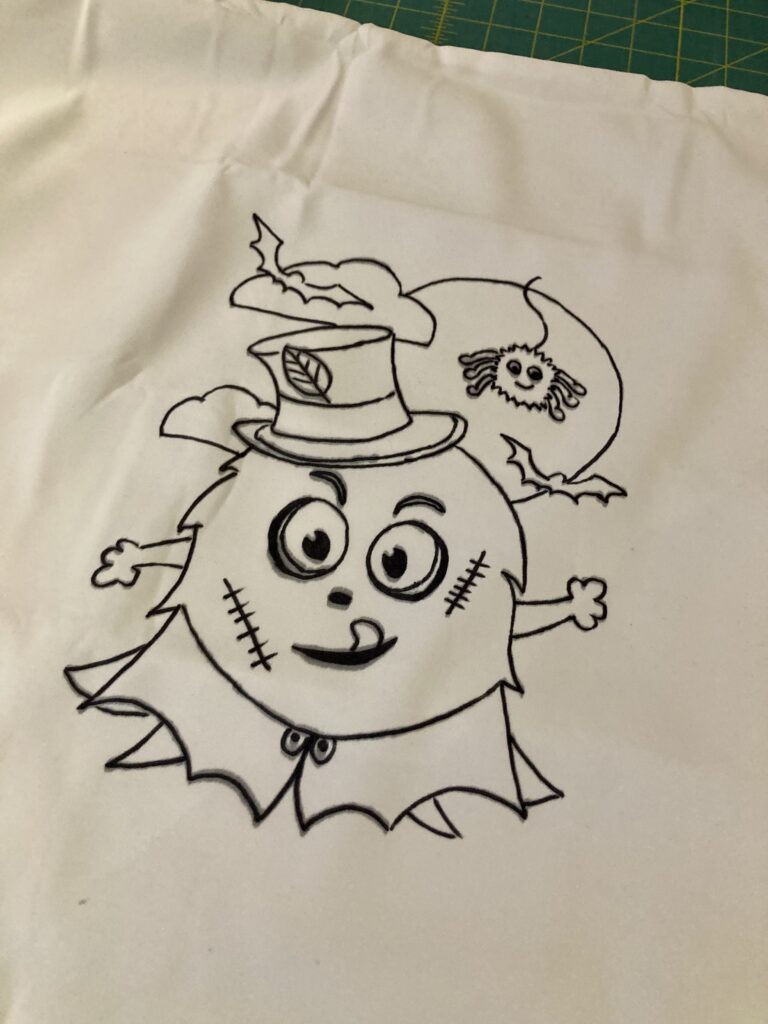
With the image traced out, it’s time to color! I recommend leaving the cardboard inside the pillowcase for this step.
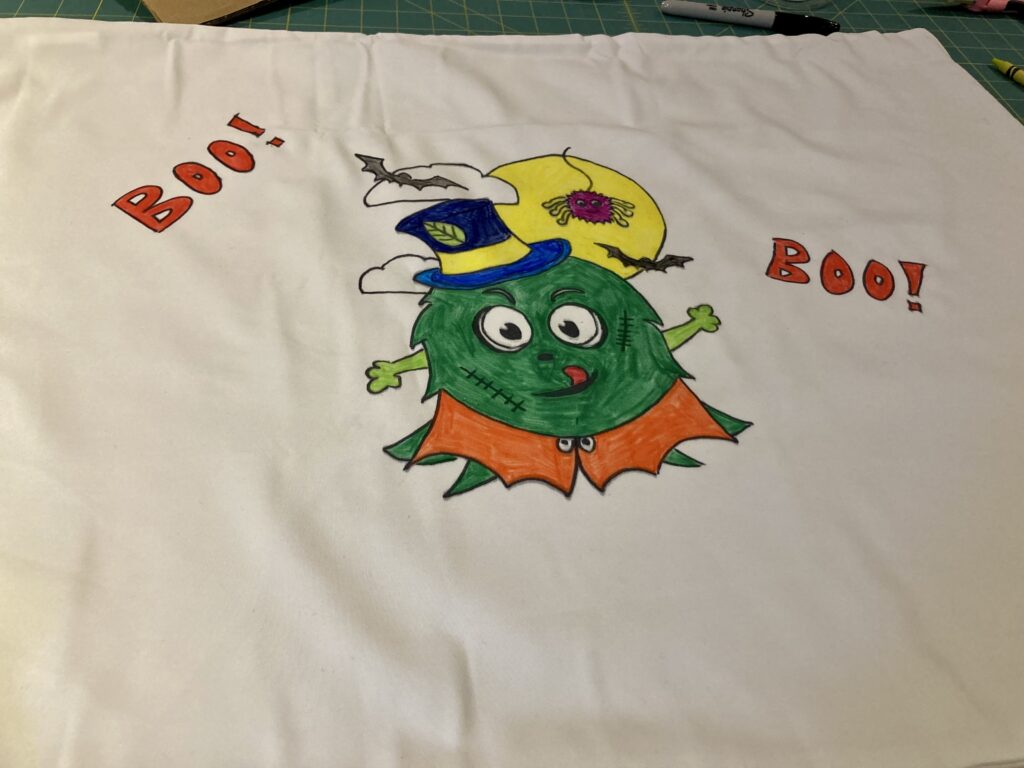
I finished coloring and added a couple of words (freehand, as you can probably tell!) to fill in the pillowcase a bit more. Once all coloring is completed, it’s time to iron!
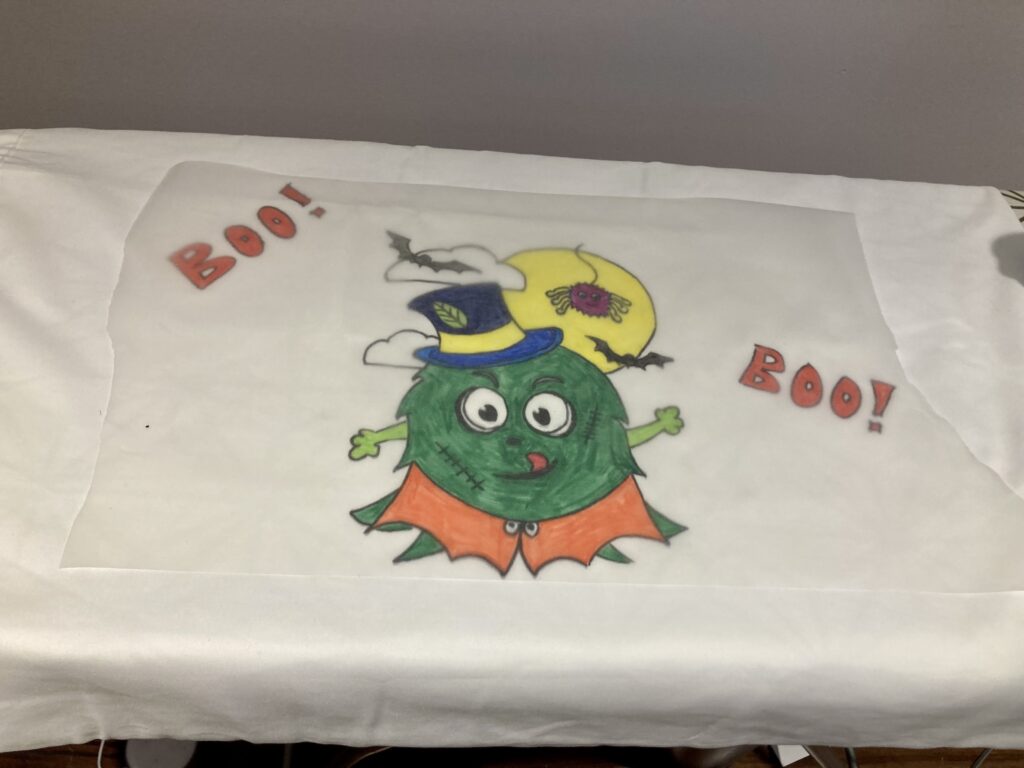
You want to ensure you are placing the wax paper with wax side down (facing the image). As you iron, the wax from the wax paper will transfer onto the pillowcase and help seal in the crayon. If you aren’t certain which side of the wax paper is waxed, scratch your fingernail on each side. The side that shows up white after it’s been scratched is the wax side.
For extra protection, you can repeat that last step and use a second sheet of wax paper. I like to iron slowly and make sure the iron has had time to really seal in the crayon. Do not use the steam setting.
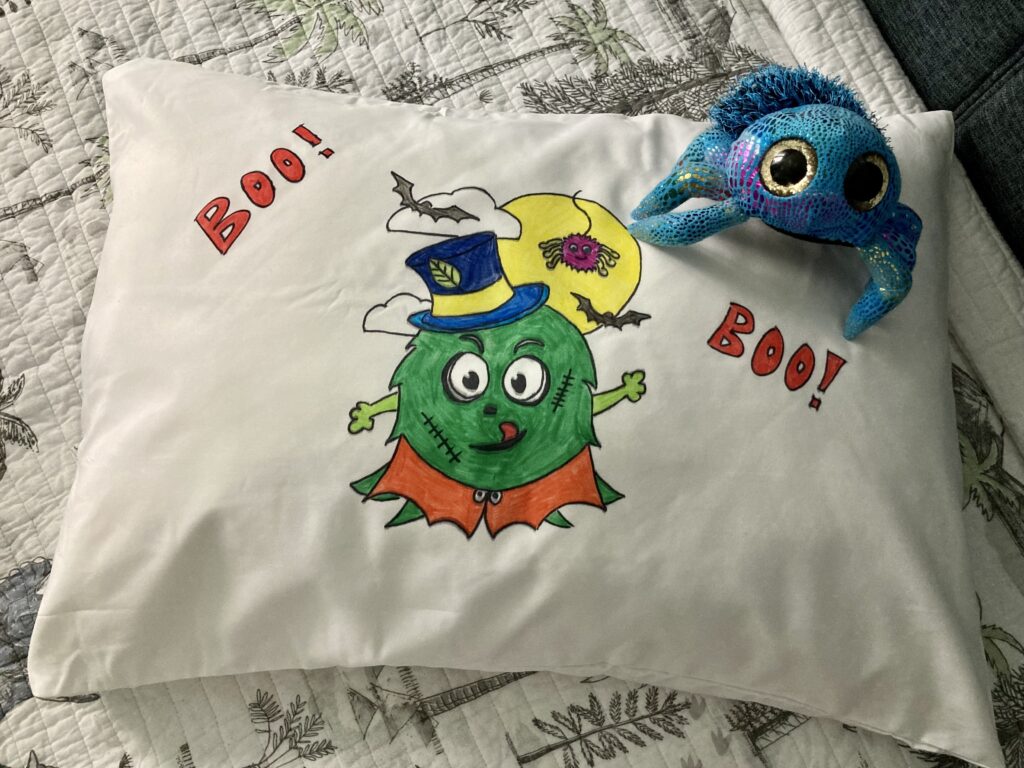
Voila!
This pillowcase should be washable now, though the color will naturally fade over time. The Sharpie won’t, so if you do experience fading you can always break out the crayons and try again!
Thanks for checking out my post today! Happy coloring!
– Heather