
If you live in a cold weather place (which I certainly do), you may be seeing an increase this year in fashionable headwear. Touques seem to be traded this year for ear warmers, and I’m here for it.
A few years back I found a pattern for a cable-knit headband and I absolutely loved it, but I will admit the band wasn’t quite wide enough.
Over the holidays I picked up my knitting needles for the first time in months. I had been looking for a pattern for a knit twisted ear warmer but I was mostly coming across crocheted ear warmers, and I am absolutely terrible at crochet.
I pulled out my measuring tape and began sizing things up. After just a couple of iterations I happily landed on a no-fail pattern. I’ve made this about 15 times now with slight variations in the yarn, and they have all turned out great.
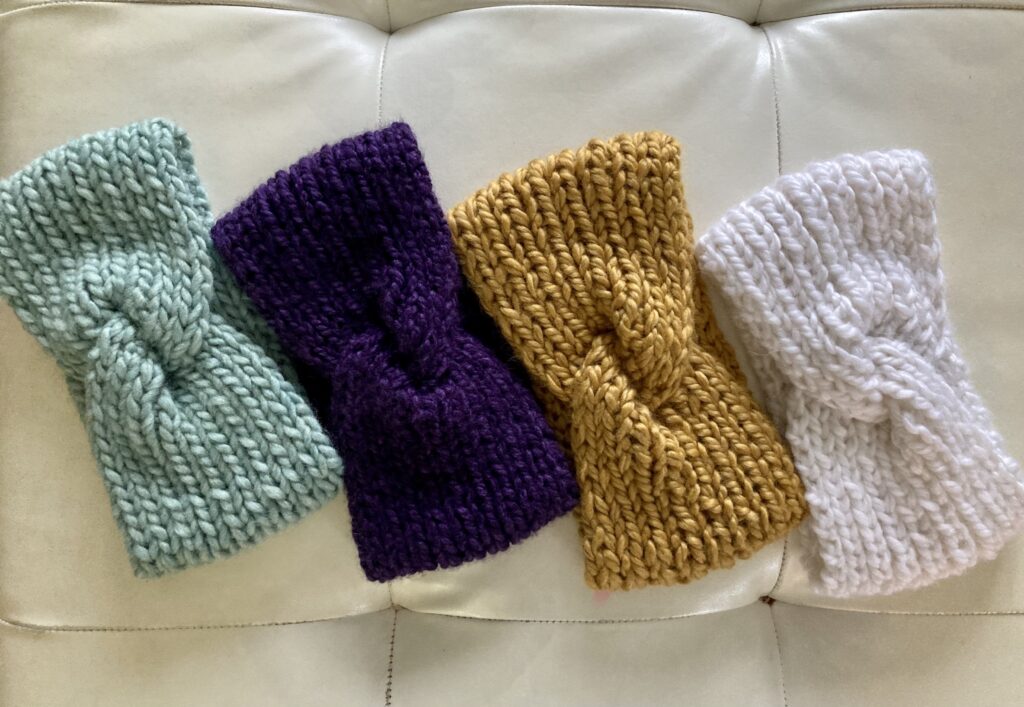
For those who love the look but don’t love to knit, I do have a number of these for sale right now on my Etsy page.
I’ve used a variety of yarn from Michaels, but I tend to enjoy the color variety from Loops & Threads or Lion Brand.
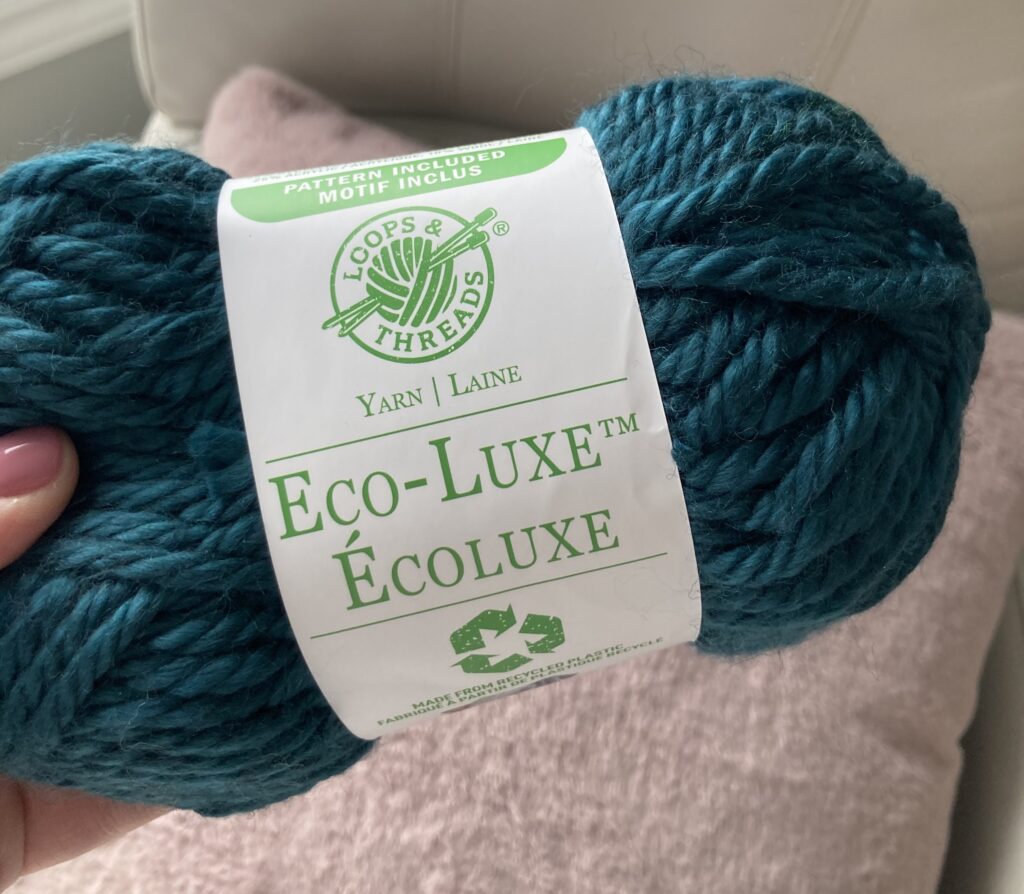
Materials needed for this project:
- 9mm needles
- Super bulky yarn
- Darning needle
- Measuring tape
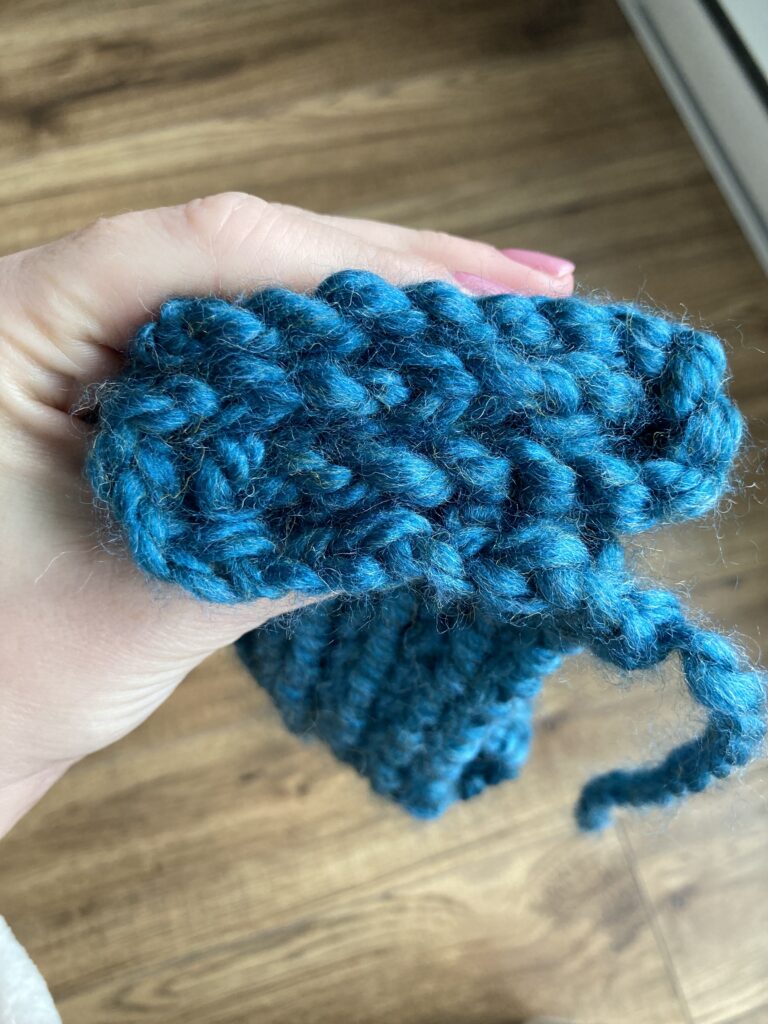
To get started I cast on 18 stitches. Just two stitches form this pattern, the purl (P) and the knit (K). I followed the below pattern:
P1, K1, P1, K1, P1, K1, P1, K1, P1, K1 , P1, K1, P1, K1, P1, K1, P1, K1
Every row you start you will start with a Purl. This creates a ribbed look.
I followed this pattern until the knit fabric reached 20″ long, then I cast off, leaving the tail of yarn about 10″ long. Take your darning needle and thread it with the tail of yard from your cast off.
Next you will want to lay out flat the full rectangle you’ve knit. You are going to fold over the ends of each, with corners all facing up. Next you want to bring all of the corners together, layering them like this:
Ensure you have all corners aligned with the rest of the edges (as they have a tendency to curve away a bit), and knit through the stitches as close to the edge as you can.
Flip the ear warmer right-side-out, and it’s ready to wear!

I’ve been wearing these for the last few weeks on some pretty cold walks and days at the playground with my son, and they have kept me SO toasty warm! The knit is thick yet has lots of stretch.
Thanks for stopping by today and checking out this tutorial.
Heather