With my baby turning 1 year old this month (sniff!!) I am preparing for all things birthday! More to come on his birthday party (in an upcoming post!) but today I am making a diaper cover (or 2) for his cake smash photos.
Thankfully my sister-in-law is a very talented photographer (J.MacPherson Photography….check her out!) and always allows lots of time for Connor’s photos, so we have the opportunity to do outfit changes, which is good because I am usually very indecisive over what he will wear.
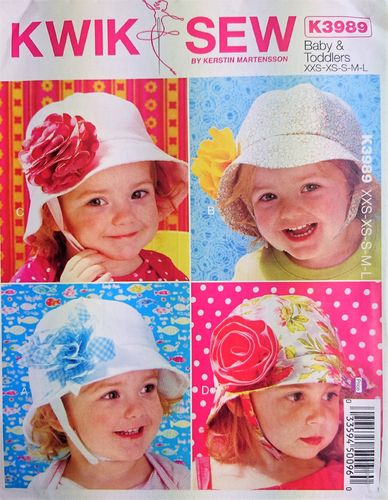
I picked up fabric and a pattern our local Fabricville. The pattern is Kwik Sew (K0102) by Ellie Mae Designs. There are tons and tons of free diaper cover patterns online but I was out shopping anyhow so decided to pick this one up.
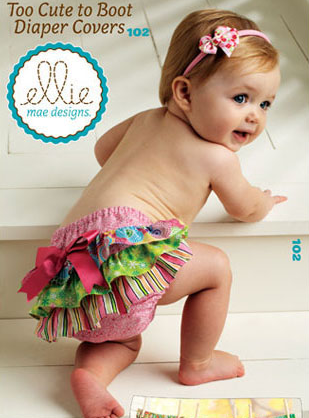
Connor is tall but slender, so I looked at the size chart and went with the XL which is said to be a 12-18m. I made the first diaper cover and felt it was a little snug on him, particularly the elastic around the legs and the waist. So the second time I made it I added an inch to the elastic measurements (legs and waist) and it was a much better fit.
This diaper cover is intended to be made from cotton or broadcloth. In both iterations I used a printed cotton on the outside and a coordinating broadcloth for the liner. In hindsight I didn’t really need a lined diaper cover since it’s only going to be for a photoshoot, but I digress.
At first glance I was extremely pleased to see that you only need to cut out two pattern pieces for this project. You do two piece of your main fabric, two pieces of your liner. You will also cut 3 pieces of elastic.
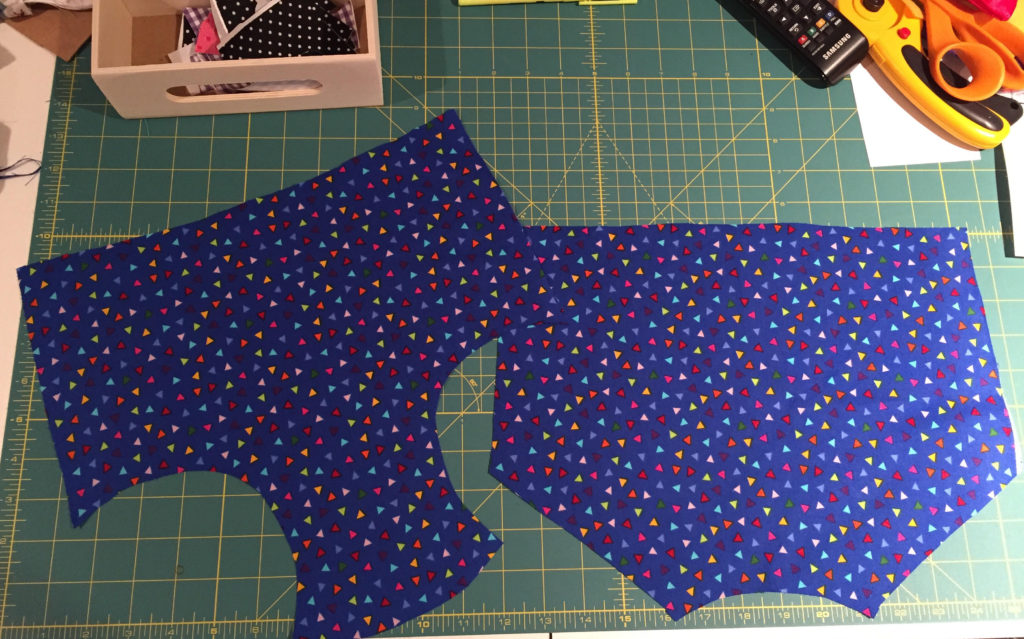
This diaper cover took me about an hour to make, which was more time than expected. A couple of times throughout the pattern you have to turn the entire diaper cover inside-out or right side-out, plus you’re making casing for the elastic, stitching ends of elastic together, etc. Nothing difficult, but these things take a little time.
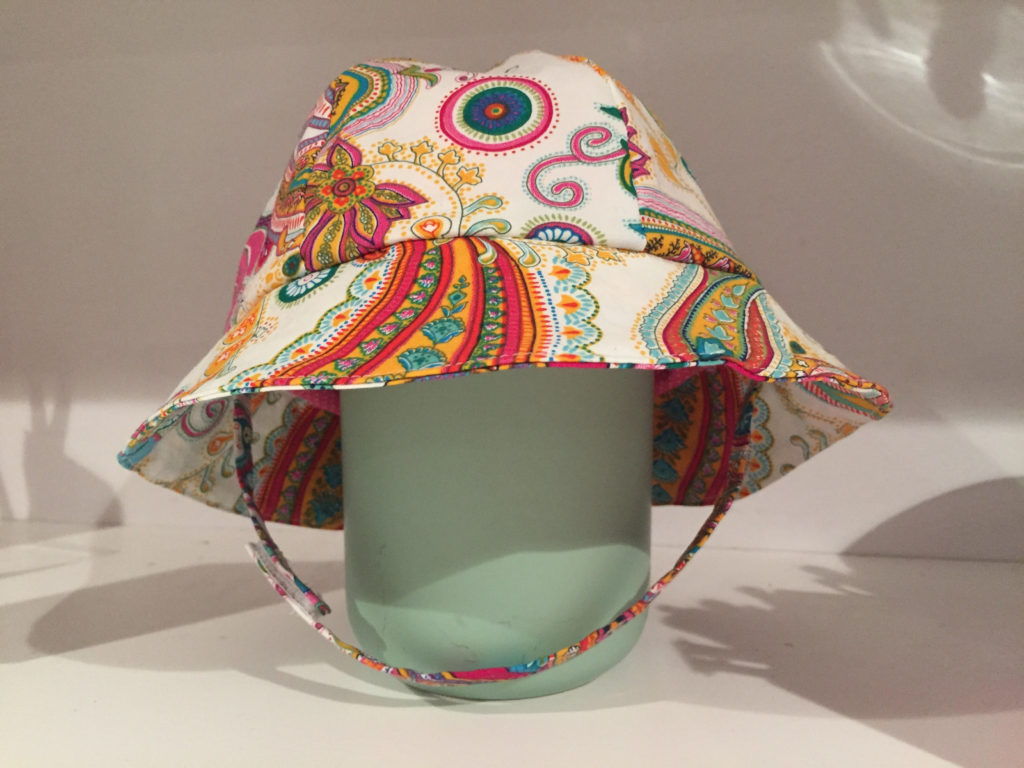
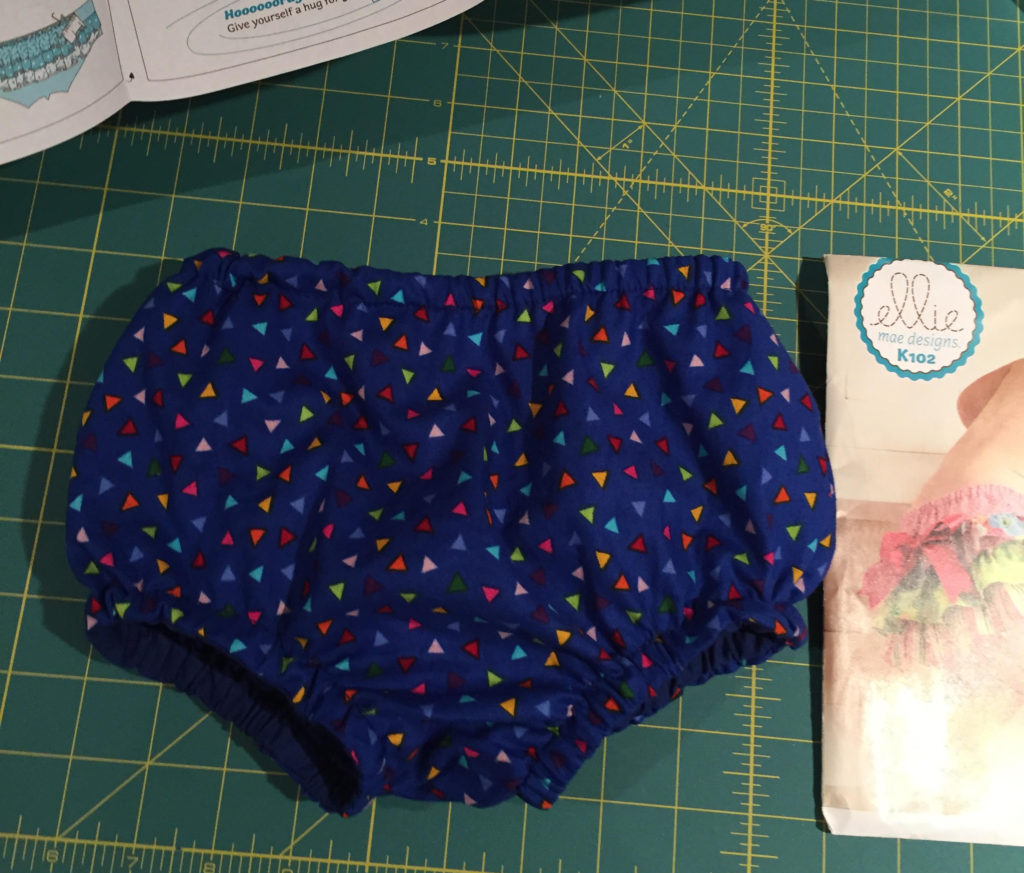
The result of that time and effort, though, is adorable. Here is the first cover I made:
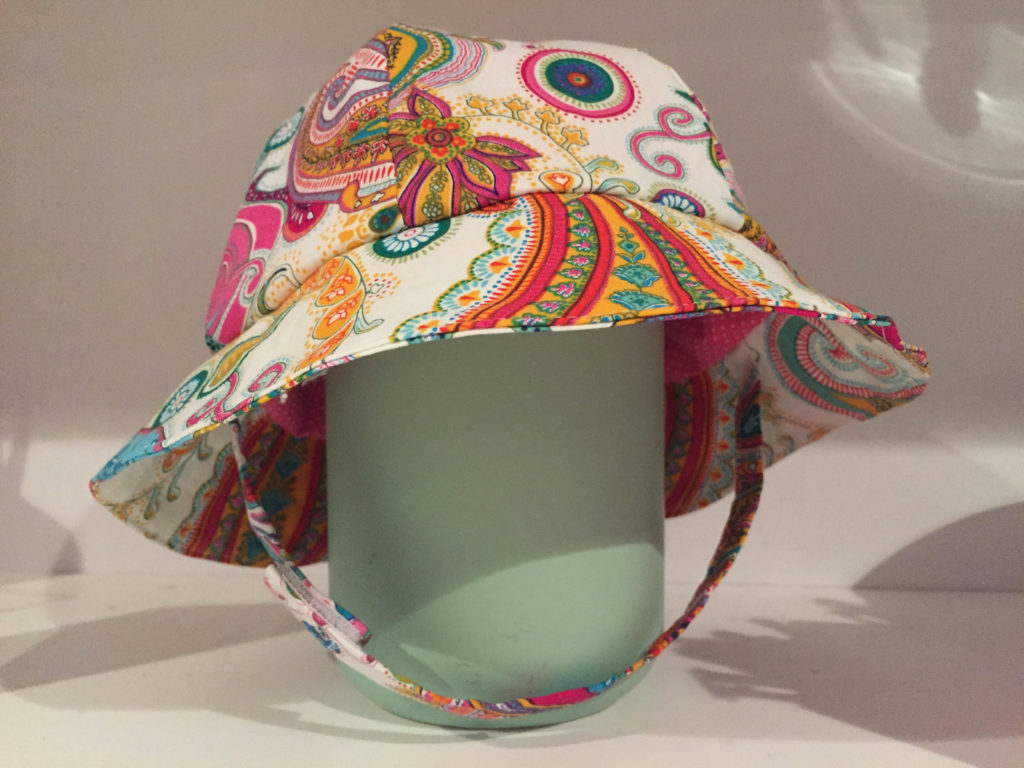
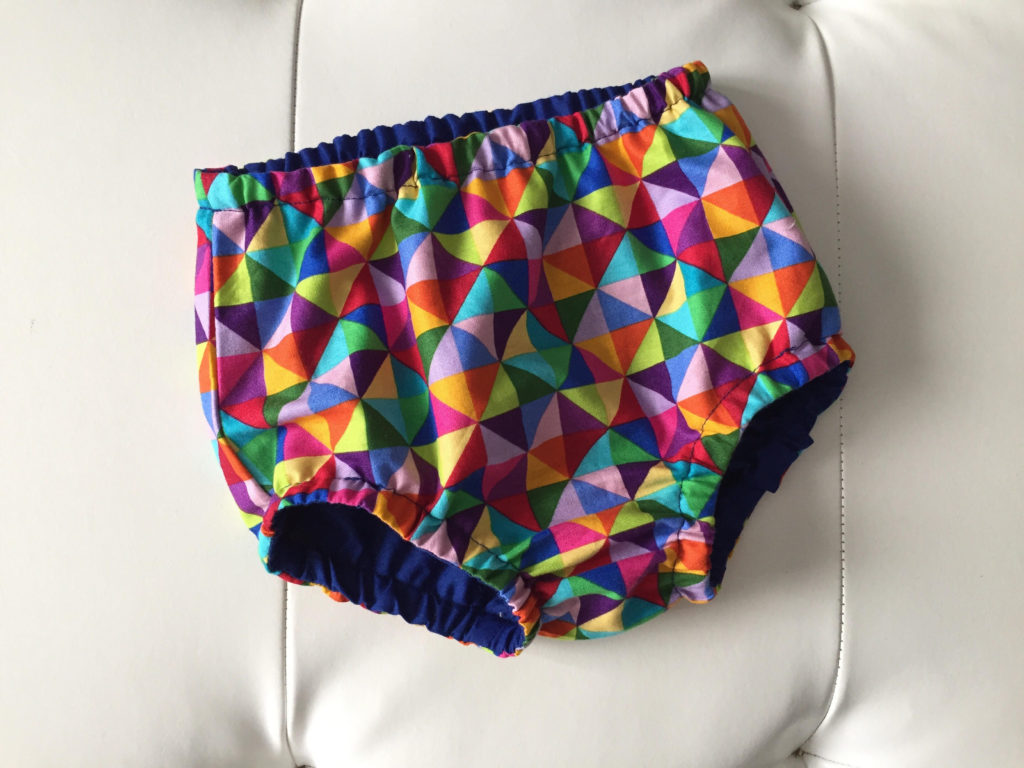
And here’s the second iteration, with a little extra elastic for comfort:
I have another fabric to test out as well before I really decide which one I like best for the cake smash. These are so fun to make I have a feeling he will have an assortment of these for warm summer days this summer!
Overall I feel as though this pattern is well written. It’s a Kwik Sew but I wouldn’t necessarily say it’s a beginner pattern. I did feel like I had to re-read the instructions a few times to get the hang of it. After the first diaper cover, though, it was a breeze.
The pattern allows you to add ruffles or applique on the back, however I went for a plain version.
I will be testing out a free, unlined diaper cover pattern in the coming days, which I will also share with you.
I hope you’ve enjoyed today’s post!
Heather
