Happy Thursday! I’ve been absent for a couple of months while the busy holiday season was upon our household. I assure you, though, that doesn’t mean I wasn’t sewing.
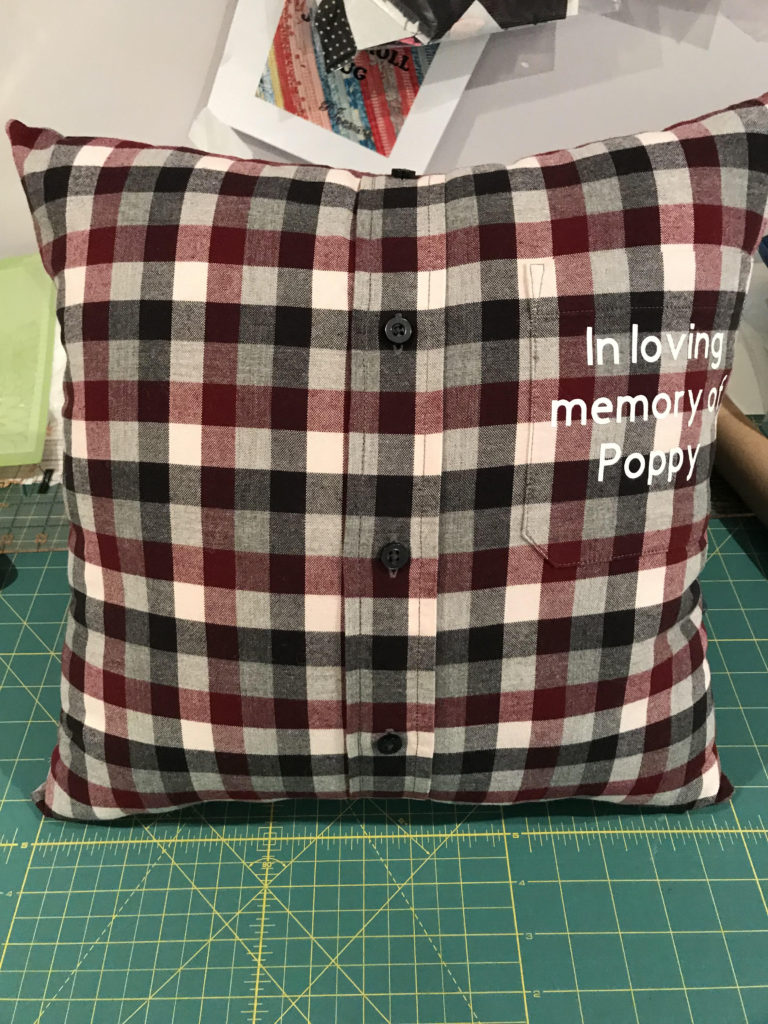
Today’s post is about a simple memory pillow I made back in December. Armed with a shirt, teddy bear stuffing (Loops and Threads is my brand of choice) and my Cricut, I whipped this up in about 45 minutes.
My sewing machine (Janome Horizon 8200) has text stitching capability but I don’t feel it’s one of the machines best features. The text is a little thin with not much variation, therefore I almost never use it.
Instead of hand embroidering, I decided to use my Cricut Explore to cut vinyl (iron-on) for the text on this pillow. The Cricut Explore is really easy to use and the this part only takes about 10 minutes. I measured the pocket (where I would place the vinyl) and that’s how I came up with the sizing. I used Cricut Design Space and a standard font, entered the text, cut the vinyl. Easy peasy.
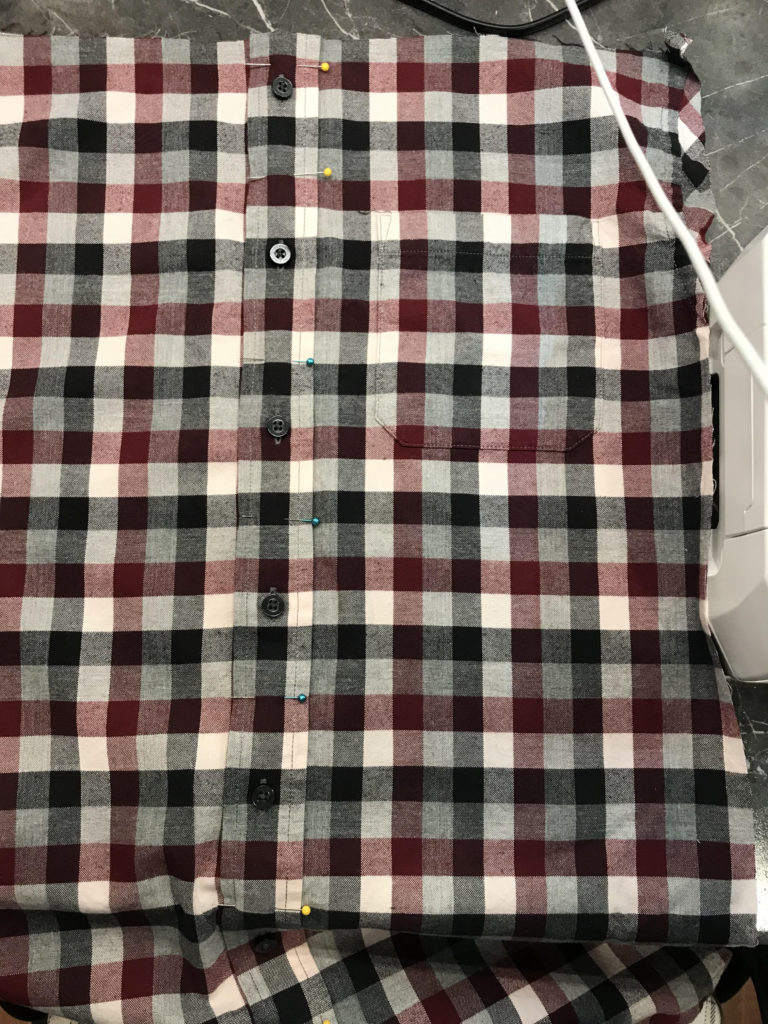
I started by pinning the front of the shirt together to keep it stable. Without pinning, you can get pulling in the fabric which can cause uneven cuts. Probably most important here where the fabric is an obvious plaid.
Next I took the shirt and cut off the sleeves and collar. I did so sparingly, though, because the shirt was not overly big and I wanted a finished pillow about 16″ X 16″. Once the sleeves and collar were gone, I took the buttoned halves apart and pressed each piece until all wrinkles were gone.

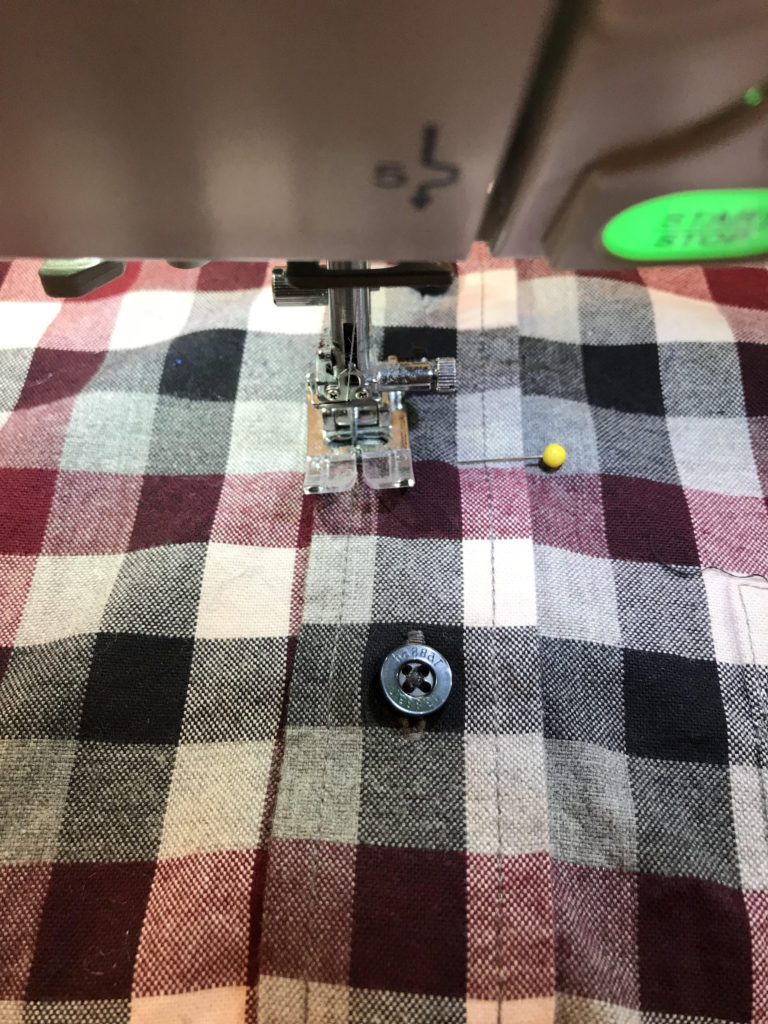
I stitched carefully down the front of the shirt, securing the two pieces together at the button column. This is important so the pillow doesn’t open up once stuffed!

Next I was ready to adhere the vinyl lettering to the pocket of the shirt. I had not anticipated how difficult this would be. I have used Cricut vinyl many times on shirts, but this shirt was a thicker fabric. I heated up the fabric with the hot iron, placed the vinyl down, ironed over the clear plastic backing, lifted gently but the vinyl didn’t adhere. I repeated this process several times before almost deciding it wasn’t going to work. Eventually I left the iron in place longer, then once the iron was removed I took the shirt over to a firm surface and pressed the clear backing into the fabric, being careful not to burn myself. Because the vinyl was quite hot, this worked better than simply ironing over the clear backing.
Once the lettering had cooled I cut the front and back of the shirt the same size, which was roughly 17.5″ X 17.5″. I put the right sides of the fabric together (wrong sides facing out), pinned together and left about a 6 inch opening along the bottom (middle) of the pillow.
I stitched around the edges, then turned the “pillowcase” right side out through the 6 inch opening. Now it’s time to fill the pillow! I always start by putting small amounts of stuffing in each of the 4 corners of the pillow. I used teddy bear stuffing for this as it’s quite soft and squishy, which is perfect for hugging when you’re missing your favorite person and only have their shirt to hug.
Once I had the pillow filled evenly, I overstuffed the pillow around the 6 inch opening. I then tucked in the edges of the opening and hand stitched it together.
Now the pillow is stuffed, stitched and ready to gift!

This is a quick project but a meaningful one. A lovely gift for a person who’s missing a loved one.
If you don’t have a Cricut and aren’t in the mood to embroider, you could also skip the text and just make the pillow. Another option is to put a note or a card in the pocket.
I hope you enjoyed today’s tutorial. Thanks for stopping by!
Heather
