DIY Seaglass Art

Well, this is a post I’ve been wanting to make for quite some time. In July I was playing around on a random beach with my son, finding shells and enjoying the salty air, when I came across a very small piece of green seaglass sitting among the sand. I had never found seaglass before, but I immediately wanted more! We visited the same beach the next day and didn’t find a single piece. I asked around about seaglass beaches in the area, and I was advised to “look for rolling waves”.

Within a few days, a friend and I were out scouring beaches in Bay Bulls, finding little nuggets of glass among the beautiful shorelines.

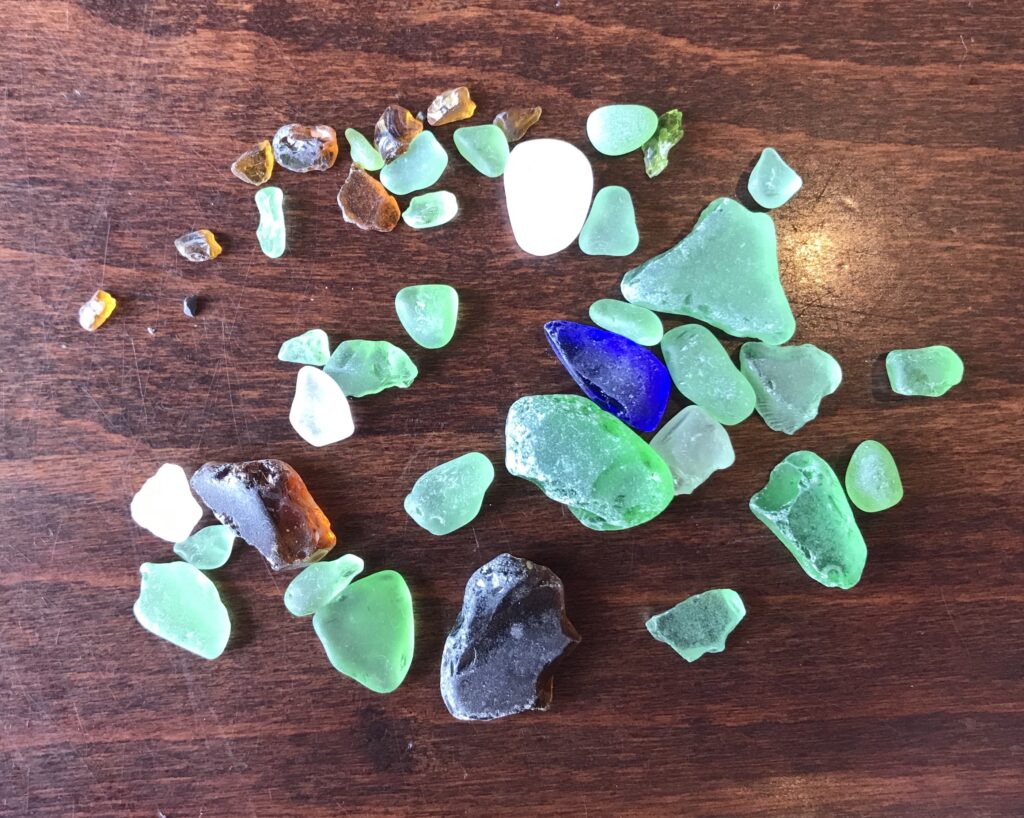
We did this a few days a week, mostly finding small pieces in green, white, brown and sometimes indigo.

Since that time, our weather has been cooperative and I am still seaglass hunting well into February! We have expanded our search zone a bit, and the payoff has been huge! I attribute that to the winter months not being seen as the ideal seaglass hunting weather, and I think getting out of town to more sparsely populated areas helps as well.

My mom kept asking, “What are you doing with all the seaglass?”, and the best I could say was, “I will make wall art out of it some day.” I dreamed up projects but they never really came to life. Truth is, finding seaglass, cleaning it and just admiring it was almost enough for me. Almost.

There are different types of glass that can be found on the beach, ranging from perfect, cloudy, rounded pieces of traditional seaglass, to more jagged, clear pieces of beach glass. At one point I was collecting beach glass, before really realizing it wasn’t exactly what I had in mind. I purchased a very simple rock tumbler and got some gritty sand from the beach. Dampened the sand, threw in some beach glass, and tumbled it for a couple of days. The glass came out nice and cloudy.

Some people make cloudy glass from scratch by breaking up bottles (using goggles, gloves, etc) and tossing it into a tumbler for a few days. I prefer the traditional way of finding glass, but if you find glass that’s not quite cloudy enough, no harm in tumbling it for a day or two until it’s usable, IMHO.

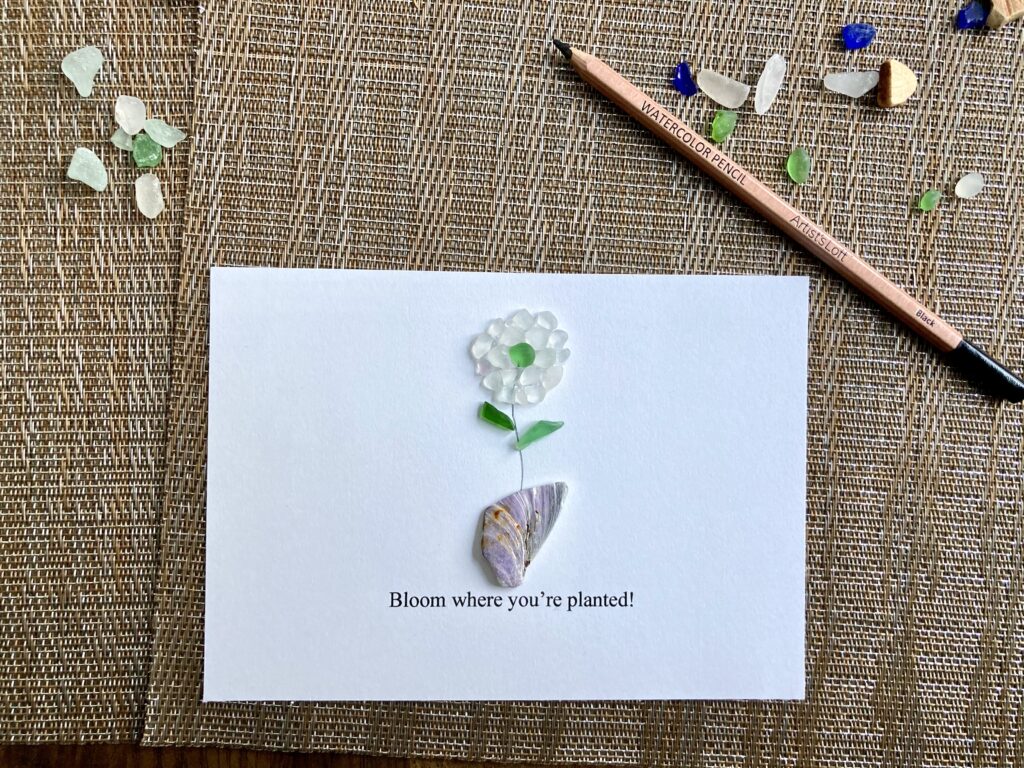
So, the materials you’ll need are listed below:

  • Seaglass
  • E6000
  • Cardstock
  • Shadowbox frame
  • Pencil

To start, cut your cardstock to fit the shadowbox. If you have a 5X7 frame, cut your cardstock 5X7. I use a paper cutter to get nice, straight edges.

I laid placemats on the table prior to gluing, mostly just in case glue soaked through the cardstock. I would recommend this for sure.

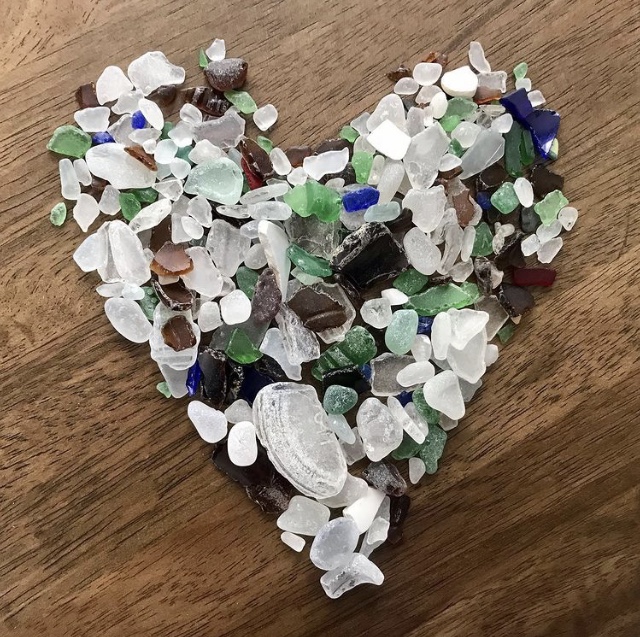
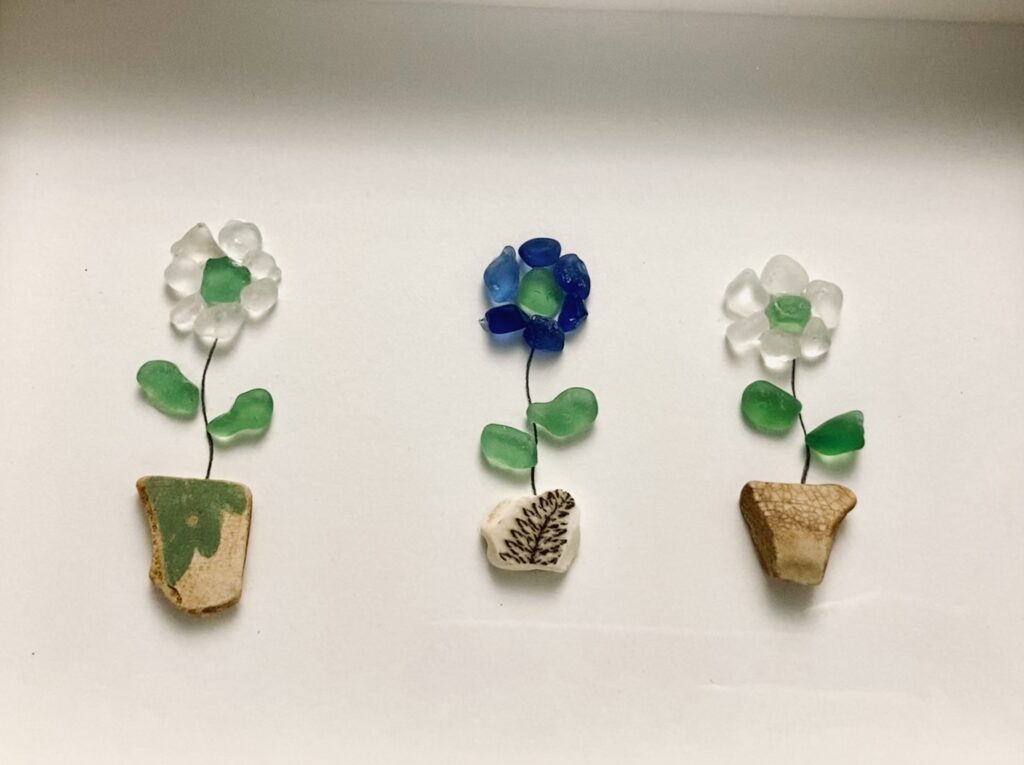
Lay out your seaglass on the cardstock in the pattern you choose. If you’re doing flowers (like I did, to start), lay out your glass, figure out where you want the flower stems, and just slightly move the glass out of the way to draw the stem before you begin gluing.

Once your pieces are laid in place, lift one at a time and place a dab of glue on the underside. Gently lay in place. Most adhesives will take a little time to fully set, but try not to move it around once it’s laid.

Continue gluing pieces until finished. Lay entirely flat to dry.

Sometimes you’re lucky enough to find little pieces of ceramic plates on the beach, as I did here. I used them for flowerpots. You can also use rocks or seashells.

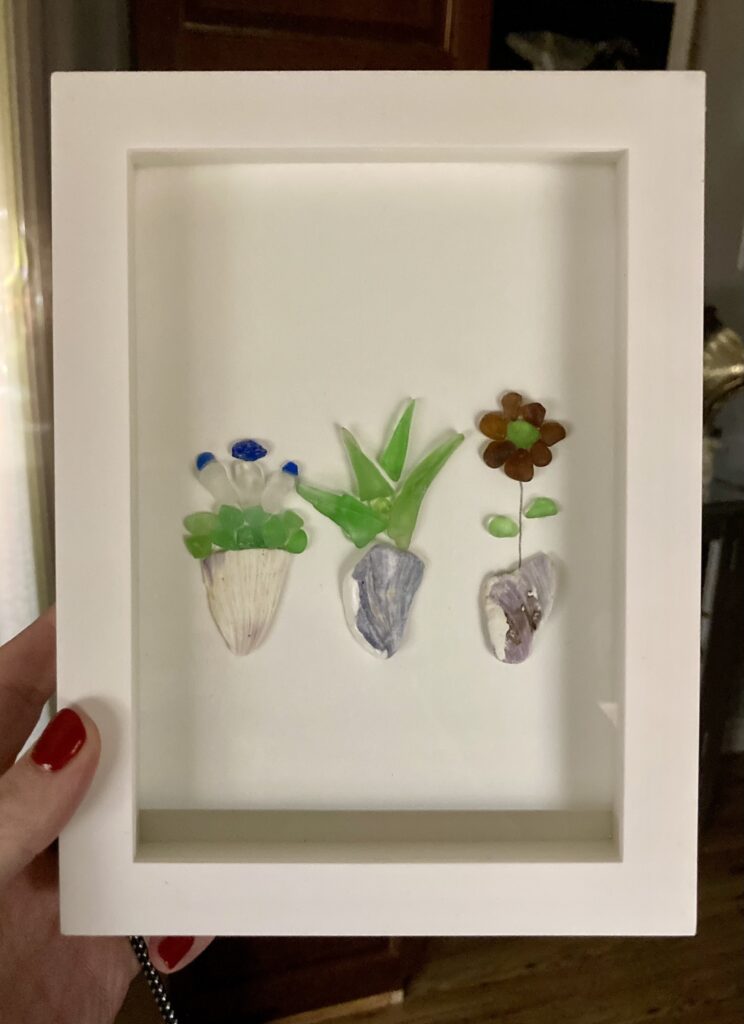
Shadowboxes really help these pieces look complete. They also protect from dust and dirt, as you can imagine these cardstock pieces will not be entirely easy to clean.

This one was made with seashells my toddler picked on the beach. I cleaned them thoroughly with bleach and dried them, loosening debris with a soft toothbrush prior to gluing. Ensure the glass and shells are entirely dry to ensure they adhere properly.

The best advice I have when you’re looking to make seaglass art is to work with the pieces and shapes that you have. And definitely come up with a little stockpile before attempting to create. It’s addictive so you might as well buy 10 shadowbox frames now and save yourself the trips to Michaels. Most of the frames I’ve used are 5X7 but I do have a bunch of 8X10s as well.

You can incorporate things like twigs, pearls, beads and rope into these pieces quite easily. They are fun to make, and you can let your imagination run totally wild. Finding treasures along the shorelines with your children and letting them transform their finds into art is a fantastic way to foster creativity.

Happy creating! And thanks for stopping by today!

Heather

DIY Personalized Ornament

Happy New Year! I hope you had an amazing holiday season, with plenty of R&R. I was fortunate to have a nice, long break from work over the holidays and I spent an awful lot of my free time sewing and crafting. It recharged my soul, I swear.

About 7 years back I saw a baby block ornament on Pinterest and decided to give it a go. There were several varieties of these ornaments online but I knew immediately I wanted them to be photo ornaments. My brother had a very young child and several of my friends did as well, so I set out to make these as Christmas gifts. A few years back I inadvertently advertised these on Facebook and sold over 50 in the month of December alone! These are SO fun to make, and you can get really creative with them.

Materials needed for this tutorial:

  • 2″ wooden block
  • Paintbrush
  • Acrylic paint
  • Mod Podge (Satin finish)
  • Cardstock
  • Eye hook
  • Ribbon
  • Ornament hook
  • Wallet-sized photos
  • Paper cutter or a ruler and scissors

I used to buy 2″ wooden blocks at Michael’s but they were frequently out of stock, so my family started making them with wood and a saw. I keep a sanding block handy to ensure the surfaces are smooth on the block.

I print photos for these ornaments at Walmart online because they offer wallet sized prints that are available by next day. Wallet size is 2X3 so they just need a little trimming and they’re ready to go!

I start by painting the block. Most frequently I do metallic gold, Christmasy red or teal, however any color works! I’ve even done plain woodgrain, and I’ve done a watered-down chestnut and almost stained the block so it looked like dark wood. They were all lovely! I’ve done pink, purple, green, blue, you name it. Can’t go wrong. Sometimes I look at the photos I’m going to use and try to find color inspiration from there.

You only need to paint the perimeter of each side because most of the block will be covered with photos and paper.

Generally I say two sides of the block will be covered with photos, two sides with cardstock, and the remaining two sides will be cardstock with print.

I cut the photos and cardstock to 1.75″ as this allows the paper to sit just inside the edge of the painted block, so you get a bit of a border.

Using a paintbrush, apply a layer of Mod Podge to one side of the block, and place one of the photos in the center, ensuring the border is even. I tend to do the photos on opposite sides of the block. Adhere the second photo to the block, and the apply the decorative cardstock to the top and bottom sides of the block. You will now have two blank sides. Let the block dry for at least a couple of hours.

For the other sides of the block, I tend to have a quote or verse printed on paper, which I layer over cardstock. I don’t love printing on cardstock, and the layered look is pretty.

If you are using thin cardstock or paper, be aware that Mod Podge can cause rippling in the paper. When thin paper gets wet from the glue, it can go wavy and it doesn’t necessarily sit flat on the block anymore. You can fool around with it and try to get it to flatten out, but it can be a chore. Using heavier paper offers a much more consistent result.

Once you have all 6 sides glued, you will now start the process of layering Mod Podge over each side to create a sealed, satiny finish. You want to ensure you don’t get any dust or dirt (pet hair, etc) in the Mod Podge because once it’s there, it’s there for life.

I apply Mod Podge in a generous layer, starting around the perimeter of the photo or paper. Sealing up all of those edges is important so you don’t get lifting.

Once the edges are covered, I coat the entire side with Mod Podge. Not too thick, but if it’s a little thin don’t worry about it because you’ll do 2-3 coats on each side anyhow.

Ensure as you drag along the paintbrush that you are getting rid of air bubbles as you go. Try to move the paintbrush lightly over the surface so you don’t get too many brush strokes. Flat, foam paintbrushes can also help here if you have them.

My recommendation is to do 5 sides, then stand it on the 6th side to let it dry. My rule of thumb is to let each coat dry for at least a few hours before putting on another coat.

Once the block has 2-3 coats of Mod Podge on every side and it’s fully dried, you’re ready to drill a hole in the top center of the ornament. I use the smallest drill bit that we have.

Once the hole is drilled, put in a hook.

I take a piece of ribbon and loop it around the base of the hook, and tie a small bow. Trim the edges of the ribbon to make sure they are even.

For the purpose of this tutorial I used my sons photos on a block but didn’t add any text, which is always a cute option too.

What started as baby blocks turned into SO much more…I’ve done 1st Anniversary blocks, blocks for kids, memory blocks, pet blocks, you name it! They have become a very versatile gift that people seem to love receiving.

Thanks for checking out this tutorial today!

Heather