
A number of months ago a crafty friend of mine asked if I wanted to make jelly roll rugs together! Intrigued by it’s unusual name I looked it up. Well, they are so cute I just knew I needed one for my sewing room.
Gillian picked up a pattern online for $10 at the Fat Quarter Shop https://www.fatquartershop.com/jelly-roll-rug-downloadable-pdf-sewing-pattern-rj-designs and we started looking around for jelly rolls. Gillian got pre-cut jelly rolls and I (somewhat foolishly) picked out fabric and decided to cut and coordinate on my own.
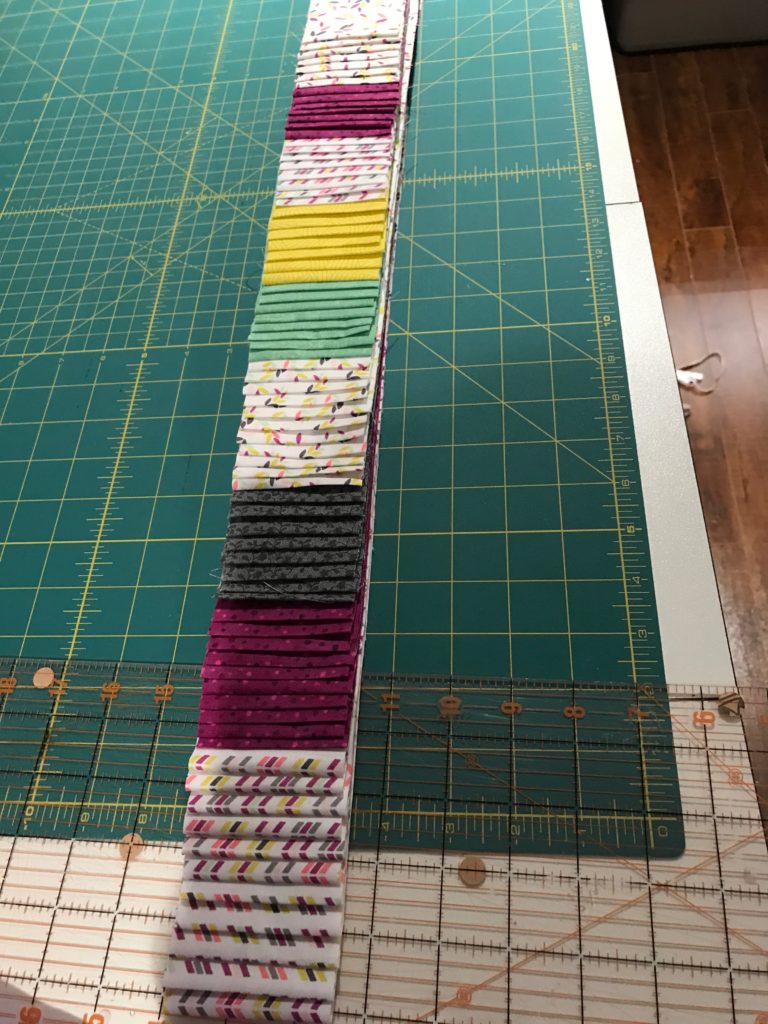
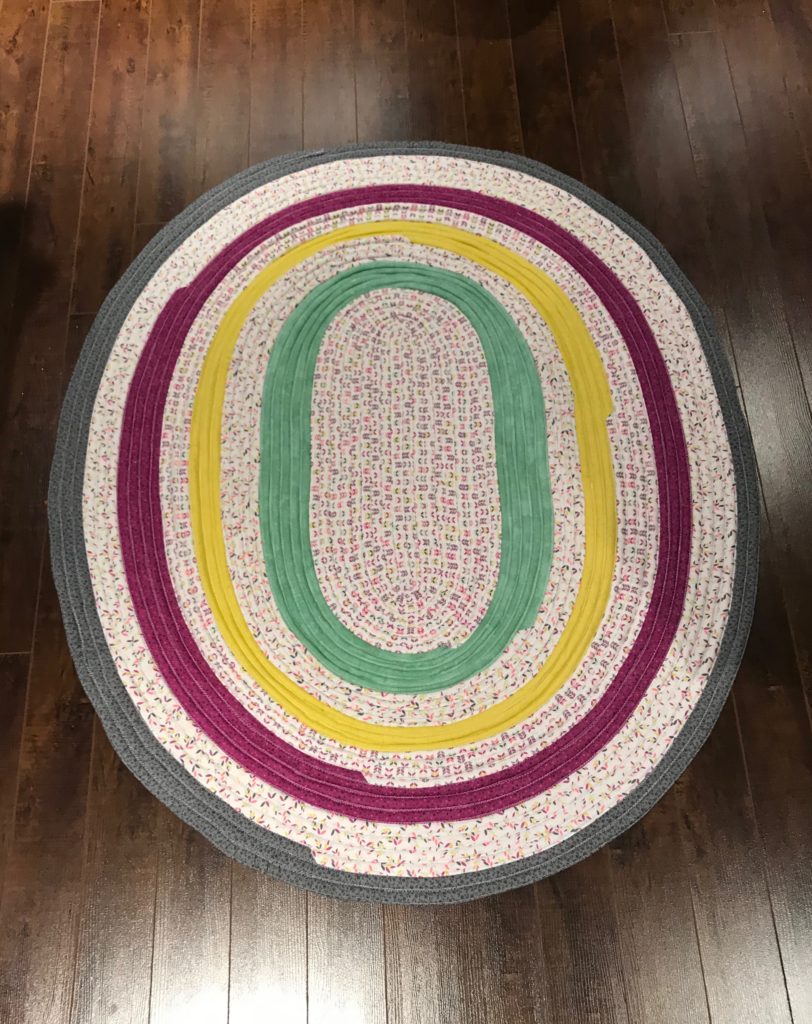
I didn’t bother looking up how much of each color to use, I just started cutting strips and then arranged them in a color pattern I had in my head. I was using a combination of (kind of) solid colors and whites, so I wanted to alternate, and I knew I wanted the dark grey fabric on the outside perimeter of the rug.
The pre-cut version is definitely more cost effective, but I had specific colors in mind. She also used pre-cut batting but I used scrap batting that I had left over from quilts. I am trying my hardest to reduce my fabric stash, so while it’s not as convenient to have to cut and join all that batting it is nice to use up what I already had.

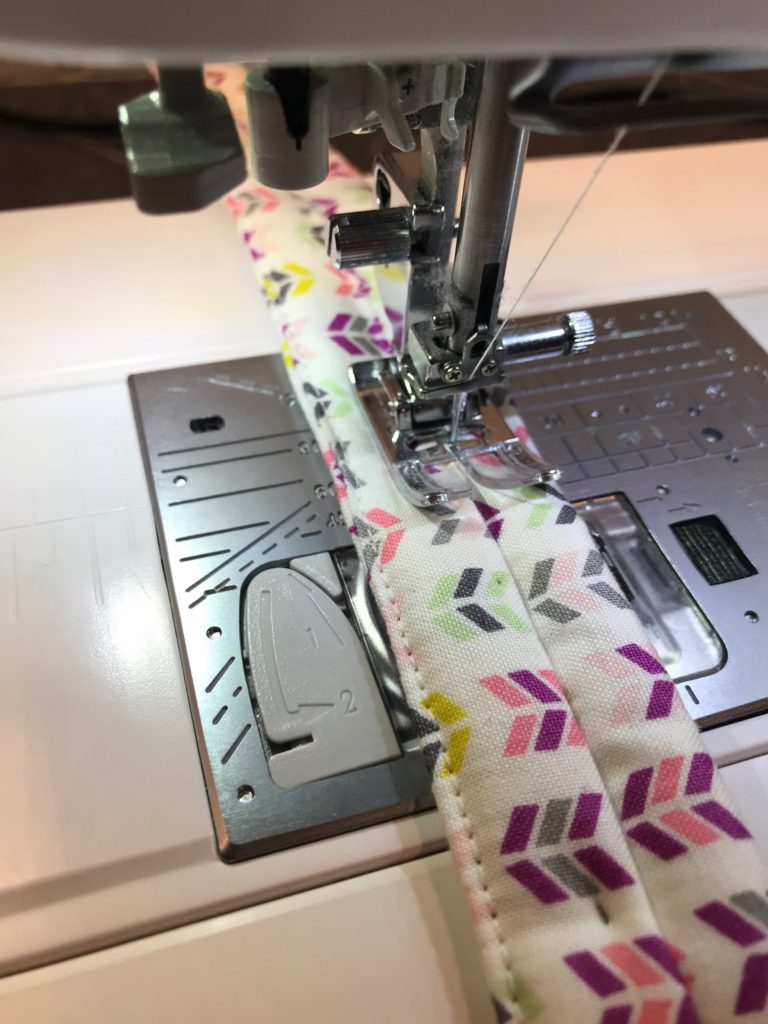
We did this project over the course of 5 evenings, and we were both surprised at just how long it took. The first night we joined the fabric from the jelly rolls. The second and third nights we made the “cording” (sewing the batting inside the fabric). The fourth night we started coiling, and the final night we finished them off. We spent a few hours each night at this, so it took quite a bit longer than expected.
The pattern is easy to follow and it’s repetitive so it’s a great project to do with somebody (ie. the chit chat won’t distract you and cause you to lose your place).
I wanted a larger rug for my room so I didn’t stick to 2 jelly rolls, but Gillian did.
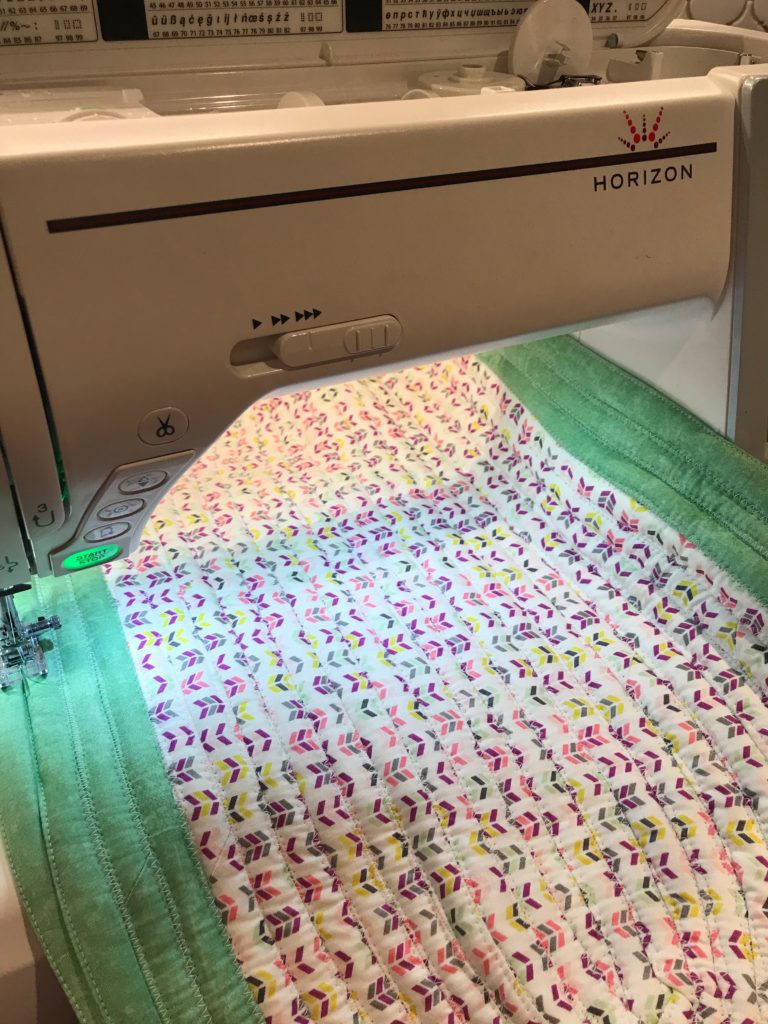
In the end, the rugs turned out great. One of the challenges I had was that the size of the rug was so big it became heavy and a little cumbersome to constantly push through my machine neck.
Also, I didn’t take note initially in the pattern when it said to sew with the rug to the left, which meant my rug “grew” into the neck of my machine. I thought I could make it work until the rug got a bit too big. The picture below is where the neck of the machine started to get a little crowded. I ended up snipping the threads and turning the rug it over so I could get the fabric back to the left of the machine, and then I kept going. Would have been easier had I done it right from the start.
One of the biggest lessons we learned while working on this project was to stop frequently and press the rug with a hot iron, which seemed to help keep things somewhat flat. We used Flatter spray in a delightful Fig scent in hopes that the rug wouldn’t go “wavy” around the edges.
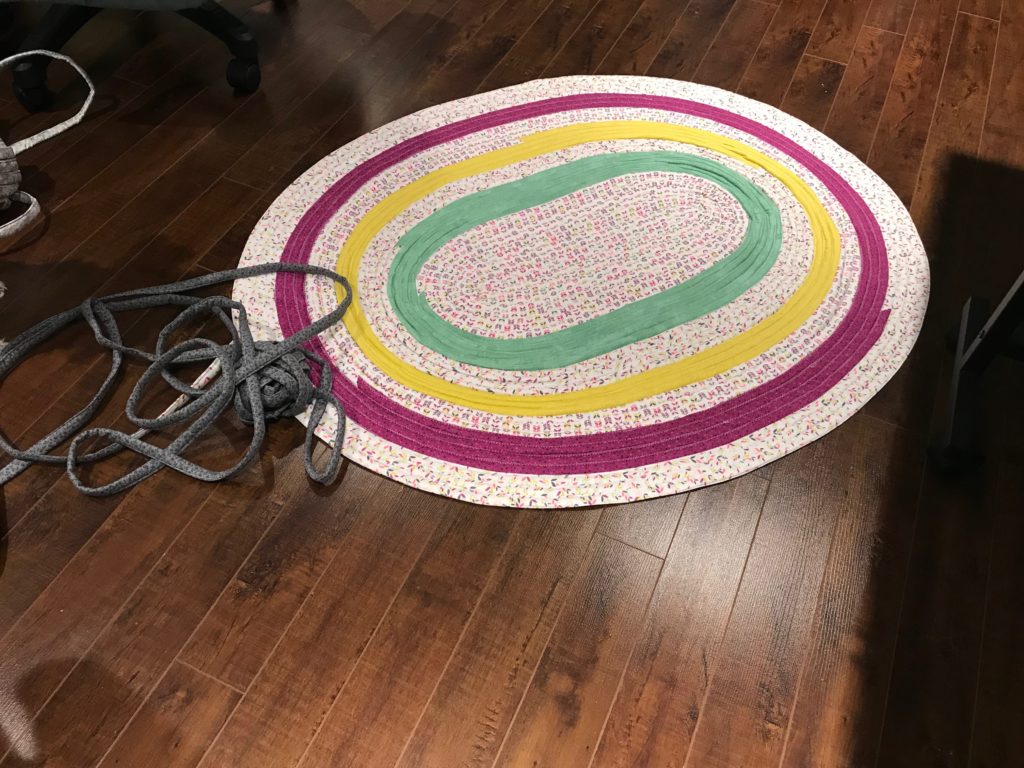
When we were done we did notice both of our rugs were wavy around the edge, but with lots and lots of Flatter spray, a hot iron and some steam we were able to make it work.
This is definitely a project I will repeat again at some point as it turned out really cute for sure. I’d love to find some more jelly roll projects to test out as well. This was my first time using or hearing of jelly rolls, somehow.
Thanks for checking out my post today!
Heather