Tutu X2

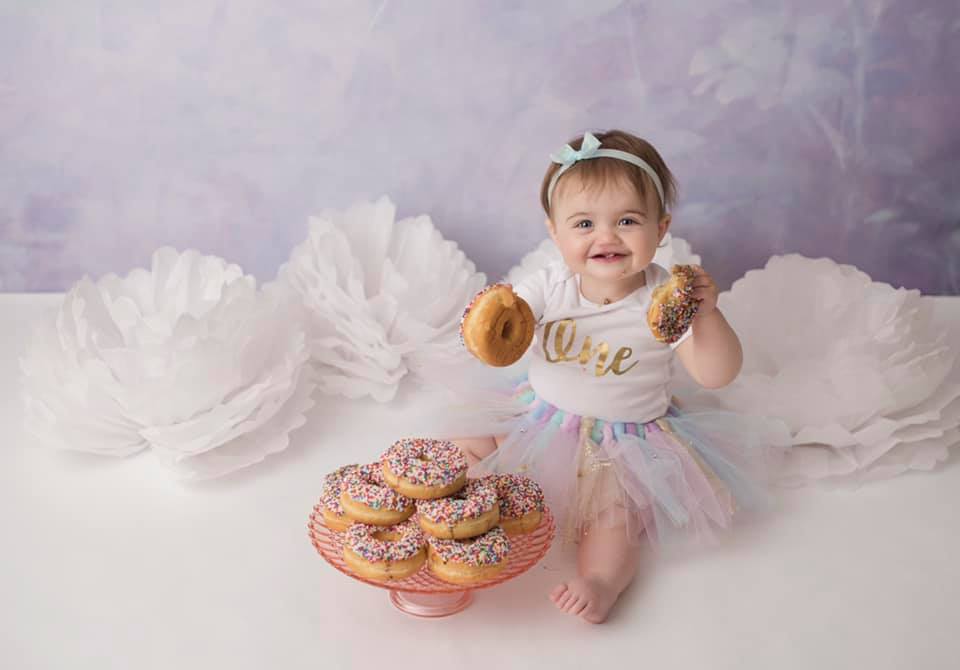
Last year I had the pleasure of making a tutu for one of my favorite little babies who was turning 1 year old ( https://makelifecrafty.com/diy-tutu/ ). 2019 brought another opportunity as her sweet little sister celebrated her first birthday, so I jumped at the chance to take on another tutu project!

These photos were taken by Melanie Courage Photography and are being used with her permission.

In making the first tutu (above) I focused more on texture and the color pink – little Emily’s favorite! In making the second tutu I went more for color variation and put some purple in there – little Riley’s favorite!

For Riley’s tutu I went with a little less fullness so all of the colors would show a bit more individually. Instead of purchasing tulle on a bolt at Fabricville for this one, I went with tulle on a roll (conveniently cut into 6″ wide strips) that I found at Michael’s. This certainly reduced the time it took to create the tutu. It was perhaps a little bit stiffer to work with than tulle on a bolt, but I think you will agree that they are both adorable.

Thanks for checking out my post today!

Heather

DIY Memory Quilt

Recently I had the tremendous pleasure of making a memory quilt for a baby who will be arriving in just a couple of short months. The quilt is made in memory of the grandmother of the soon-to-arrive baby, using her scarves, tshirts and pyjamas.

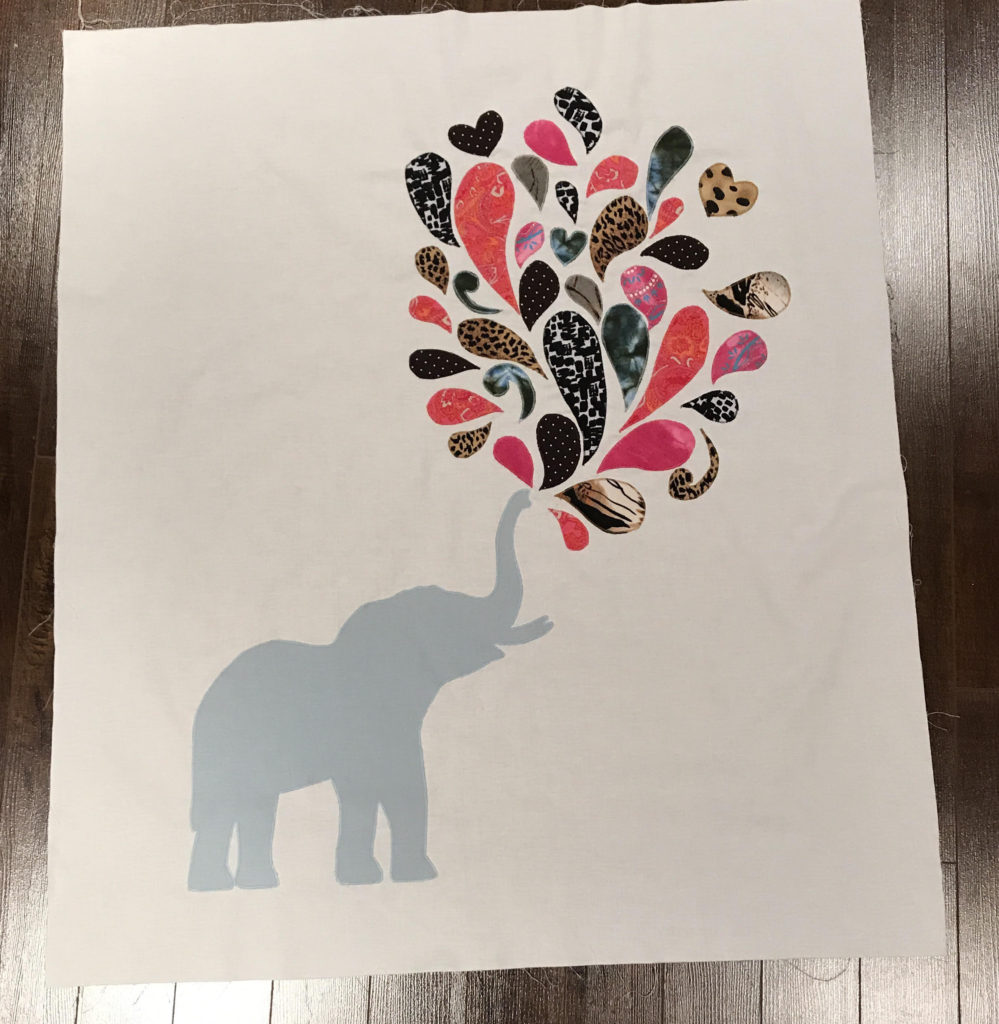
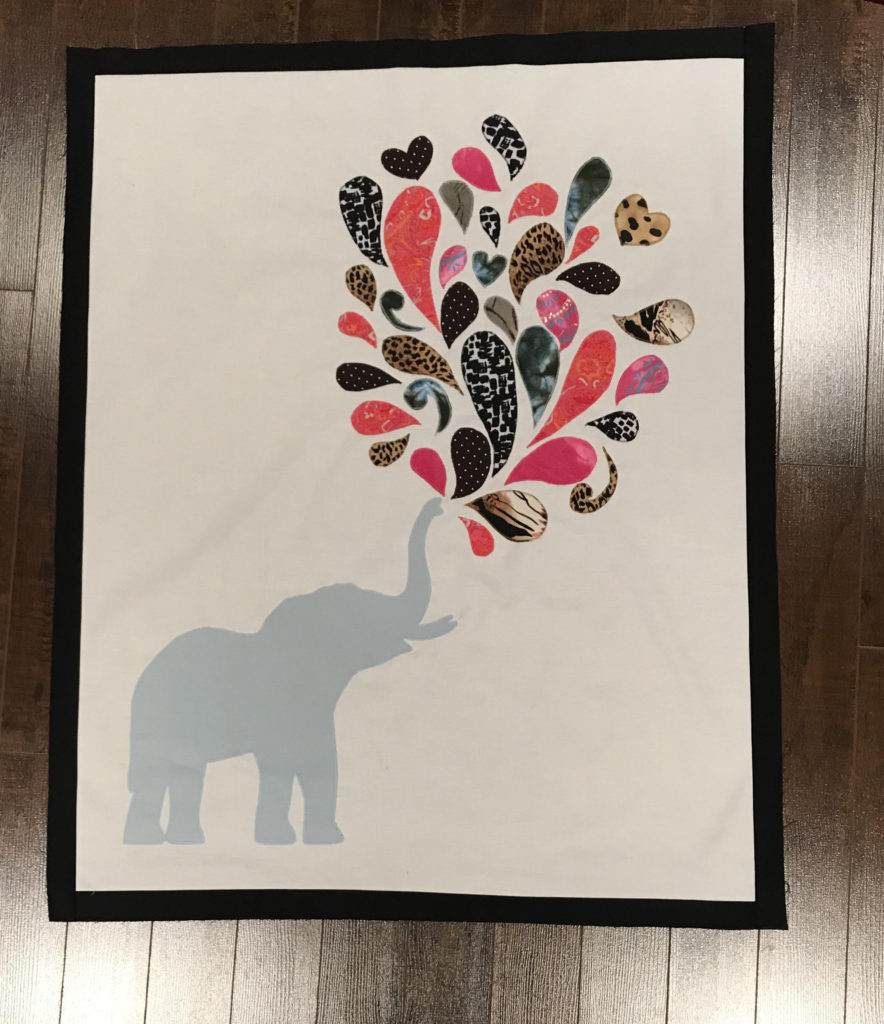
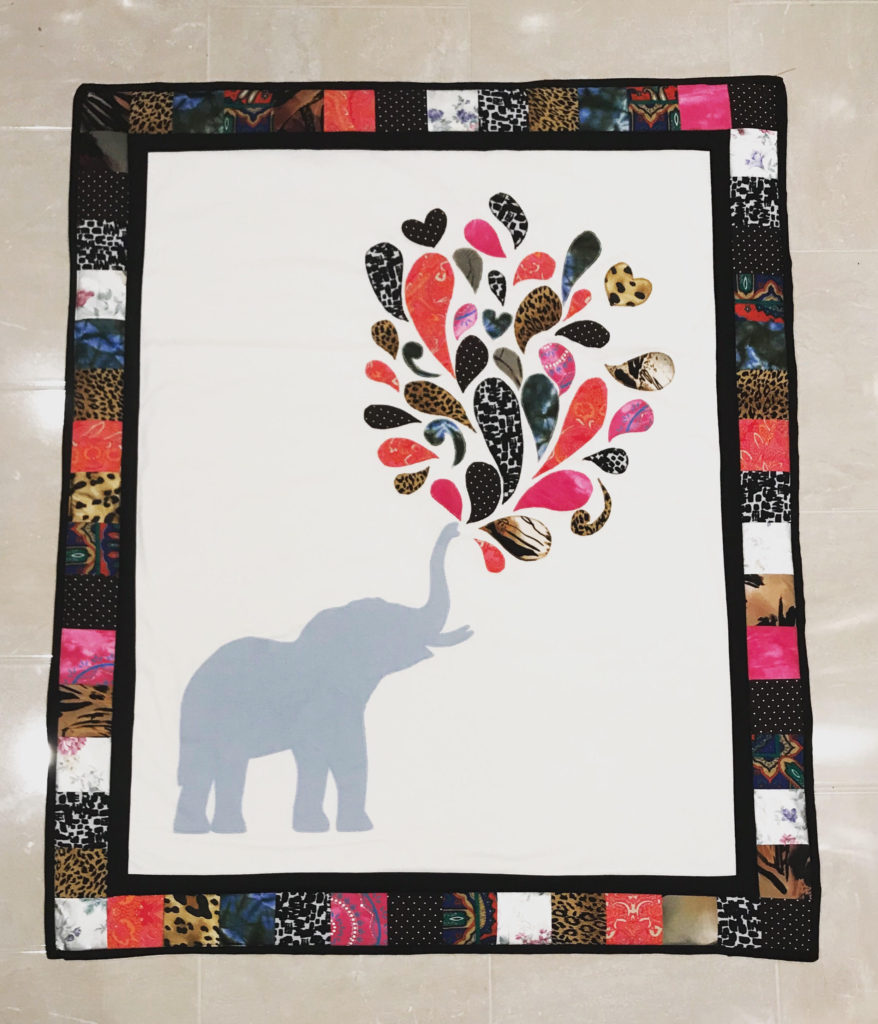
I had pondered the design of this quilt for quite some time. I came up with an elephant puffing water out of its trunk, with the water droplets made from pieces of her clothes, and a patchwork border.

I set out to get fabric for the elephant and the main body of the quilt. I headed down to The Fabric Merchant and met with Shelley to discuss my project. We planned out the colors, the border, the design, etc. It’s so good to bounce ideas off a really experienced quilter. An hour later I emerged with the supplies I needed.

I planned out the size of the quilt and drew up a rough draft of how it would look. I decided to do 3X3 (unfinished) squares of fabric to form the border. One challenge with this quilt is the variety of fabrics I had to work with – cotton for the body of the quilt, flannel on the back, but then there was everything from polyester to jersey to silk for the border and water droplets. I stabilized most of the fabric before sewing, just to save myself a headache.

I printed a silhouette of an elephant and cut it out of cotton, with applique paper for the backing. Then I drew out the water droplets and cut those out of the memory fabric, with applique paper on back as well.

I went with color coordinated thread for the applique in this case. Instead of my typical applique stitch I chose a tight zigzag stitch, as this blanket will probably be washed frequently and I want the design to hold up over time.

I stitched the elephant in place and then started adding the water droplets. Of course attaching them to the quilt with the iron was tough because, again, each fabric was a different weight and composition, and I was constantly changing settings on my iron to avoid scorching the pieces.

The applique took about 1 hour in total, so it went by pretty quickly.

Once the applique was done I added a black border to the blanket before stitching the colored border in place.

I finished the quilt with a black binding.

After I took this photo I quilted this down a bit with some white hearts on the white space to give this a bit more durability.

This project was so fun to design and create, and I would absolutely love to take on more keepsake projects down the road.

I hope you enjoyed this post today! Thanks for stopping by.

Heather

Baby Blankets

My most frequent sewing project is, without a doubt, baby blankets. All different shapes, colors, themes, sizes. It’s my favorite gift to give at a baby shower, and you can pretty much rest assured the receiver won’t get a duplicate.

Whether you’re doing tummy time, reading books on the couch or heading outside for a picnic, baby blankets are sure to get used.

Recently I’ve had the pleasure of making a bunch of blankets, so tonight I will walk you through my process. There are plenty of standard sizes for blankets, but you can absolutely use your imagination when planning out your blanket.

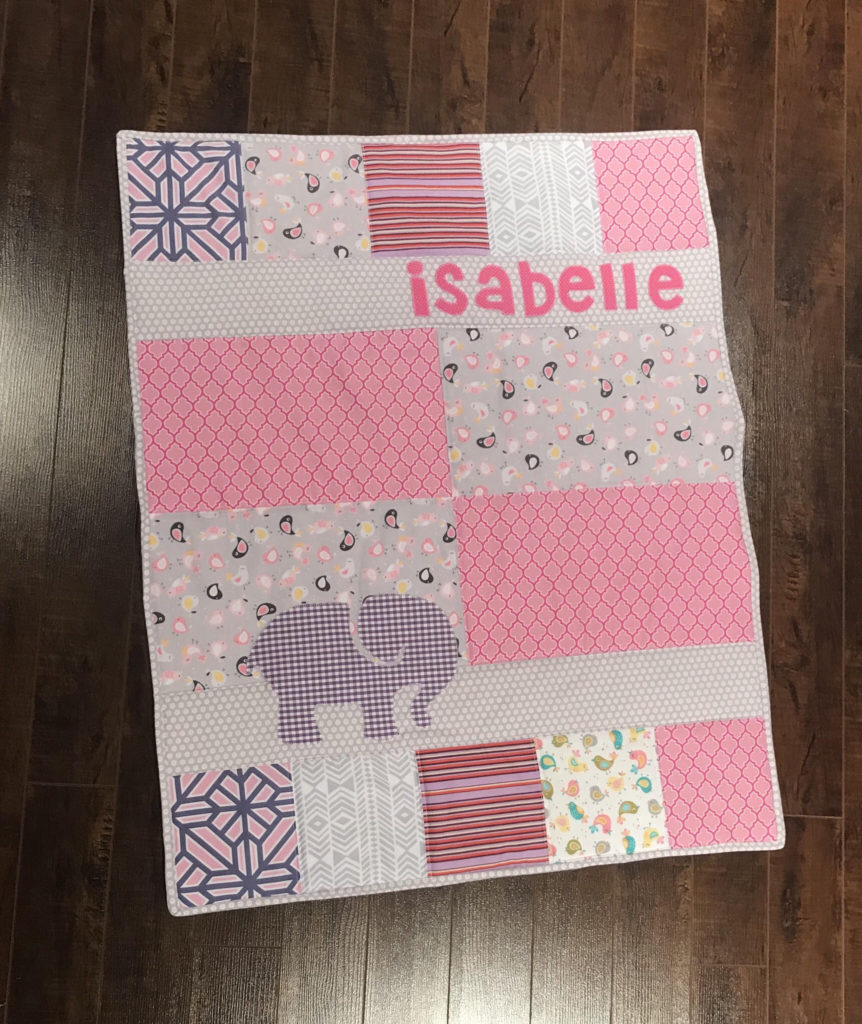
The first blanket was made for a new baby in my very extended family, I will say. A beautiful little girl named Isabelle. I actually used fabric from my stash (still working away at it…….) and I was really happy with it.

Previously I had used these exact fabrics to make Big Sis and Little Sis blankets for a good friend of mine. I made a mini version of that quilt for Isabelle.

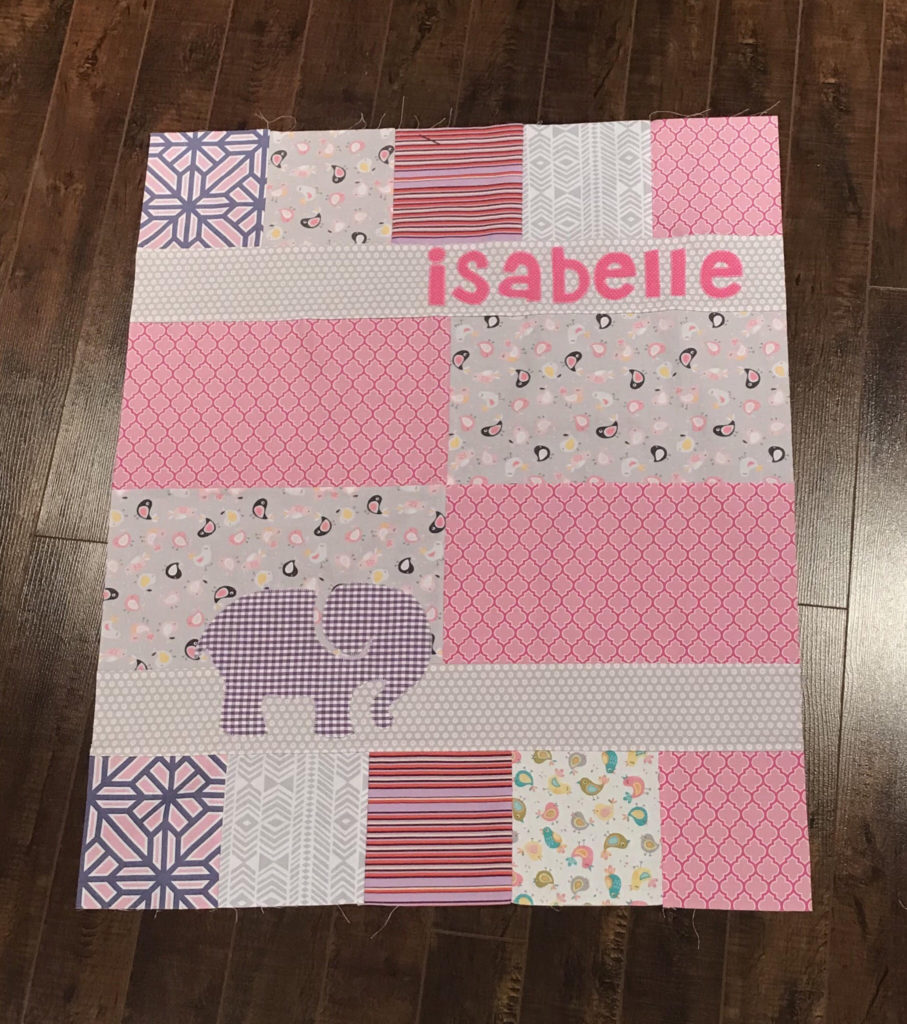
I started by drawing out a pattern. I cut 10 6X6″ blocks for the top and bottom of the quilt. I cut 2 30X4″ pieces for the long rectangular sections. Then I cut 4 15X8 pieces for the center. I knew that once I joined the pieces I could trim the uneven edges caused by the seam allowances. Sometimes I am more precise, but this time I didn’t feel the need to be.

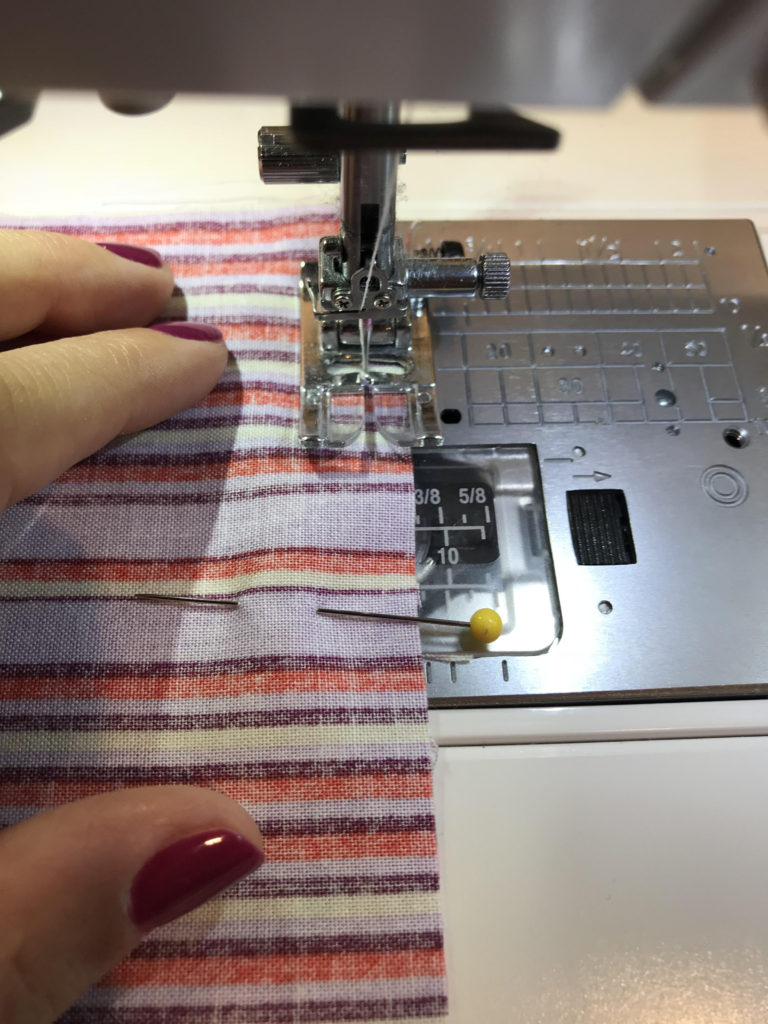
I used a 1/4″ seam allowance and joined the blocks across each row. Once each row was formed, I joined them horizontally to form the blanket.

It came together quite quickly as there weren’t that many pieces. This is a photo of the quilt top once I appliqued the elephant and her name.

I gave the fabric a good press with a hot iron here to flatten out the seams.

I picked out cotton batting for the centre of the quilt and a soft minky for the backside. Once I put the quilt together with right sides facing out and the batting in the middle, I started pinning the 3 pieces together. Lots and lots and lots of pins. The next step is to quit down the fabric. This essentially means you will sew all 3 pieces together in some pattern, which will help the blanket keep its shape over time as it gets washed more and more.

I quilted down along each seam on the quilt, both sides of the seam in fact. So I essentially made railroad tracks right on top of each seam. This part takes a bit of time but really does add to the blanket.

Once the quilting down was complete, I made the binding for the edge of the quilt. I cut 2.5″ wide strips of cotton and used this technique to join it to the quilt.

Some people hand sew the binding in place but I don’t typically do that. I actually don’t enjoy hand sewing, and the time commitment is significant.

Voila! A personalized gift that will get used over and over and over and over…..

The next blanket was quite simple and was made for a customer. She gave me permission to share this project with you.

The customer had seen fabric by Amy Butler called Bliss Bouquet (in Teal) and fell in love. She wanted a baby blanket made for her soon-to-be-arriving baby girl. She wanted a basic blanket with minky on the back.

This fabric is very difficult to get, but I was fortunate enough to find it at The Fabric Merchant here in St. John’s, NL. Don’t even get me started on how much I love this store…

I picked up a slightly cream colored minky fabric and got sewing. She wanted a blanket that was 28X33″.

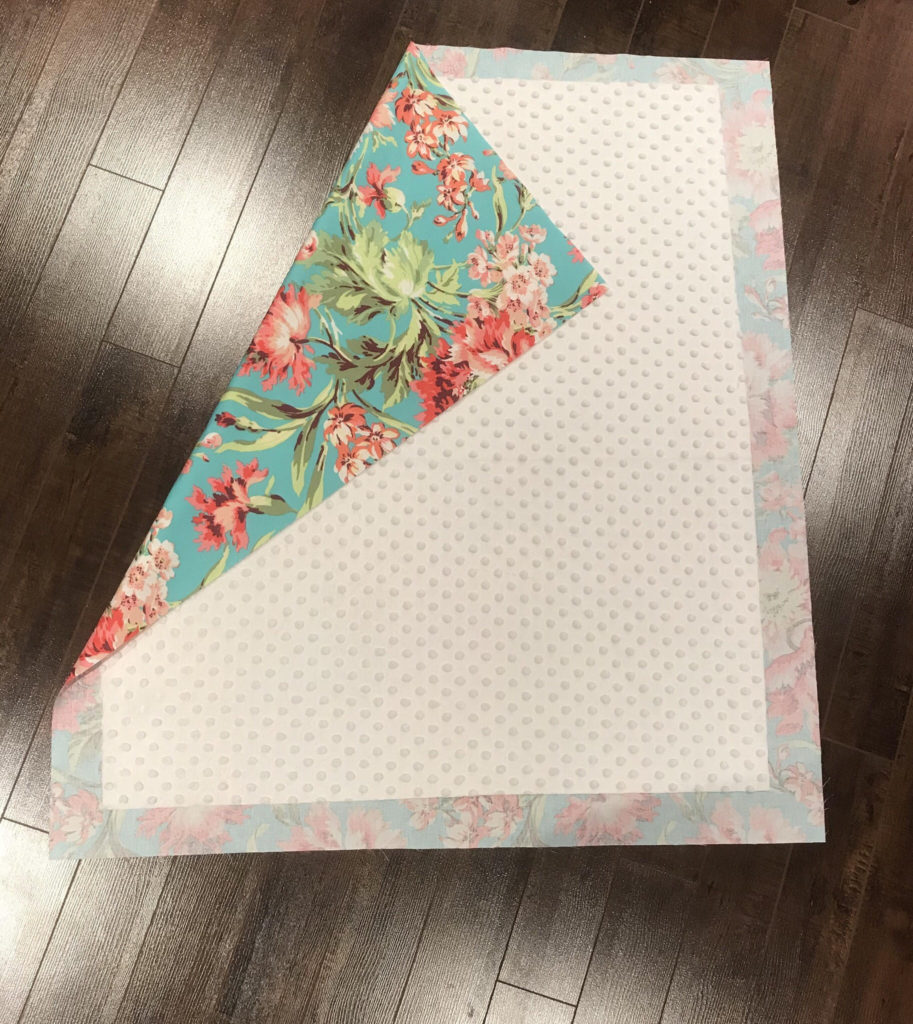
I started by ironing the cotton Amy Butler fabric. I cut out a rectangle that was 32X37, to ensure I had plenty for a nice folded edge over the minky.

I cut the minky and the cotton batting to 28X33.

I laid out the pieces on my floor and smoothed out any wrinkles.

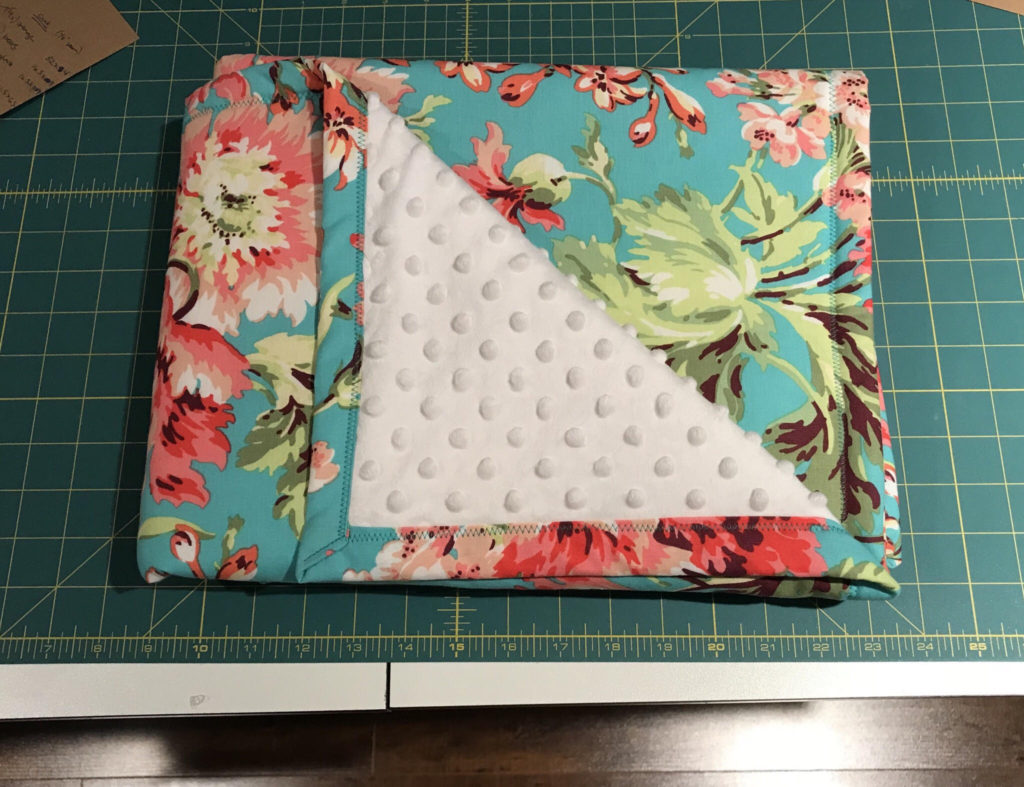
Next I went around the edge of the blanket, folding down the printed cotton twice, and pinning in place in preparation for sewing.

I zig zag stitched around the blanket and it was done!

This blanket is so soft and pretty, and took about an hour to make.

There are many variations of baby blankets and they really do make wonderful gifts. You can get really creative and mix colors and prints, and you never have to do the same blanket twice.

I hope you’ve enjoyed this post. Thanks for stopping by today!

Heather

DIY Birthday Shirt

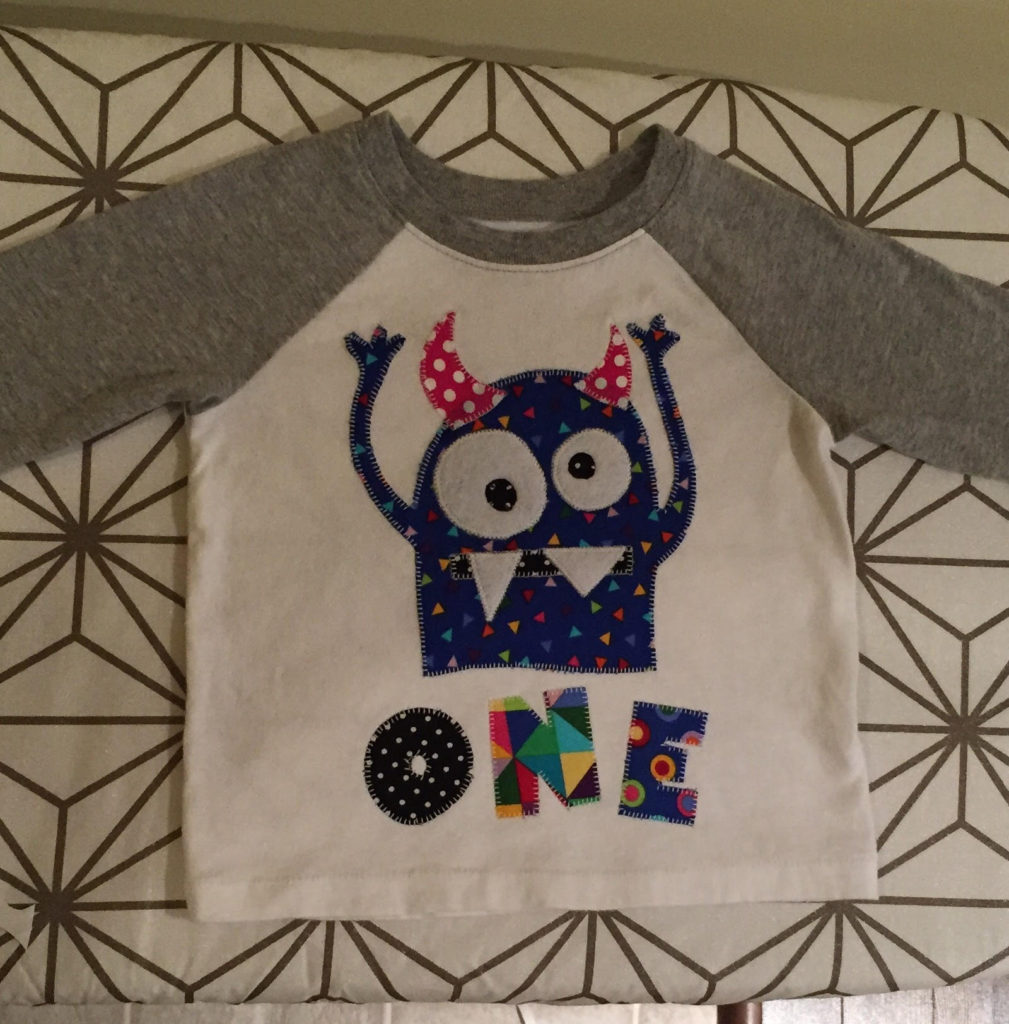
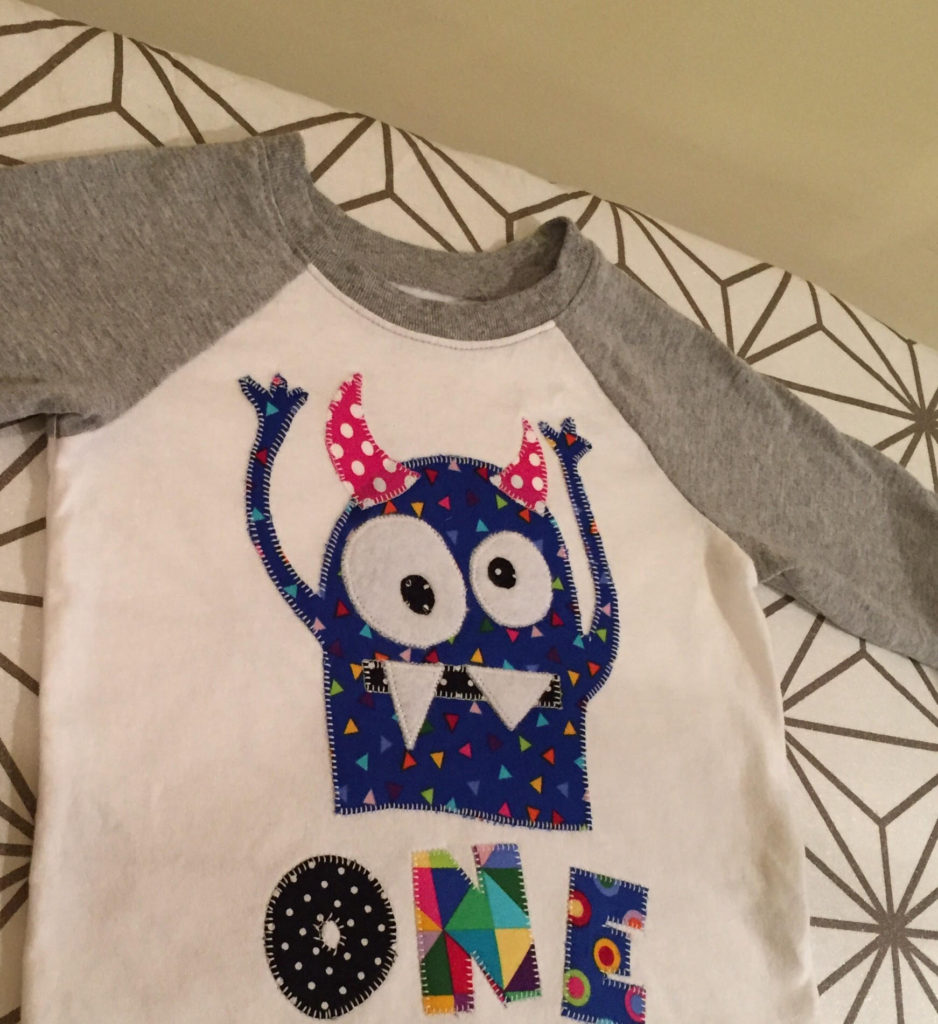
Leading up to Connor’s birthday party I was looking at options for a fun birthday tshirt! My husband lives in baseball-style shirts so I thought it would be cute to dress him up in one of those.

I picked up the shirt from the sale rack at Old Navy for about $5.

I decided to test out my applique skills for this project, knowing it would be a bit more involved than what I’ve done in the past. I enlisted the help of my darling husband as he has mad drawing skills. We looked at how big the monster should be (based on how big the shirt was), and started to plan out the project.

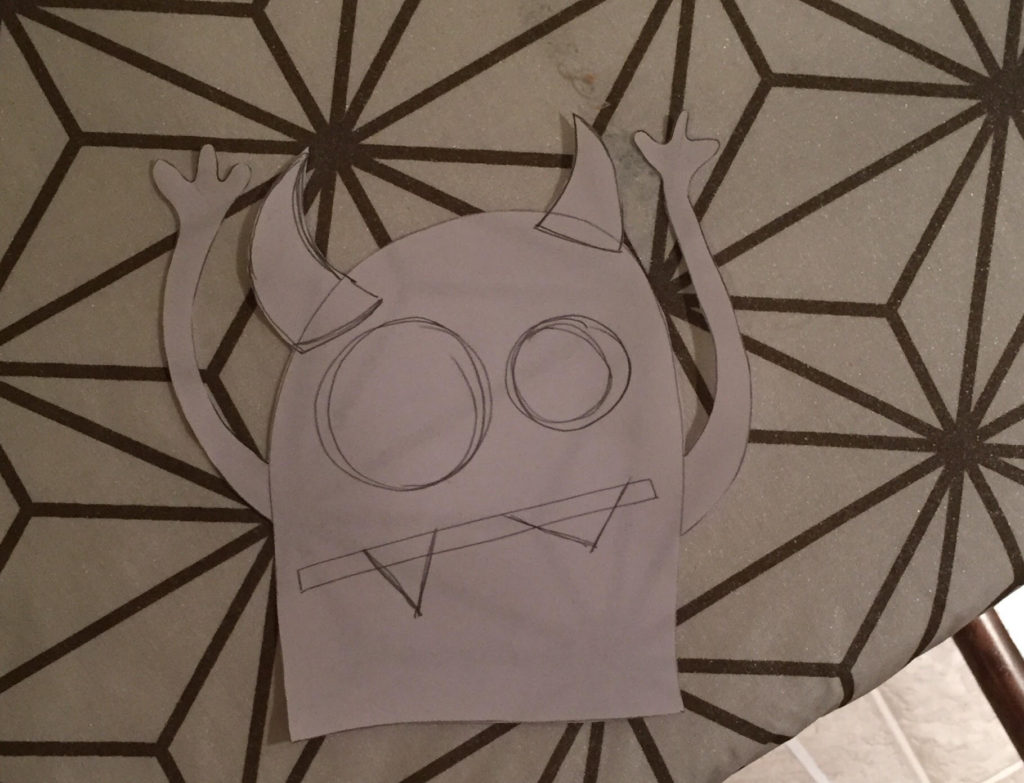
We looked up some images on Google for monster birthday shirts and came across a design we loved. This is not our original idea, though Matt did draw it by hand. Within a few minutes he had drawn this little guy:

To applique this, he had to cut out (from paper) all of the layers separately to make a pattern, so first he cut the body (with arms attached), then the horns, then the eyes, then the mouth, then the teeth. We spent some time coming up with the best color scheme for the monster.

Then he cut out the letters (from paper) for “one” and we chose fabric to match the monster.

Here are the materials you will need for this project:

  • A paper pattern (you can create your own)
  • Heat’N Bond Lite
  • Coordinating fabric
  • Scissors
  • Contrasting or coordinating thread
  • Iron
  • Lightweight interfacing (optional but helpful)

Once your pattern is cut out of paper you will want to iron the Heat’N Bond Lite to the back of the fabric per the instructions on the package.

Use your pattern pieces to cut out the fabric pieces.

Position the monster body on the shirt where you think it best fits. Position the letters for “One” underneath. Once you’re happy with the placement, peel the backing off of the Heat’N Bond Lite and make sure the steam setting is turned OFF on your iron. Iron these pieces in place.

Next you will add on the horns, the white part of the eyes and the mouth. Press those in place.

At this stage I would cut a piece of interfacing and place on the inside of the shirt. This is optional, however if the shirt fabric is really stretchy or flimsy, a little stabilizer on the back does help with the applique, especially when going around the tiny little monster fingers.

Before adding on the pupils and the teeth, applique all of those pieces in place. To applique you can use either a very small, tight zigzag stitch on your machine or a regular applique stitch. The zigzag may be best if this is an item you plan to wash and wear often, as the zigzag will be best at preventing fraying over time. But this shirt was to be worn once and then put in a memory box for Connor, so I went with the traditional applique stitch. On my Janome Horizon Memory Craft 8200 it’s stitch 39.

Once you’ve appliqued all the way around these pieces (using either a contrasting thread or a matching thread), you can iron the pupils and teeth in place as pictured here:

Applique the last pieces added.

Give the shirt a good press with your iron and it’s ready to wear! I did throw this one through the washer to soften up the appliqued fabric a bit before wearing.

This project can take a little time, maybe 90 minutes or so. But the result was so darn cute I would do it all over again!

Thanks for checking out my post.

Heather

DIY High Chair Banner

There’s something SO adorable about a little baby sitting in a high chair munching on cake. Of course the trend these days is to dress up that high chair with a banner or a garland.

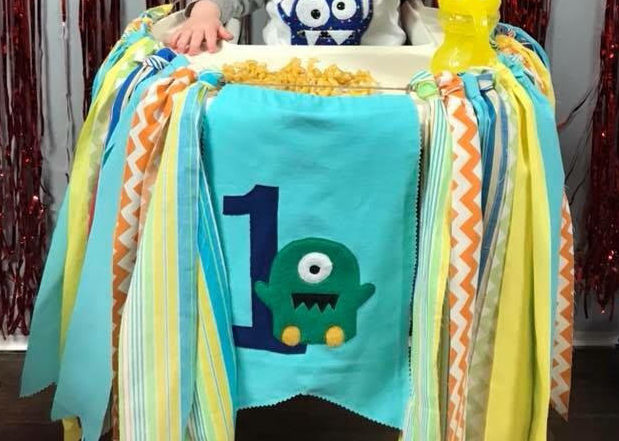
For Connor’s monster themed party I decided to do a really fun high chair banner. I headed to Fabricville and hit up the sale rack, scoring a great deal on some really adorable printed cottons. I also picked up some inexpensive broadcloth in complementary colors.
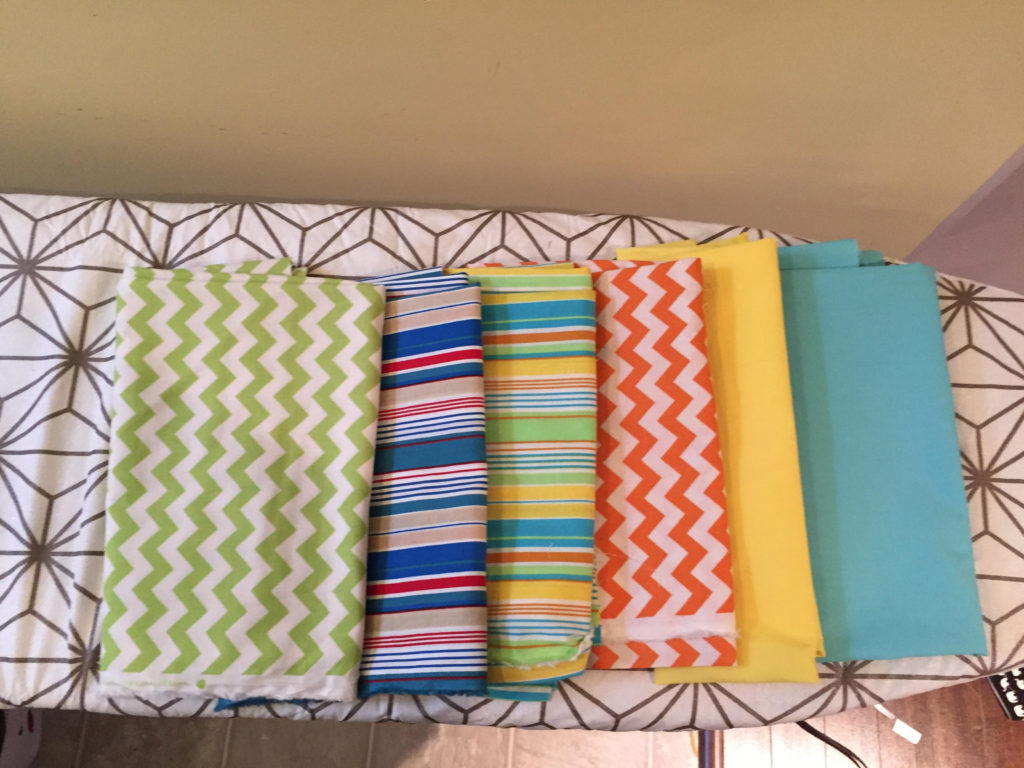
Here are the materials needed for this tutorial:

  • 2.5 metres (total) of cotton and/or broadcloth
  • 1/4 metre of fabric for hanging banner
  • 1/4 metre of fabric for back of hanging banner (optional)
  • Scraps of fabric (cotton, broadcloth, felt, denim) for applique on banner
  • 6ft piece of twine
  • Pinking shears
  • Scissors
  • Heat N’Bond Lite (for applique on banner)

If you just want to make a garland (without the hanging banner in the centre) you don’t need the Heat N’Bond Lite, scraps of fabric, or either of the 1/4 metres of fabric.

To start I strung a piece of twine (roughly 7-8ft long, which is way longer than it needed to be) and tied each end to handles on my cabinets. This will make it easier to loop the cotton pieces.

First you should iron all of your fabric. I forgot to do this somehow and ended up ironing each piece of fabric individually. Hello, time waster!

Once your fabric is ironed you will cut strips of fabric 3 inches wide by 42 inches long. If you have a rotary cutter, ruler and cutting mat this is a breeze. But it can easily be done with scissors as well. It doesn’t have to be exact. I did more of the fun prints and fewer of the solids.

Cut 28 strips in total.
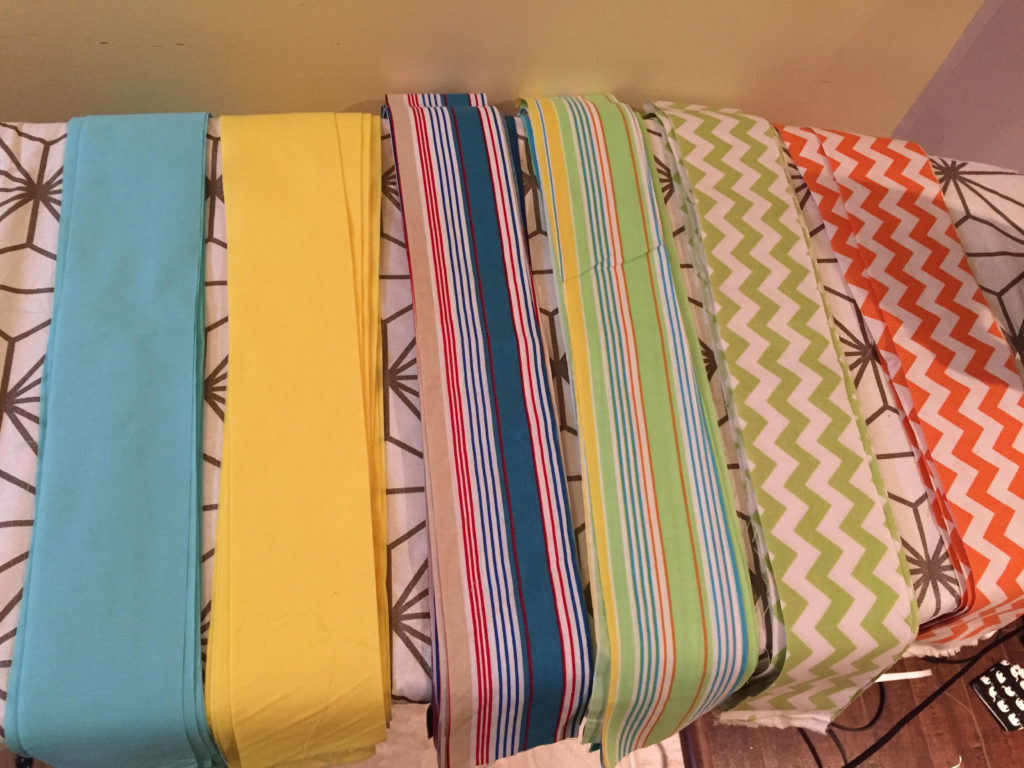
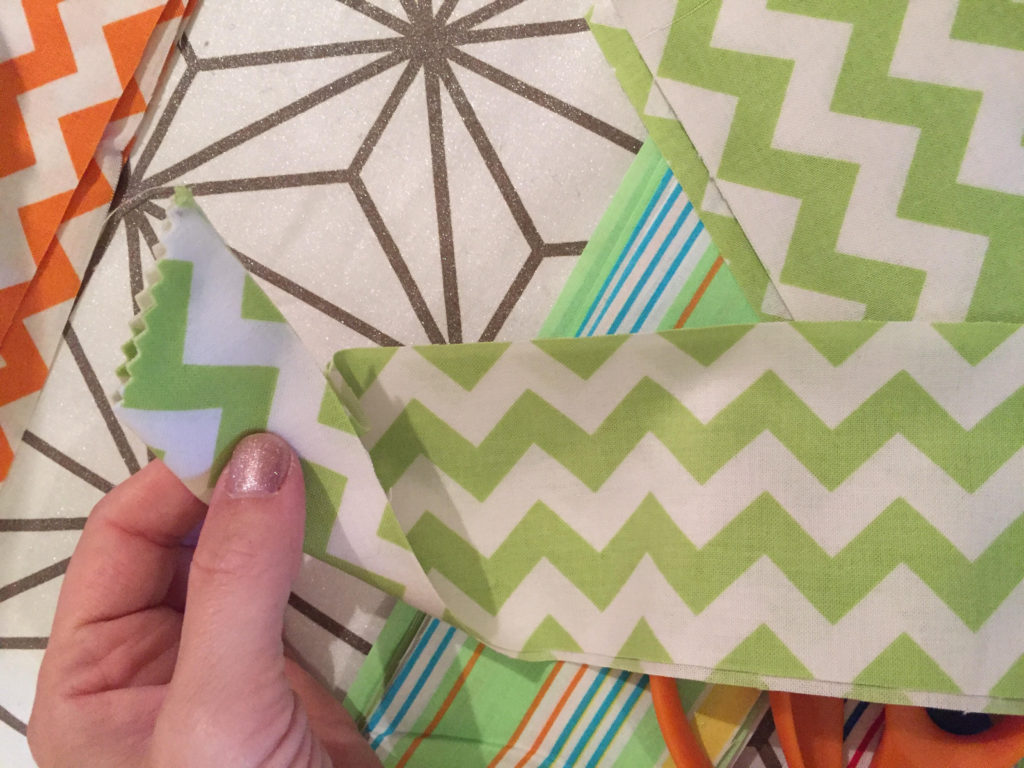
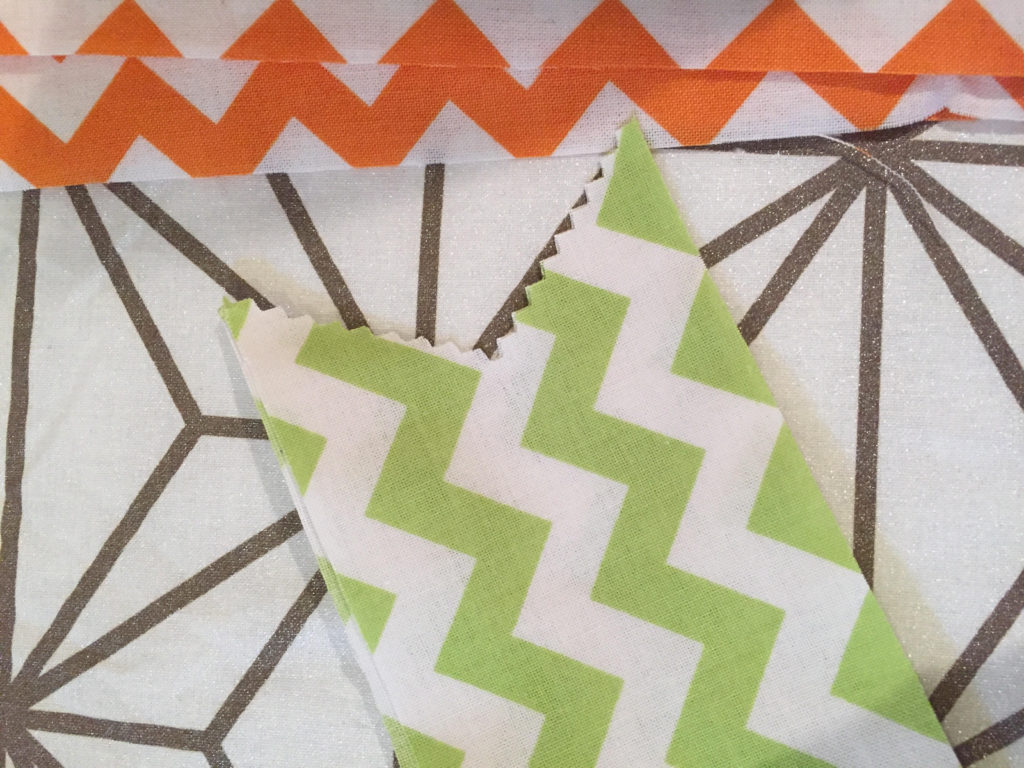
Once all of your strips are cut, fold each piece lengthwise and cut the ends with pinking shears. Here are a few options for the ends:

  • Cut straight across
  • Cut on a diagonal
  • Fold fabric in half and cut a diagonal, making a V shape once the fabric is opened up again (pictured)
If you’re making a hanging banner you will want to cut out two pieces of fabric (from your 1/4 metre pieces) that will be 17 inches long by 9 inches wide. Iron these pieces of fabric and set aside.
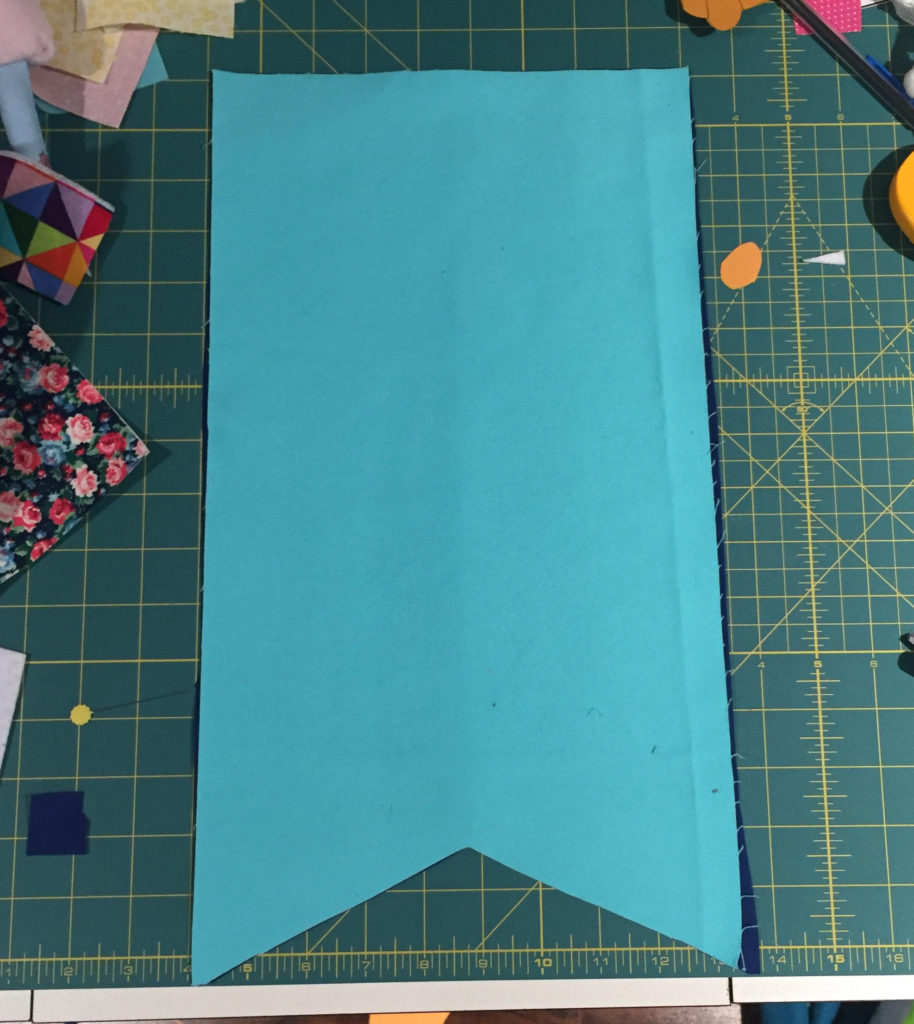
Take your scraps of fabric and attach to the Heat N’Bond Lite per the instructions on the package. Take a look at the fabric and decide how large you want the applique design. In the appropriate size, cut out the numbers, shapes, letters, etc that you want on your banner. I did the number “1” and the monster freehand but you can certainly trace something if you’re more comfortable.

Place both pieces of 9X17 fabric together, right sides facing out, and turn down one of the short ends (one of the the 9 inch ends) about 1/2 an inch. Press. Turn down again and press. Using a straight stitch, stitch along the first folded edge to form a pocket for the twine to go through.

Next you will want to attach the applique designs to your hanging banner per the instructions on the Heat N’Bond Lite. Always make sure you are turning off the steam setting when using applique paper.

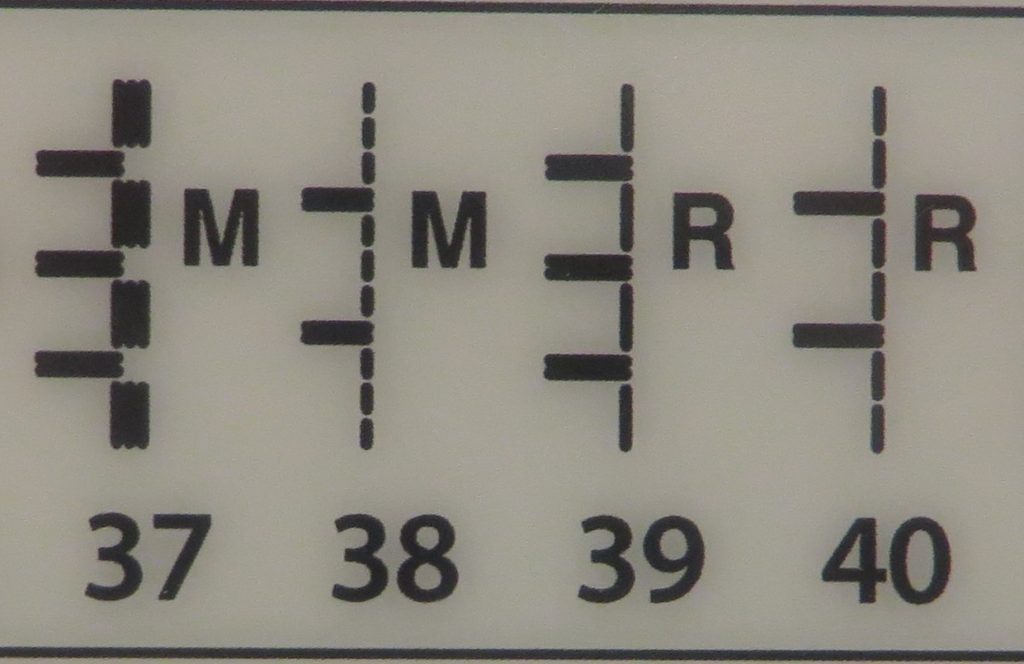
Once the design is placed and pressed on, you are ready to applique. I have a Janome Horizon Memory Craft 8200 sewing machine and I use stitch number 39 for applique.
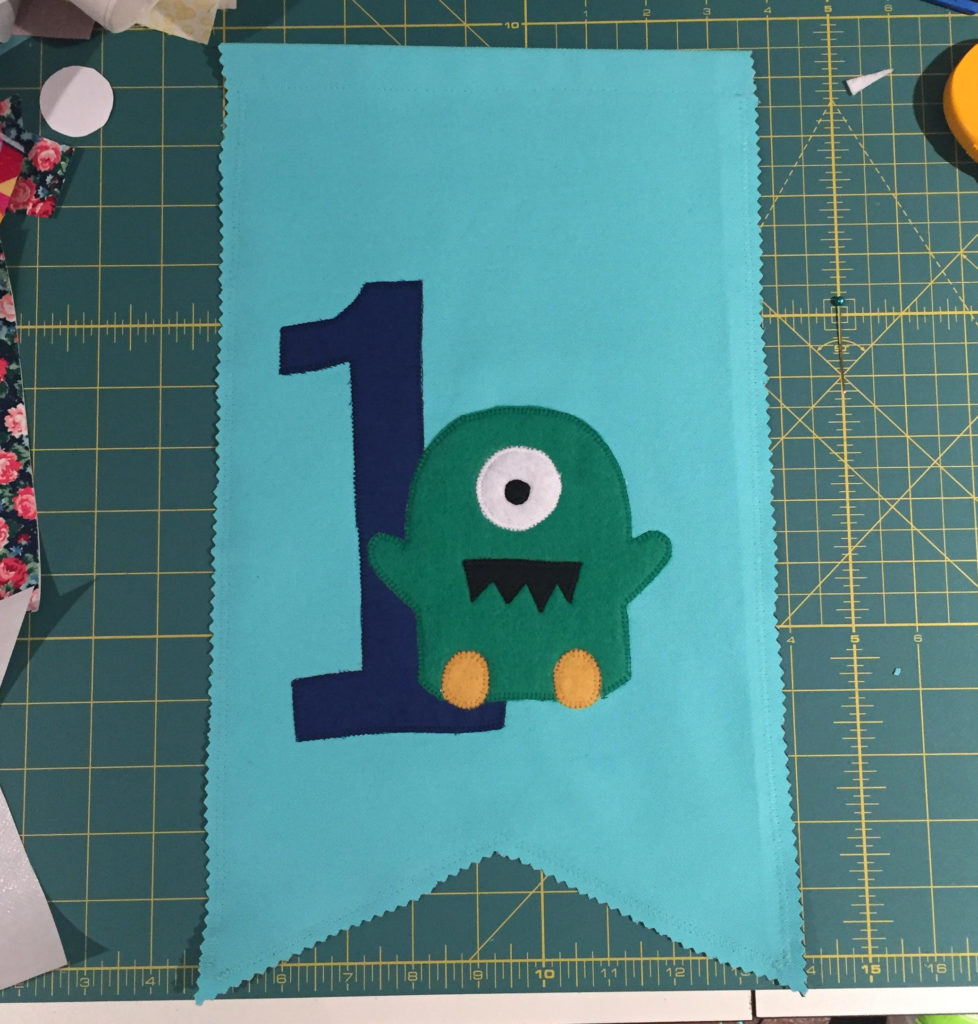
Separate the two layers of the hanging banner. You want to applique only the front piece, as the back piece will later get attached to hide all of the threads and make the project look neater.

Stitch along the outer edge of all applique pieces using either a contrasting thread or a matching thread.

Place both 9X17 pieces of fabric together. The bottom edge can be left straight or you can repeat the “V” pattern that I did on the bottom edge of the cotton pieces.

Next I did a zigzag stitch along the perimeter of the banner, stitching the front and back pieces together. I did not stitch over the ends of the pocket where the twine will thread through.

Once the perimeter is stitched, I used my pinking shears to clip the edges, just for texture.
String the twine through the pocket of the banner. If you are having difficulty with this, I recommend wrapping the twine around one side of a safety pin a few times, then threading the safety pin through the pocket.

Centre the banner along the twine.

You are now ready to string on all of those beautiful pieces of cotton and/or broadcloth! This is my favorite part.

You will use the same technique for this project as you would from my DIY Tutu tutorial. If you go to this video you will get an excellent demonstration of the looping technique at about 3mins 30secs.

Continue looping evenly on either side of the hanging banner. I made each side a mirror image of the other, but you can do it more randomly.

Once you’ve added in all of your pieces, you are done! Your high chair is ready to party!
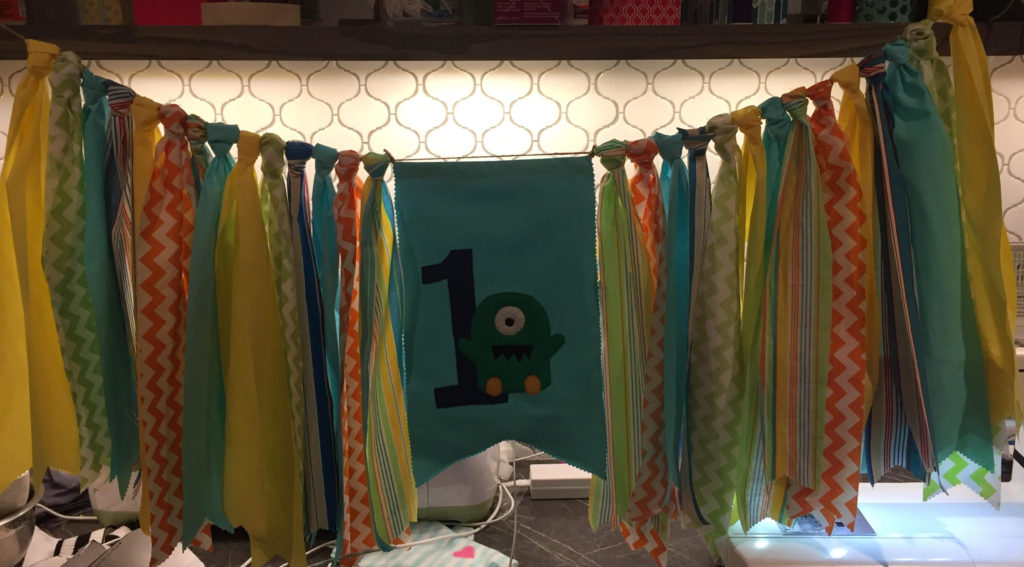
This is such an easy project, especially if you are simply making a garland and skipping the hanging banner in the centre. You can use any color combination you like.

Thanks for checking out my post! Happy Monday!

Heather
DIY Tutu

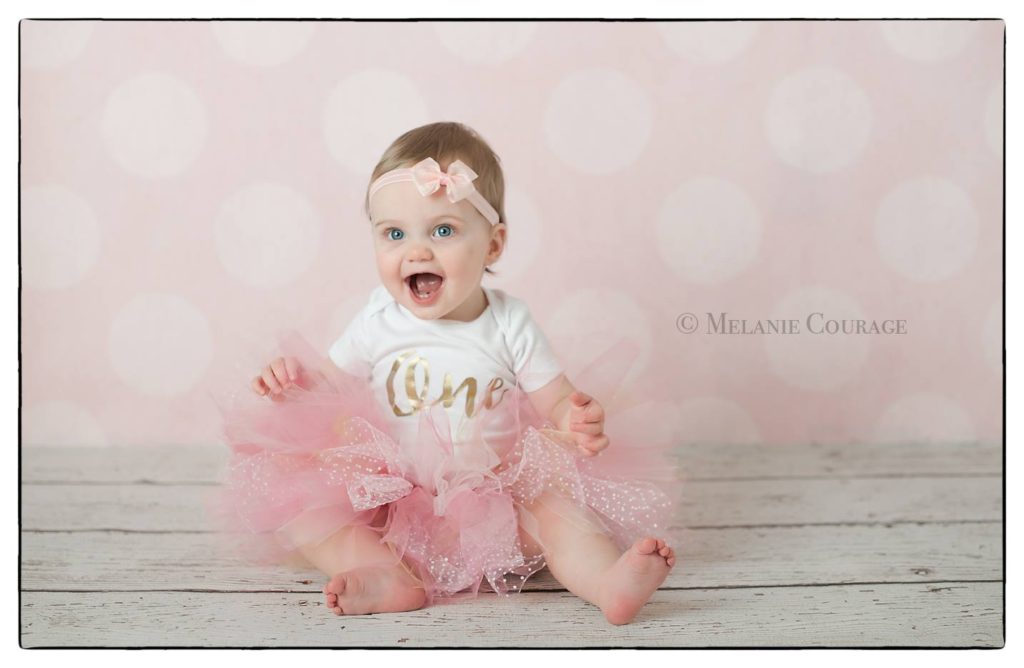
Recently I had the tremendous pleasure of making a tutu for one of my favourite babies in the whole world. The occasion was her 1st birthday and I convinced her mama to let me take a crack at making an outfit for her photos. Amy, thanks for taking a chance on me!

I had a vision of a very full tutu with several shades of pink, but I also knew I wanted lots of texture! I decided to make a tutu with an elastic waist as opposed to a ribbon waist. Ribbon (specifically the bow) can be difficult to position properly on a squirmy baby for photos, so I played it safe.

I looked up measurements for a 12 month old baby girl and most people agreed that 15 inches seemed to be the average waist circumference, and a tutu 8 inches in length seemed appropriate. I headed on over to our local Fabricville store and found the perfect combination of tulle.

Materials:

  • 9m of assorted tulle
  • 17 inch strip of 1 inch elastic (white)
  • Needle & thread
  • Scissors
  • Measuring tape

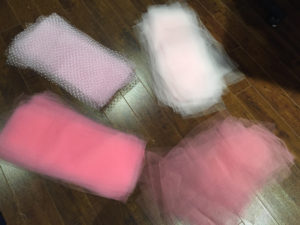
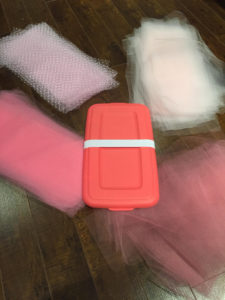
I selected baby pink, bubblegum pink, dusty rose, gold and bubblegum pink flocked tulle. I got less of the dusty rose, flocked and gold as I knew those would be accent pieces. I used 9 meters of tulle in total, with very little left over, surprisingly.

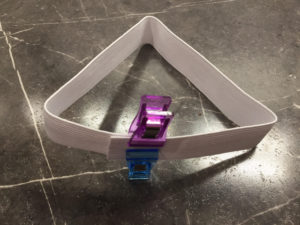
I used 1 inch elastic and formed a loop, overlapping and stitching the ends together. The loop needed to be 15 inches when complete, so I cut 16.5 inches to allow a decent overlap. I used clips to hold it in place. I then stitched the overlap of the elastic together.

To make the tutu I would cut strips of tulle just over double the length I needed, as the tulle would fold in half over the elastic and would be looped in place. So I smoothed out the tulle and cut strips that were 6 inches wide by 16 or 17 inches long. I wasn’t too precise with this as I knew I could trim pieces when I was done. I forgot to get a photo of the gold once it was cut, but you get the idea.

Next I looped the elastic waistband over the lid of a container I had. Some people use cardboard, but you can use whatever you have.

To secure the tulle over the elastic I folded each piece in half. Lay the folded tulle flat against the elastic, wrap the cut edges around the elastic and pull through the loop at the top. Pull tightly to secure. Make sure you are wrapping in the same direction for each piece of tulle.

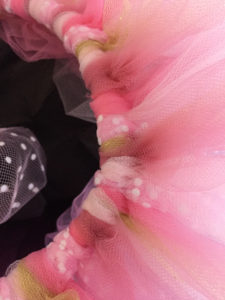
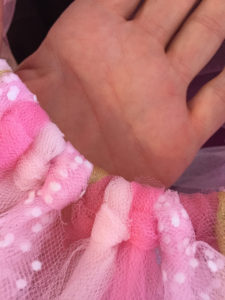
Once you’ve done this, the top view of your waistband will look like this:

The underside of the tutu will look like this:

I added the tulle fairly methodically, particularly when I was adding in the flocked, gold and dusty rose tulle. I wanted to ensure they were evenly spaced, so I roughly alternated colours.

Once it was done I took a final measurement of the waistband (as adding in a lot of fabric can make the elastic stretch) and laid the tutu flat for an inspection. I trimmed the longer pieces to ensure it was the proper length all around. If you do notice that your waistband has stretched, removing a few pieces of tulle evenly throughout the tutu will help.

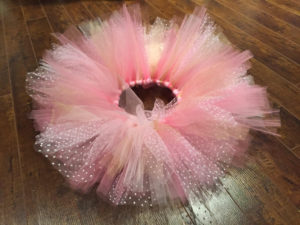
The tutu ended up being exactly as full and textured as I had hoped. I loved making it and it took about 90 minutes in total, including the time it took to cut the tulle.

Happy 1st Birthday, little sweetheart!

Heather