This weekend I’ve been busy making aprons for toddlers. You might recall a previous post An Apron Pattern to Love and this apron follows a lot of the same instructions, however there are some differences for sure.
My son is nearly 3 years old and absolutely loves to bake and help prepare meals. He’s got a little learning tower in the kitchen so he can reach the countertop, and I often find him reaching for my aprons to wear. I made this one in a 3T-4T size.
My family is Halloween-obsessed. No joke. We spend weeks preparing costumes every year, and we go a bit nuts with decorating the outside of our house. The little one has caught the Halloween bug and just loves anything spooky!
One way I make sewing a bit more economical is by buying seasonal fabric (Christmas, Halloween, Easter, etc) on clearance at the end of each season, to use the following year. I have a stash of Halloween fabric from years gone by, so there couldn’t have been a more perfect time to use my spookiest prints than for my sons first apron.
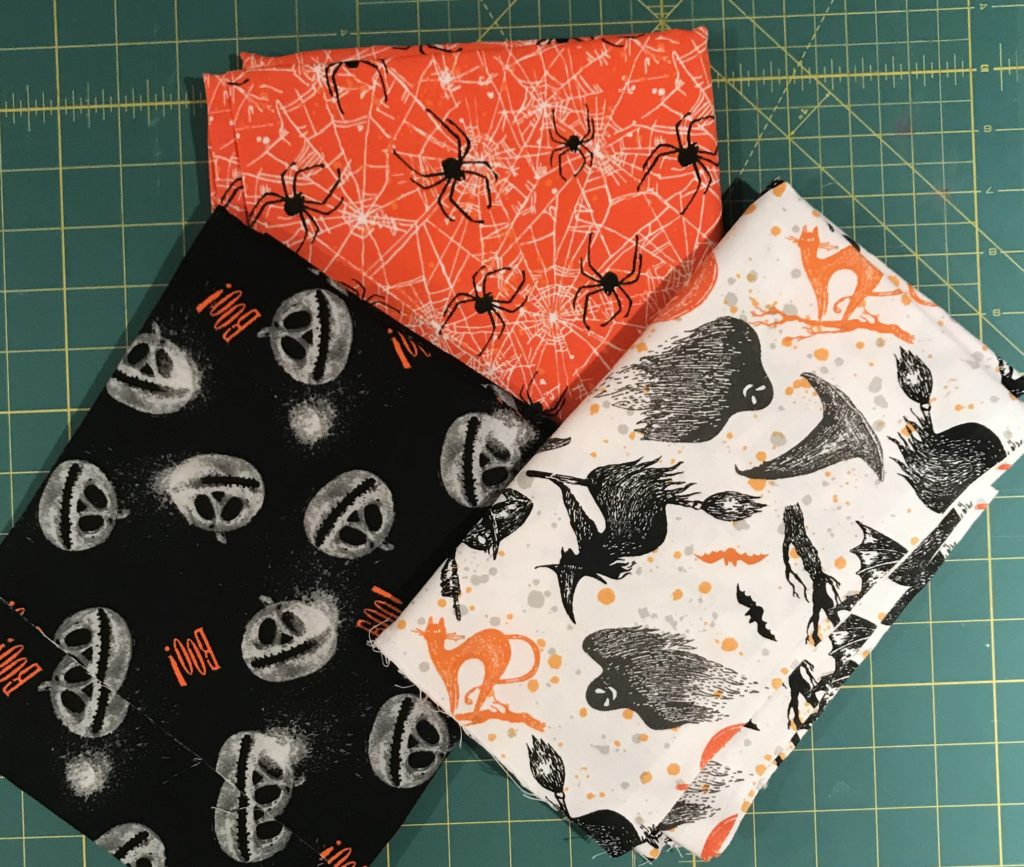
Materials needed for this tutorial:
- 3/4 meter of fabric (I used cotton, and I used 3 coordinating fabrics in smaller quantities)
- Safety pin
- Ruler
- Cutting wheel
- Cutting mat
- Pins
In keeping with quilting rules, I did not pre-wash the cotton for this tutorial. If you’ve ever pre-washed cotton you will know that it frays and gets terribly tangly around the edges after going through the dryer.
I started by ironing my fabric to get the creases out. I was using 3 coordinating Halloween fabrics so I selected one for the body, one for the trim (around bottom and top of apron), one for the pocket and tie.
Using my cutting mat I laid out the fabric for the body of the apron. Being aware of the direction of the print on the fabric, I cut a rectangle that was 19 inches wide and 28 inches long. In hindsight I probably could have gone with 25 inches long because the apron did end up being a bit long on my son, but as he grows it will still work for him.
Once I had the 19WX28L rectangle cut I folded it in half lengthwise (the folded piece would now be 9.5WX28L). Working from the cut edge I measured down from the top 5 inches, placing a pin. Working now from the folded edge at the top of the apron body, I measured across 4 inches and placed a pin. The area between those two pins is the armhole.
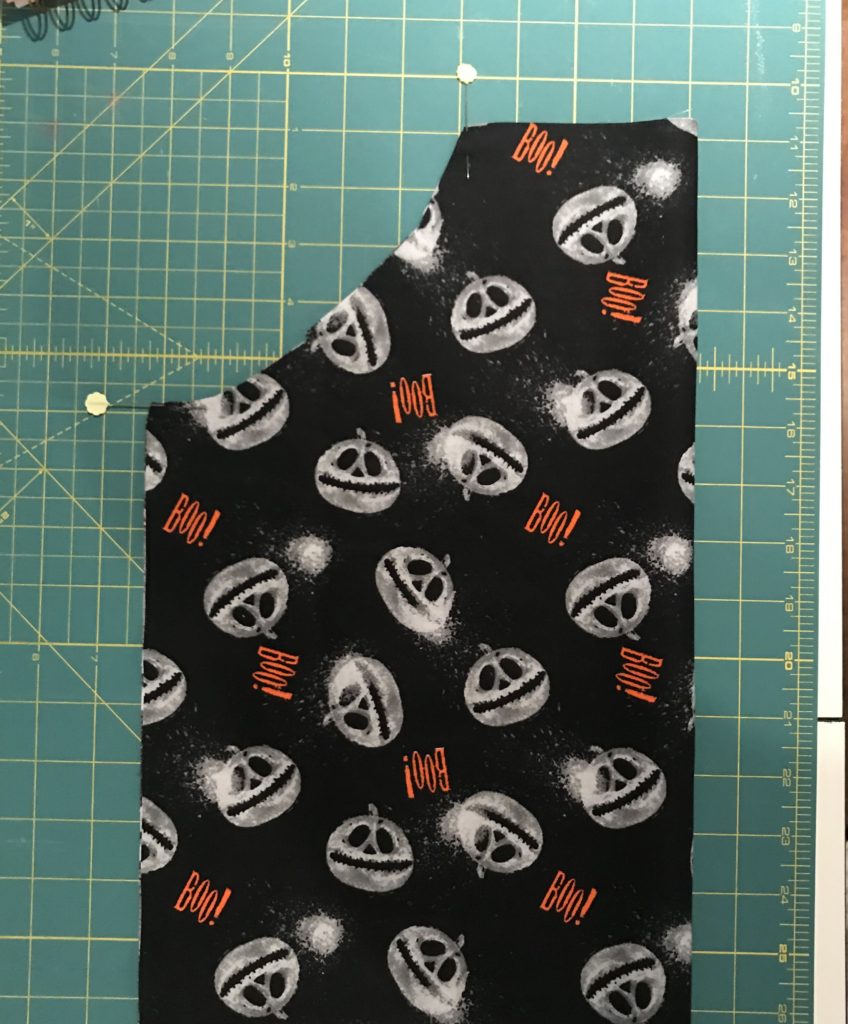
Next you need to cut between those two pins. I’ve included a photo here so you can see the shape I use. If you make it too rounded it won’t fit nicely under the arms.
Once you’ve cut the armhole, you will start the trim piece for the chest and bottom of the apron. For the bottom (again, mind the direction of the print on your fabric!) I cut a piece that was 8 inches long and 19 inches wide. For the top I did 9 inches wide and 6 inches long.
To attach the bottom piece I ensure both pieces of fabric are pressed and wrinkle-free. Then I flattened out the body of the apron and placed the rectangle for the bottom trim over top, with right sides together. I lined them up and pinned along the edge.
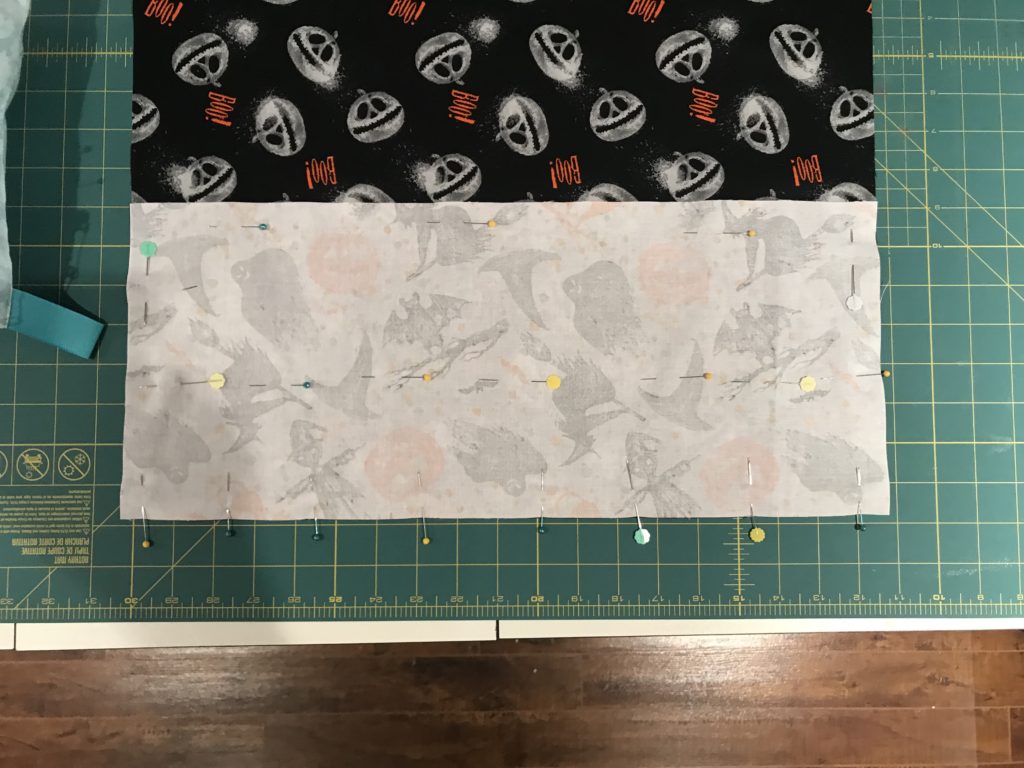
When I sew along this edge I use a 1 inch seam allowance, which is a lot but you’ll be making a bit of a pocket with this shortly so you will be thankful you’ve given yourself lots of fabric to work with.
Stitch along the edge. Once you’ve stitched, your 1 inch seam allowance is now 2 pieces of fabric, but we want to trim the lower piece.
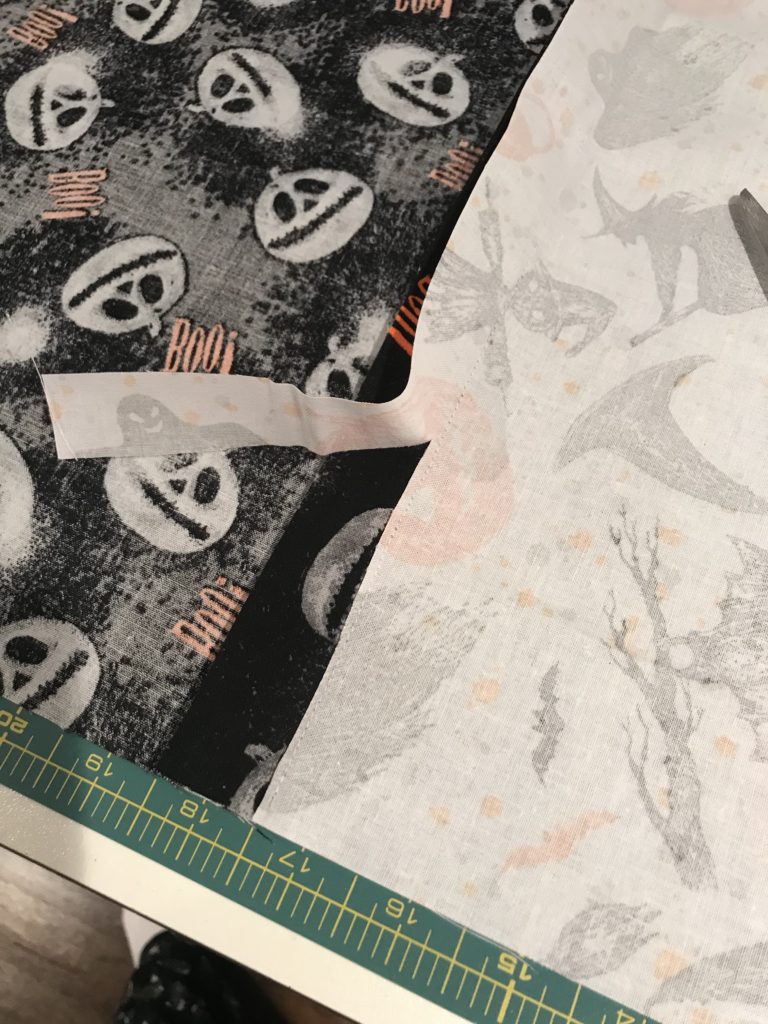
Next you want to press the main body piece of fabric (the seam allowance) downward, to cover the piece we just trimmed. Give it a good press, using steam.
The seam allowance will now be tucked up under itself, encasing the cut edge of the lower fabric.
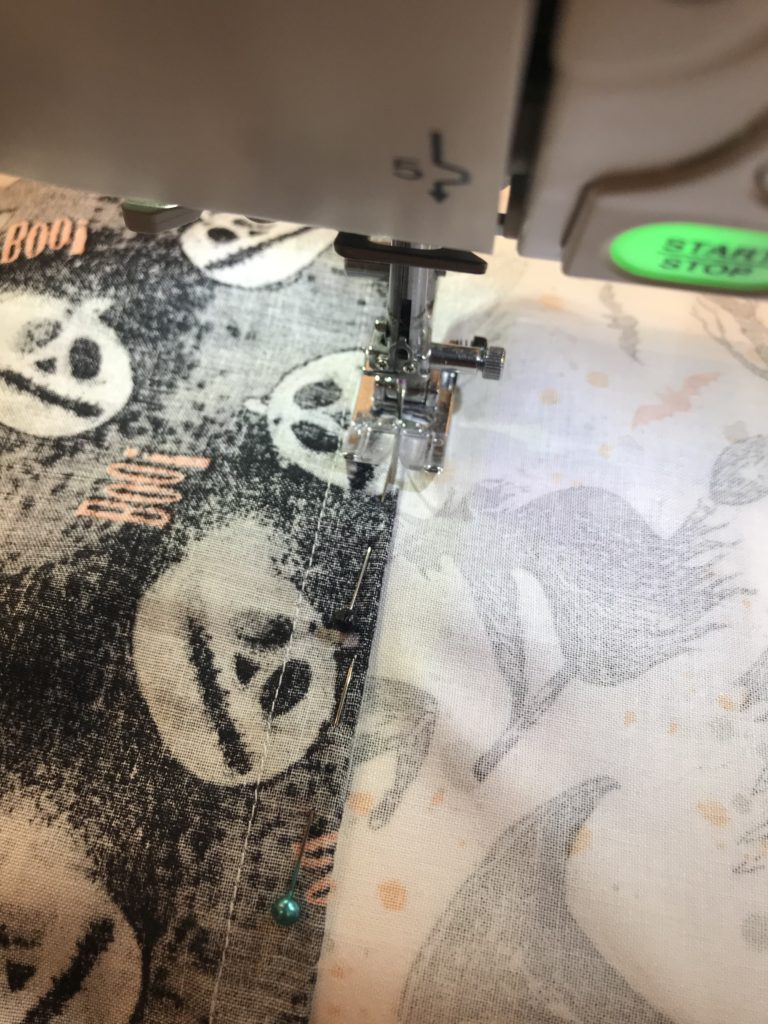
So you can see I tucked the main fabric under, pinning as I go, ensuring the other fabric is entirely covered. I then stitched along the folded edge. Note: For this stitching you will want to ensure you are using the matching thread and bobbin. The stitches will be visible from the front. Sometimes, for simplicity, I use whatever thread is already in my machine for non-obvious stitching, but from this point forward you will want to ensure you have spools and bobbins to coordinate.
Next I fold up the bottom edge of the apron to form the hem. I turn the hem up twice, 1 inch each time. I like the look of a thicker hem. So you are losing 2 full inches from the length of the apron by doing this, but it does give a nicer look.
Next step is to attach the top piece of trim. So we’ve cut a piece that’s 9 inches wide by 6 inches long. Fold it down lengthwise (so the rectangle is now 3 inches by 9 inches) and give a good press. You’ll then take each of the cut edges and fold them inward.
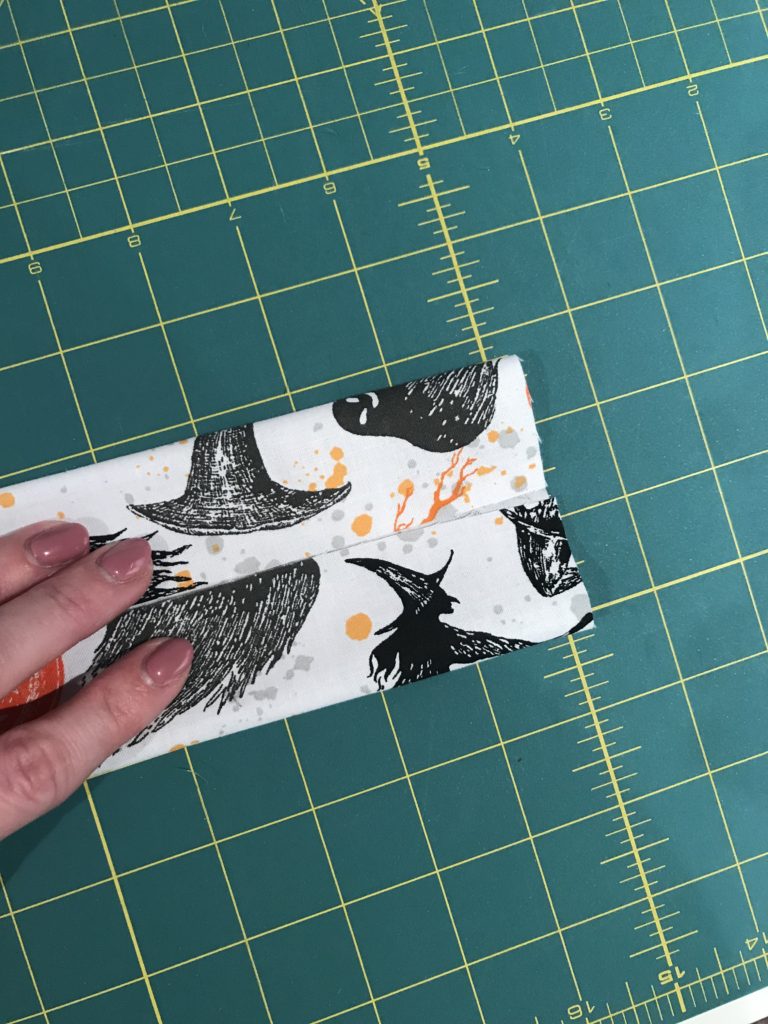
Give it another good press, then fit it neatly over the top of the apron bib. Stitch.
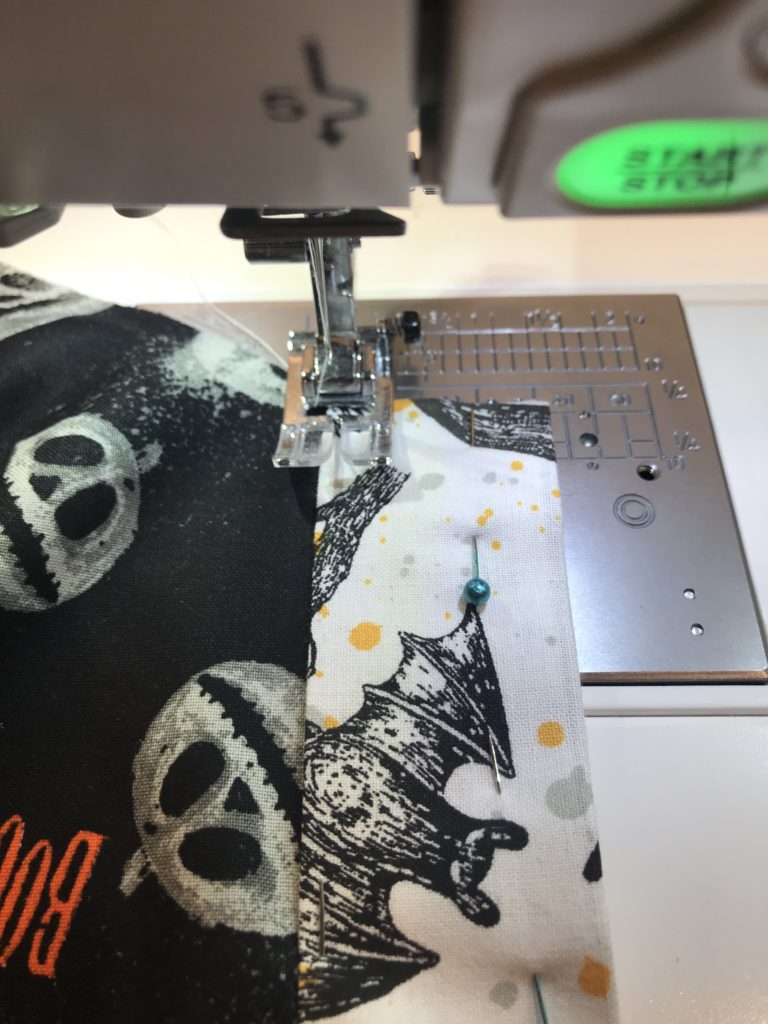
Once that’s in place, give a good press with the iron. Your apron is now really starting to take shape!
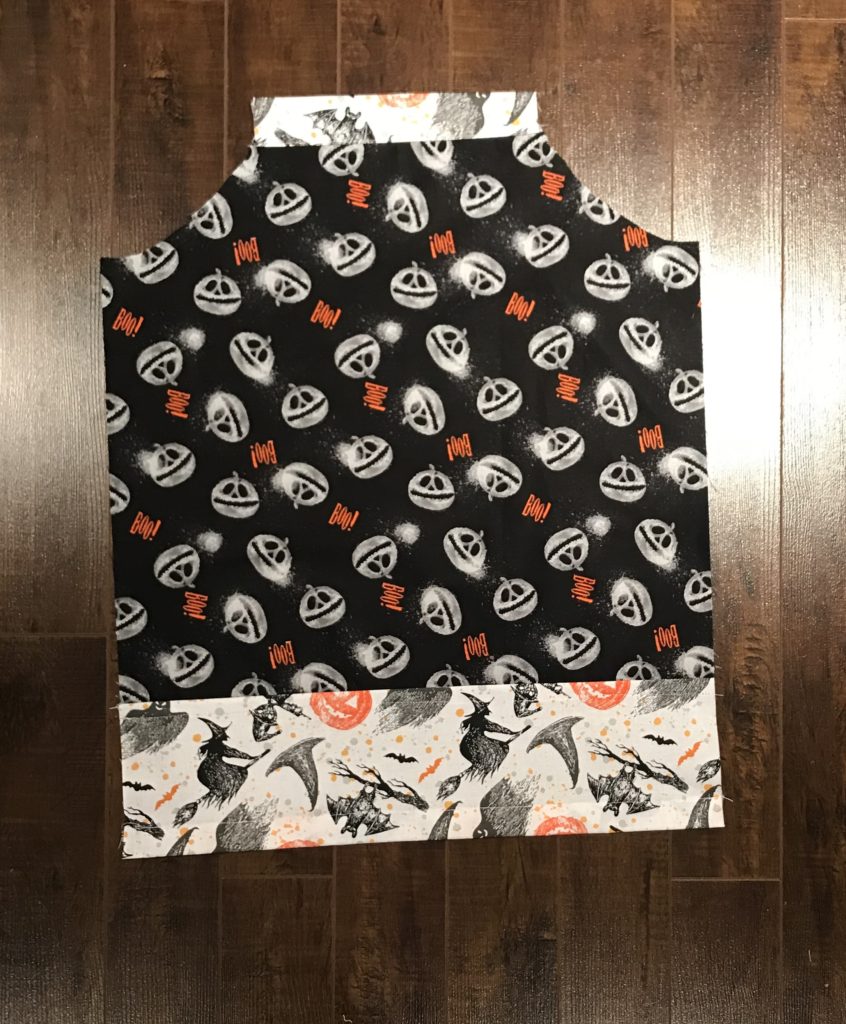
Next step is to sew the sides of the apron. You will want to use a narrower tuck here than we did for the hem. I use 1 inch for the sides, pressing, then tucking it in half to ensure no raw edges are visible.
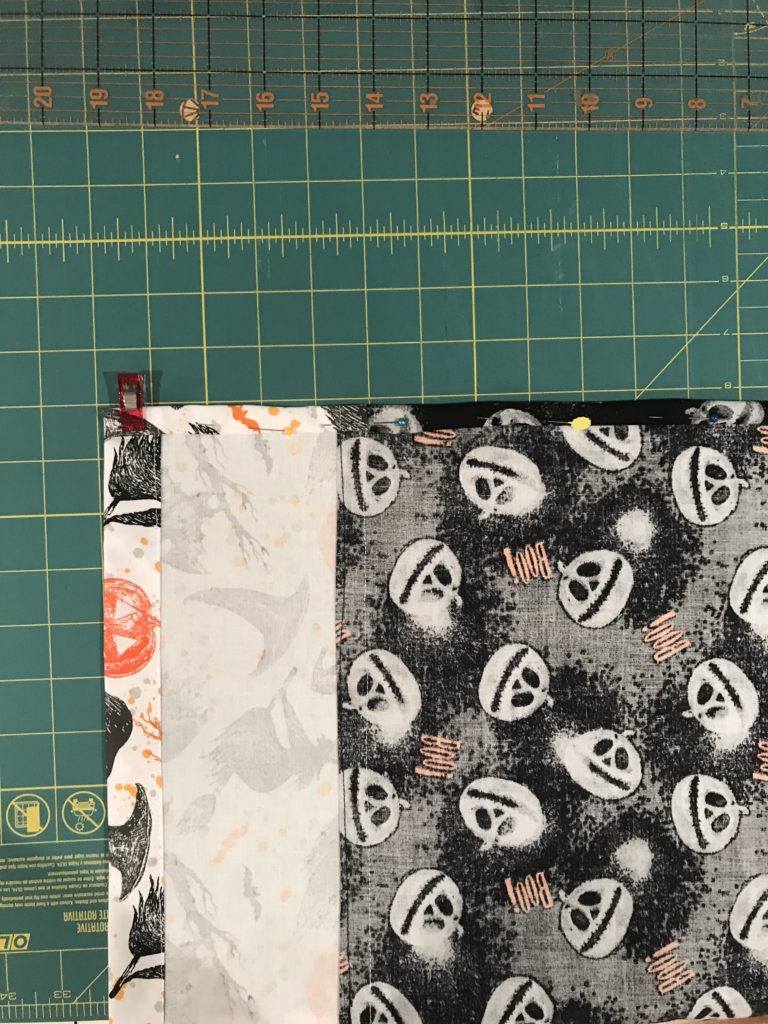
When you are stitching the sides it’s important to remember that you have a different color for the trim than the body. This means you will want to switch out your spool and bobbin part-way up the sides. I usually start with the trim first (as the thread is still in there from doing the hem and the bib). So you’re just stitching to where the fabric changes to the main body on each side.
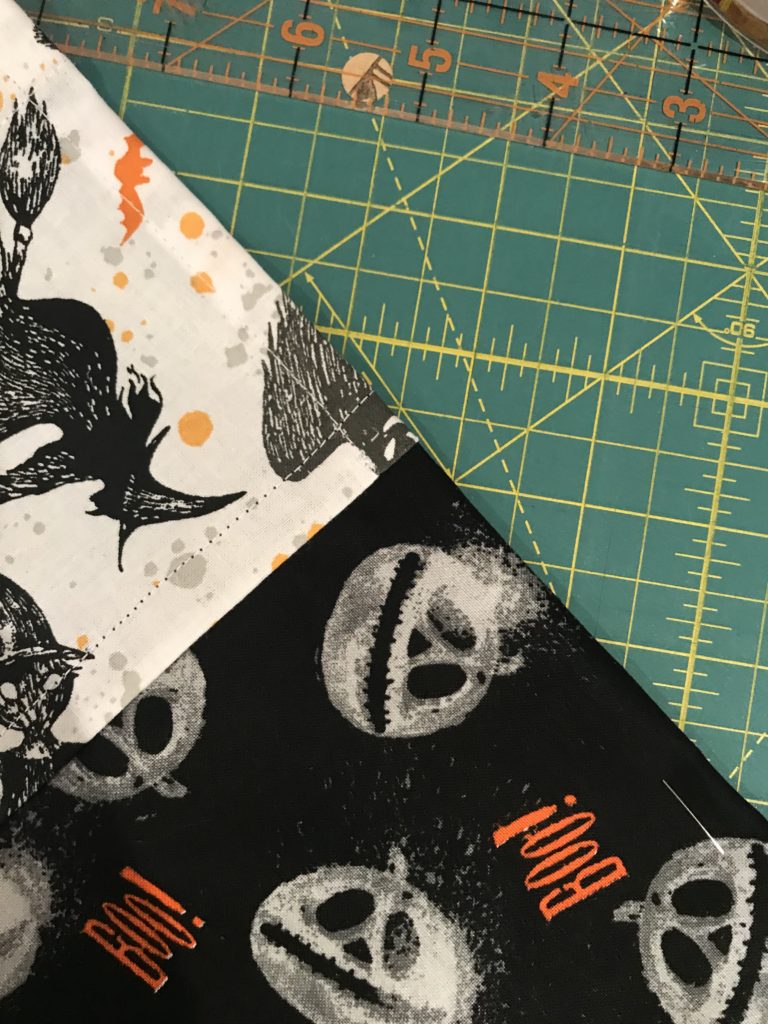
Now the body of the apron is sewn except for the armholes. This is the part I despise every time, but it’s a must. Some people use lining for their fabric for the armholes, but I rarely do that extra step. This apron is for a toddler who grows like a weed – it won’t be around long enough to worry about lining it.
Here is the general shape you need for the armhole casings:
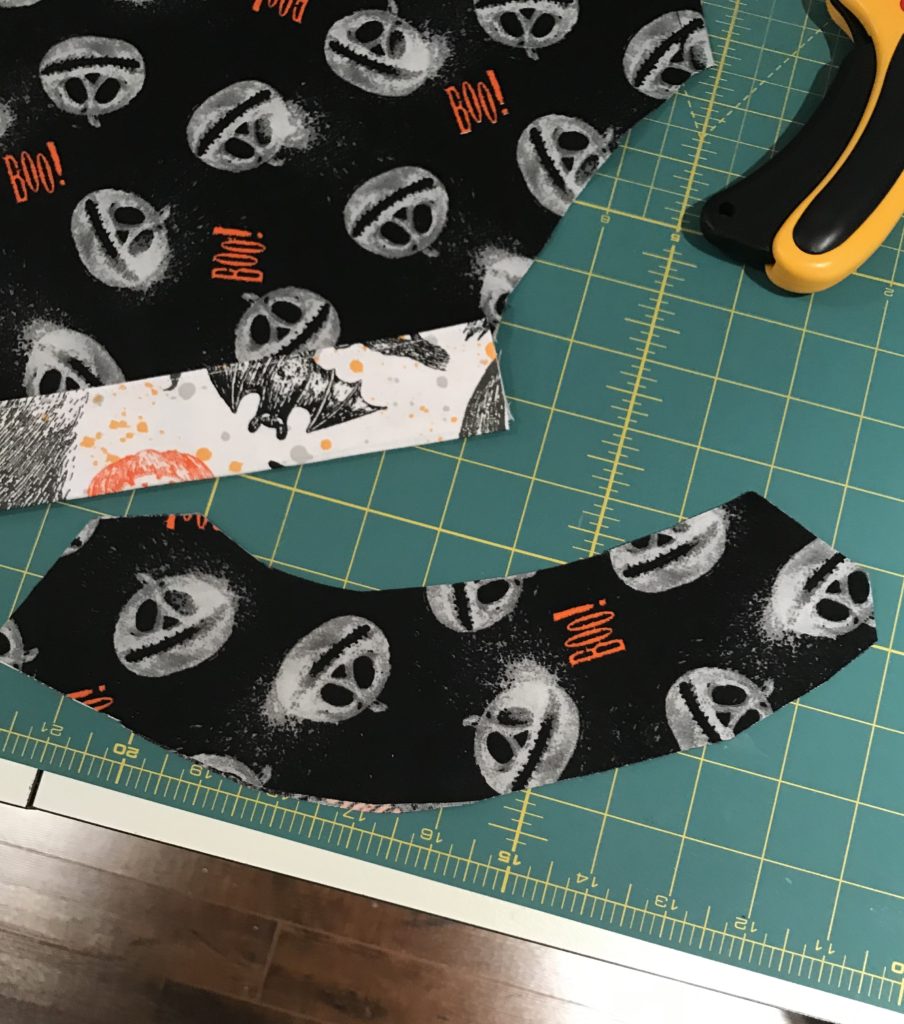
To make my own armhole casings (lining is optional here) I just take a rectangle of fabric and lay it flat against the front of the fabric (right sides together). One edge will follow the shape of the armhole you created, and then you basically measure out 2 – 2.5 inches and cut. You need to leave the ends about an inch longer so you can sew them under.
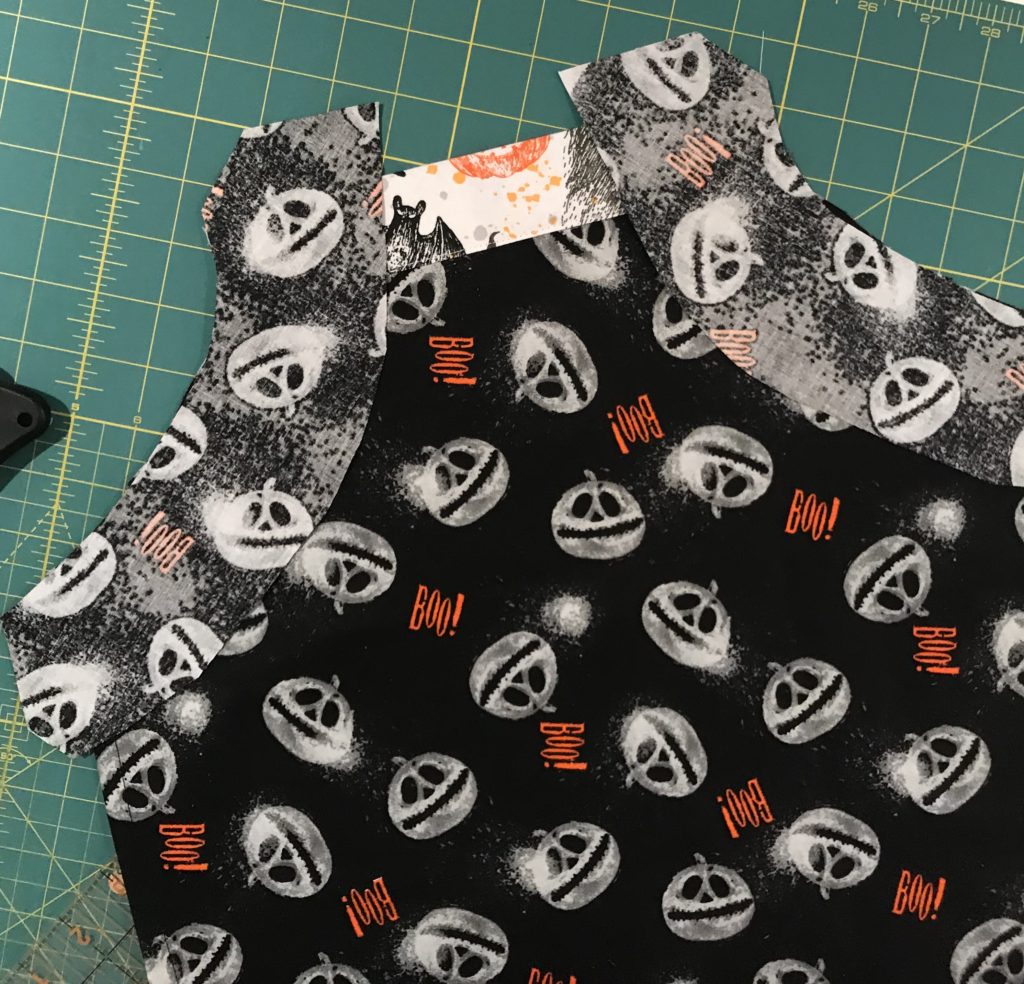
So for this next part, I’ll do my best to put it into words: You have to take that extra length and turn the ends in, and sew them shut. This facing will eventually have the apron strap fed through it, so you want to ensure the edge is not going to fray.
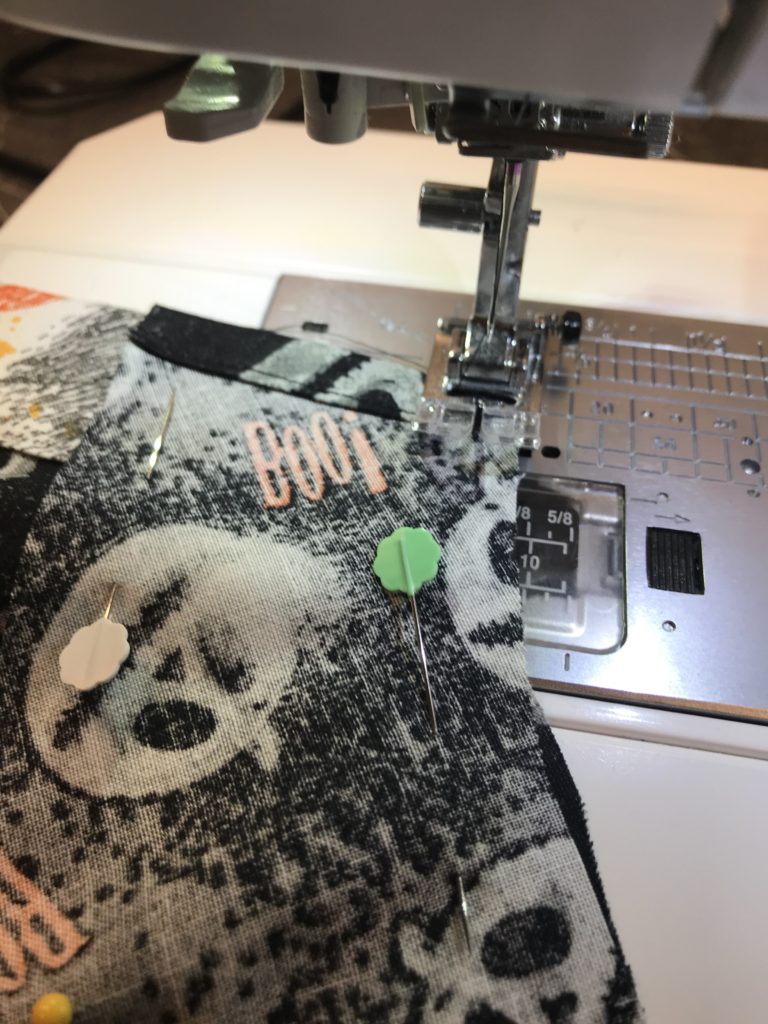
This next photo is where I am closing up the end of the facing (with the body folded away from the machine so I don’t accidentally stitch them together:
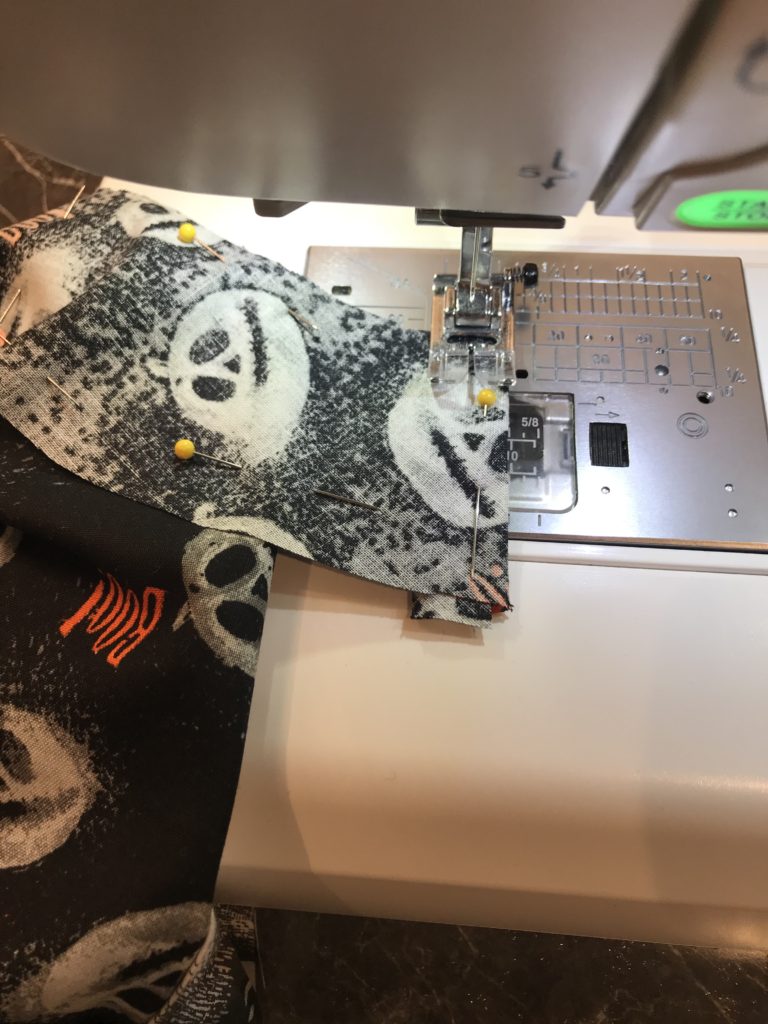
Then once the ends are all stitched, I attach to the armhole. I use about a 1/4 inch seam allowance here.
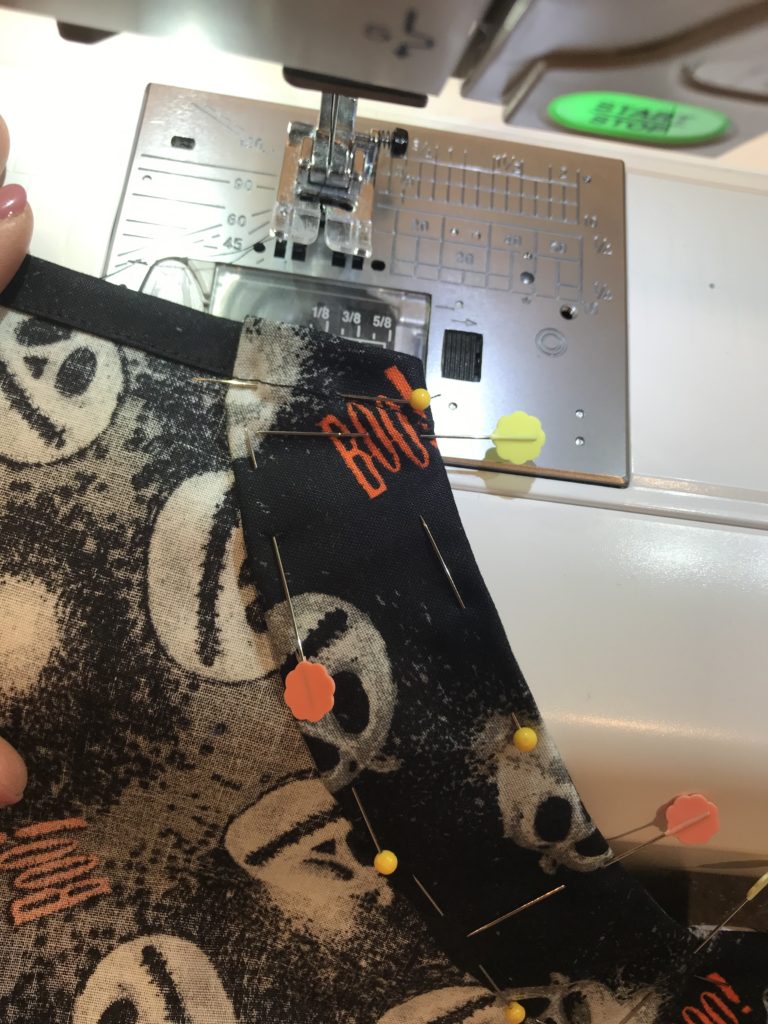
Once it’s attached to the body of the apron, you will turn it right side out, and press the seam firmly with an iron. Next you turn in the edge of the facing about 1/4 inch and pin along as you go. You will be leaving the ends open, again to thread the apron strap through.
Not unlike when we did the bottom trim, the top trim has two different patterned fabrics so you need to switch out thread and bobbin part-way through. If you look at the front of your apron you will notice your upper trim is about 1.5 inches. As you’re sewing the facing to the body of the apron, you are stitching over that trim. So I recommend switching out threads to give the best look.
The hard part is officially done now! You’re ready to add a pocket and sew the apron strap.
For the apron strap I cut two straps, about 36 inches each in length and 3 inches wide. Join them, right sides together. Press the seam open.
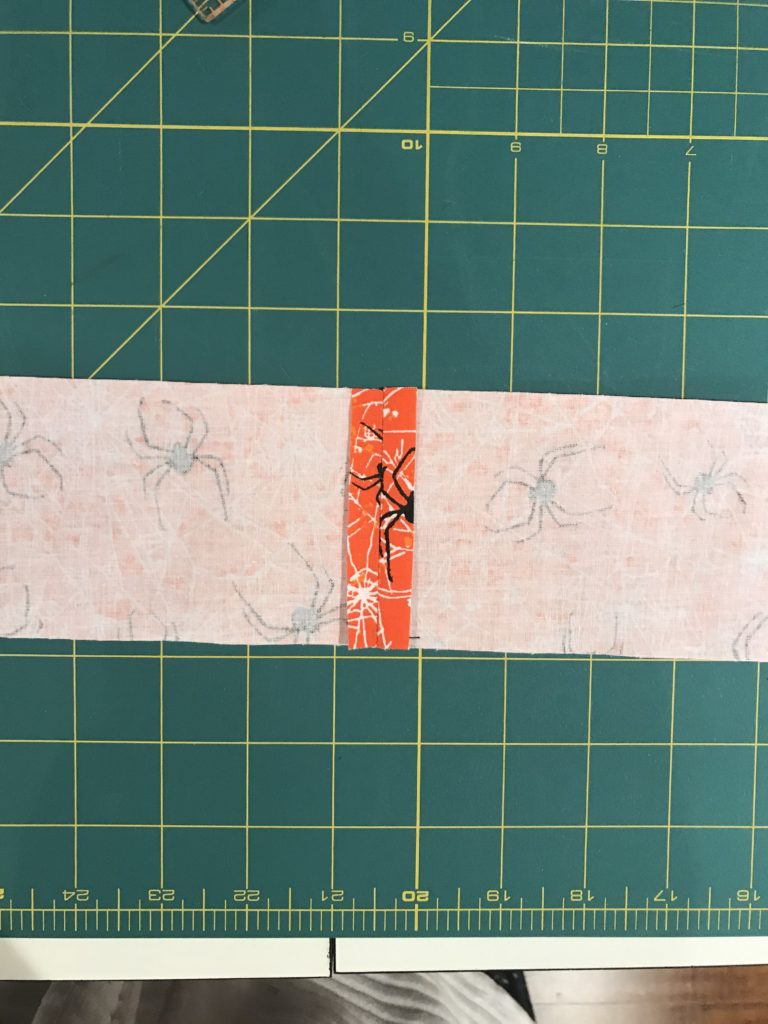
Press the ends of the strap over so no raw edge is visible.
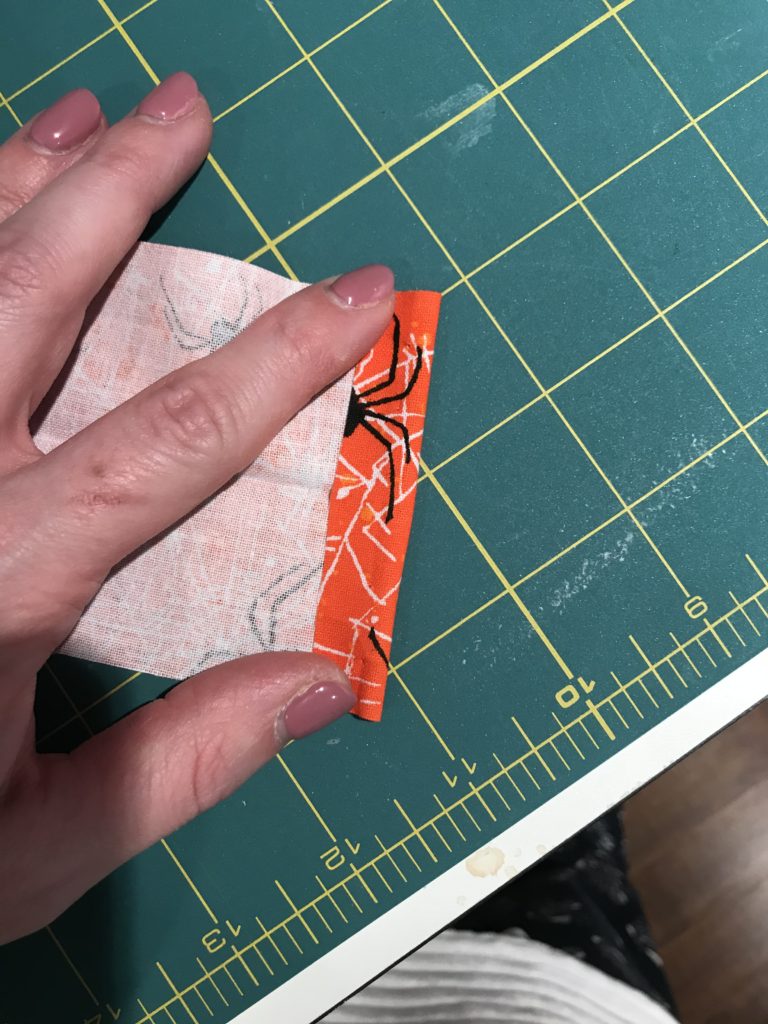
Next you need to fold the strap in half (so now your dimension will be 1.5 inches X 72 inches). Press. Then tuck each of the cut edges under a second time.
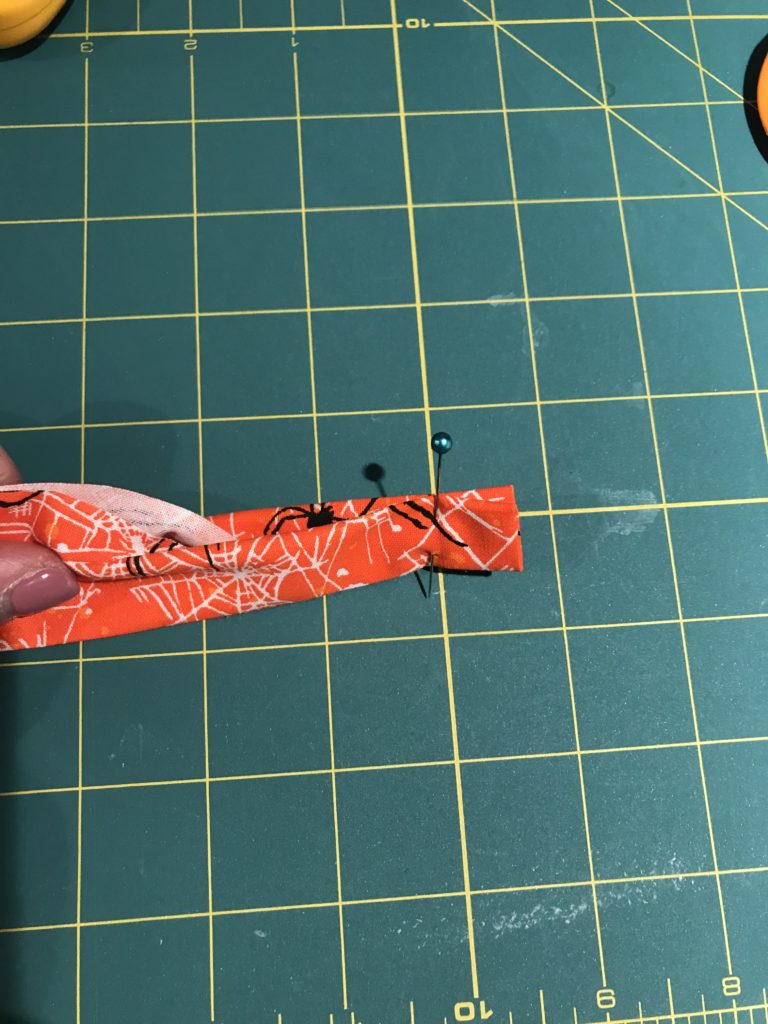
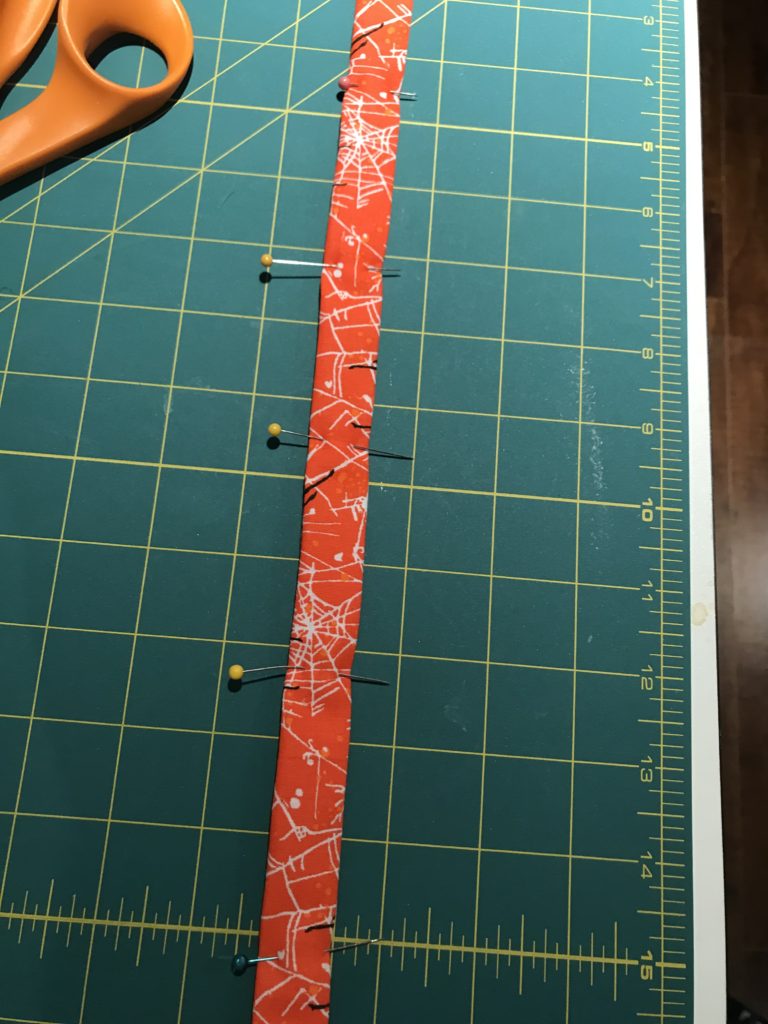
Set aside the strap and we’ll move onto the pocket. You can be really creative with pockets. You can do a big pocket, a small one, many small ones, a pocket on the bib, whatever you like. Add lace or ribbon to the top of the pocket to really dress it up.
I cut a square 8 inches by 7 inches wide. For the top of the pocket I fold down about 1/2 an inch, press, and fold down again. Stitch across the fold. If you want to add lace or ribbon, pin it on before stitching – two birds, one stone. Just be sure to use the right color thread, whichever option you choose. I like the look of the wide seam there. Then I press about 1/4 inch around the rest of the pocket.
Lay the pocket on the apron wherever you like. Measure across or from the bottom of the apron to ensure it’s straight.
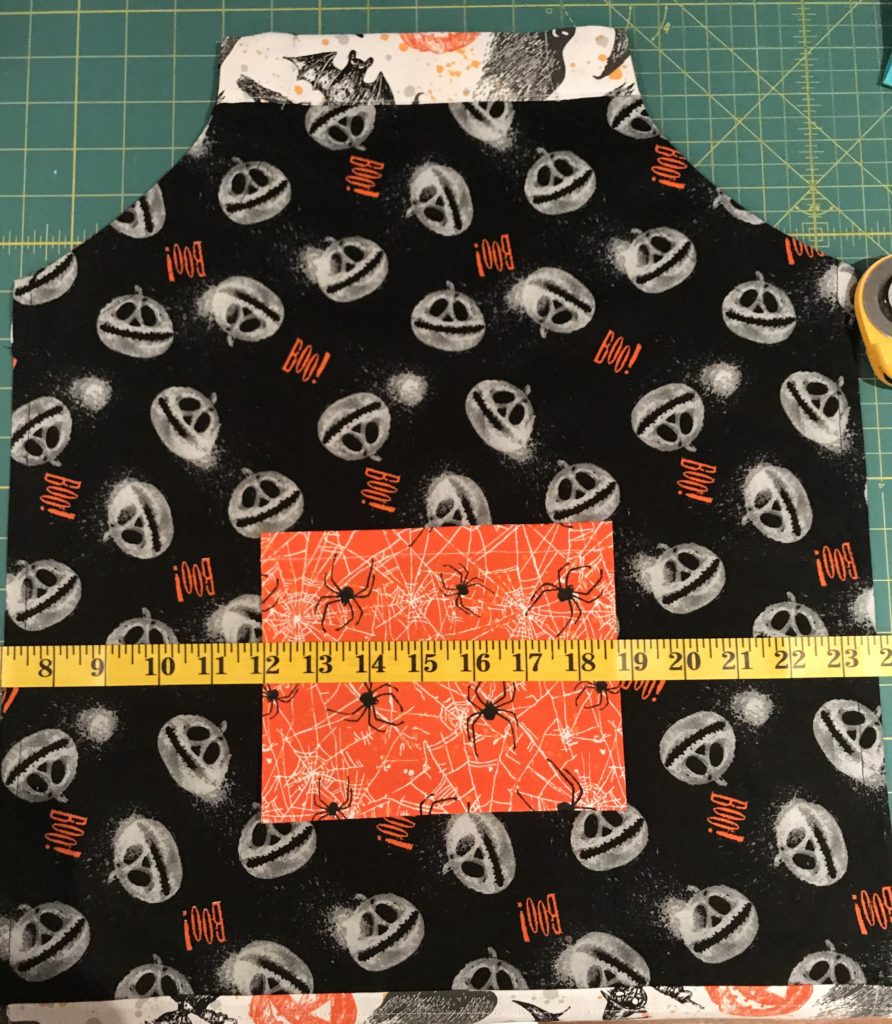
Once it’s pinned in place, stitch around the three remaining sides, ensuring you backstitch properly at the top of the pocket where there’s likely to be more strain on the seam as the pocket gets used.
Give the apron a good press, using steam, and you’re ready to put the apron strap through the facings.
Back in my early years when I began sewing my mom taught me how to do this – attach a safety pin, close it up, and feed it on through. This is a great trick if you pull a string out of a hoodie or a drawstring out of pants.
As you do this, ensure your strap stays flat and doesn’t twist.
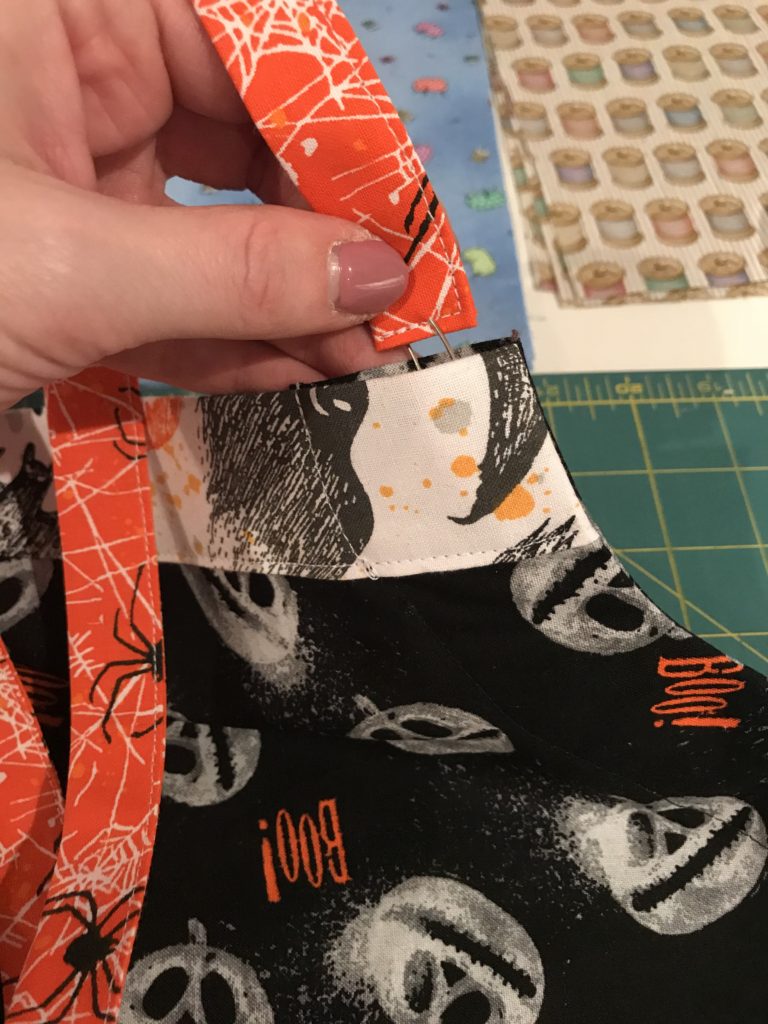
And you’re done! This is such a fun little project and once you’ve done it a couple of times, you can get these out in about an hour. They are a great stash-buster and they make great gifts.
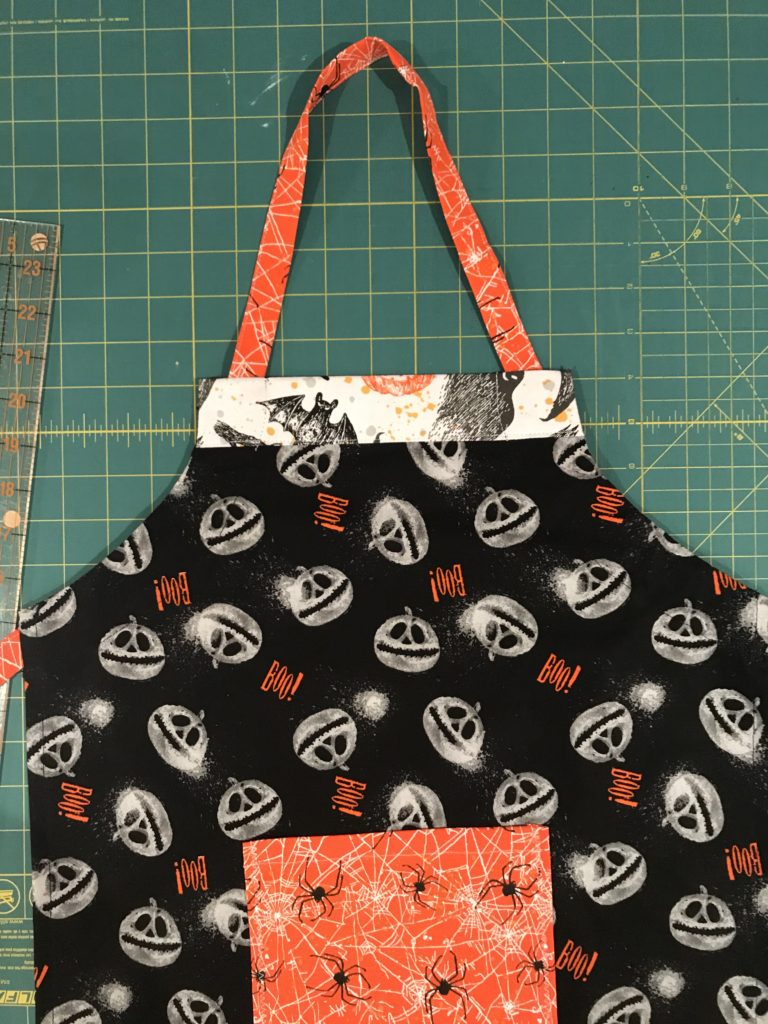
You can personalize aprons by appliqueing a name or initial on it. I’ve also seen people applique things like mixing spoons or cupcakes on them. One day I’ll find time to try that out.
Other ways to personalize would be including decorative stitching, embroidery, decorative ribbons or lace, buttons, etc. The possibilities really are endless.
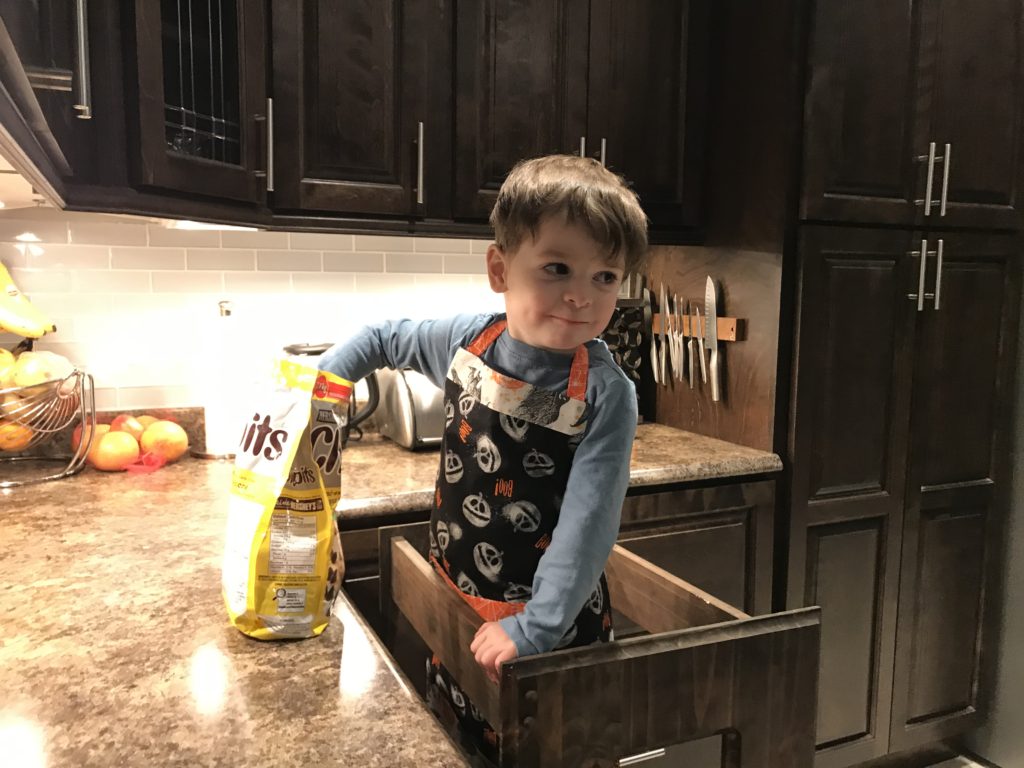
Thanks for stopping by and checking out my post today!
Oh, and when you go to wash this apron it’s best to knot the strap together because it’s adjustable, so it can come out in the vigorous washing machine. If it comes out you can always use the safety pin trick above to thread it back through.
Heather


