Just over a year ago I was preparing for my baby shower. Where does the time go?! My little boy will be 1 at the end of April. He’s aged one year, I’ve aged 5 years. My husband never ages.
Anyhow, I wanted to make something special as take-aways for my guests. I decided to make bath bombs and had 60 guests attending, so I ordered some of my supplies in bulk online, and picked up the rest at the local Bulk Barn.
I tried out a few different recipes before tweaking them and finding what worked best for me. This recipe, therefore, is a compilation of a bunch of other recipes. I’ve read (what feels like) a hundred bath bomb recipes so you don’t have to. You’re welcome!
Last night I hosted a bath bomb making party for a group of amazing Mom friends, so we snapped a few photos along the way (thanks, Tash!) in preparation for this post. Somehow we stopped goofing around long enough to get 7 batches of these made.
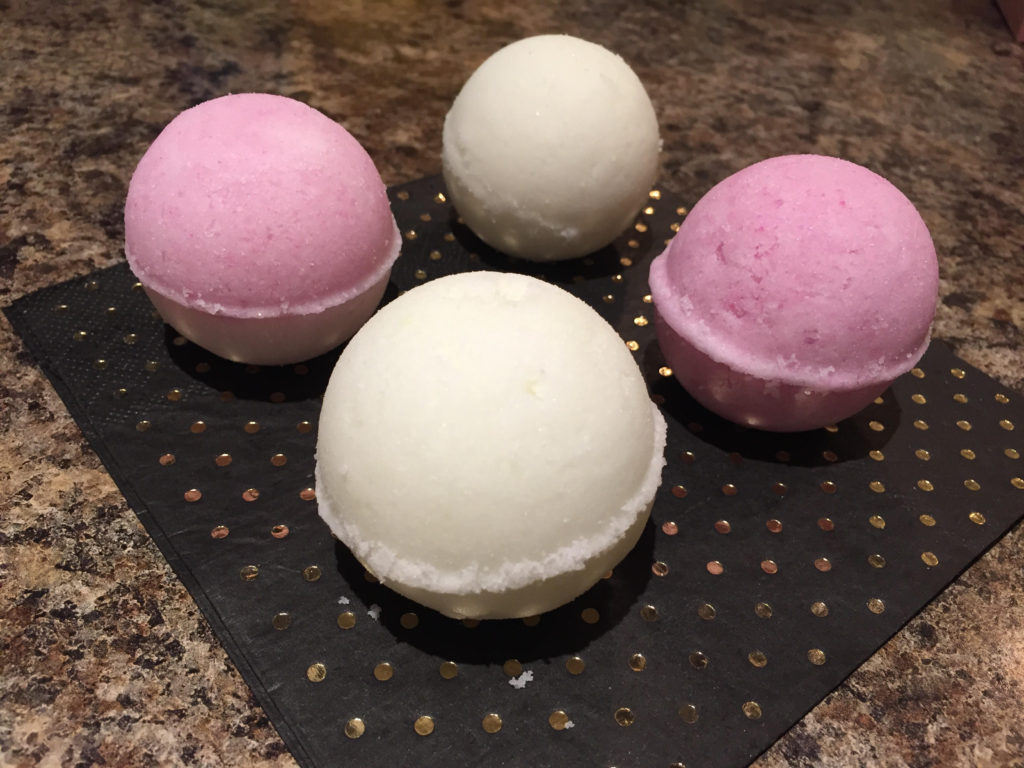
Materials:
- Citric acid (I use Milliard brand found on Amazon)
- Coconut oil
- Baking soda
- Cornstarch
- Epsom salt (regular or scented work fine)
- Essential oil (just one or mix a few together!)
- Soap colouring (optional)
- Metal mixing bowl
- Bath bomb mold (more options described below)
- Spatula
- Measuring cup
- Baking sheet for drying
When I started making these bath bombs I used our food processor to mix the ingredients, but I don’t do that anymore. Sure, it left a beautiful vanilla lavender scent in the bowl, but that’s only beautiful until you make salsa….yuck!
Since then I’ve decided a metal mixing bowl is the way to go!
Here’s the recipe:
- 1C citric acid
- 1C baking soda
- 1/2C coconut oil
- 1/4C Epsom salts
- 1/4C cornstarch
- 8 drops of essential oil (if you’re using more than 1 oil, still use 8 drops total)
- 10 drops of soap colouring (optional)
Start by melting the coconut oil in the microwave or in a saucepan. Once it’s melted, add your essential oil and soap colouring. Stir.
In a separate bowl, combine all of your dry ingredients.
Slowly add your wet mixture to the dry mixture, stirring as you go. If you see a lot of fizzing , you’re pouring too fast. Citric acid is the ingredient that creates the fizz, and it only fizzes once, so don’t let that be wasted in your mixing bowl.
Once the ingredients are combined you are ready to form your bombs! Bath bomb molds come in many sizes and shapes. You can actually make bath bombs without a mold at all. Some people use ice cube trays, some use fillable Christmas bulbs, and I once actually just pressed mixture together in my hands as if I were making a snowball and it worked totally fine.
To fill your bath bomb mold, scoop mixture into each half of the mold, and press the halves together firmly. Ideally you want the mold a little overfilled so the mixture packs in the mold firmly.
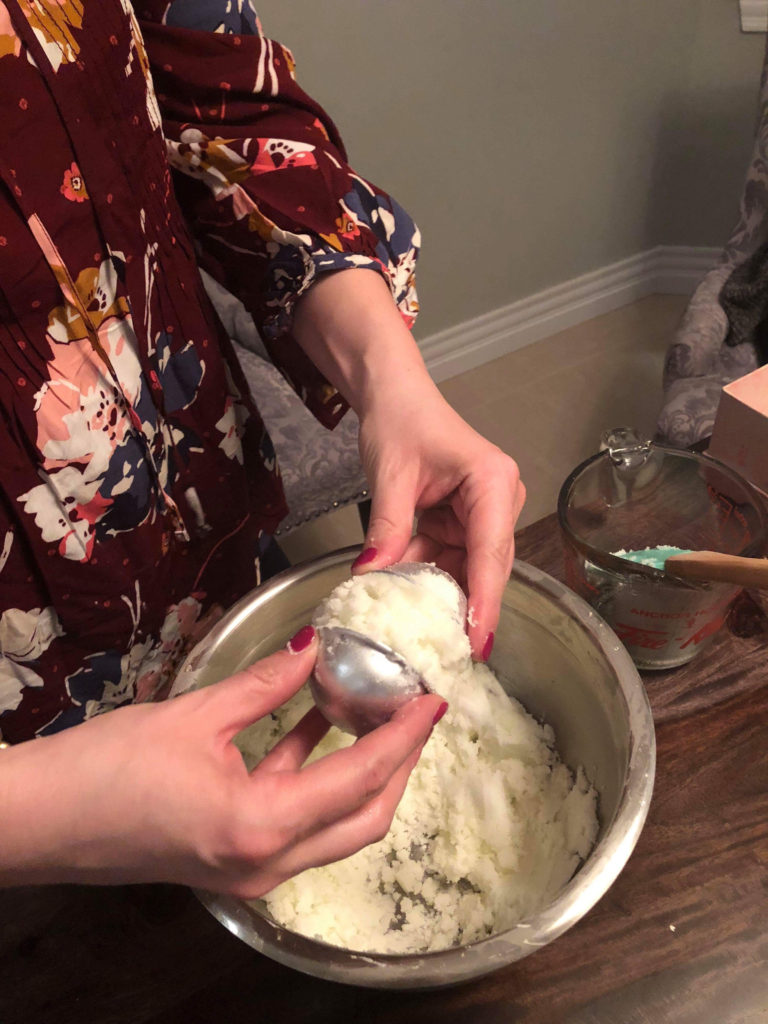
At this stage you may notice your mixture is too wet or too dry, both of which is completely fixable. If your mixture is too wet it will kind of “plop” out of the mold and turn into a wet puddle. If it’s too dry the halves won’t adhere to one another and you will get crumbling.
If your mixture is too wet, add small amounts of cornstarch (about a teaspoon at a time) until you get the right consistency. If your mixture is too dry, add a few drops of coconut oil. Typically there’s a bit left in the measuring cup after you’ve poured from it, so I just go back to that and it usually solves the problem.
Once the two halves of the bath bomb mold are stuck together, I gently twist each half in the opposite direction, back and forth a few times, until the mold kind of starts to lift away easily.
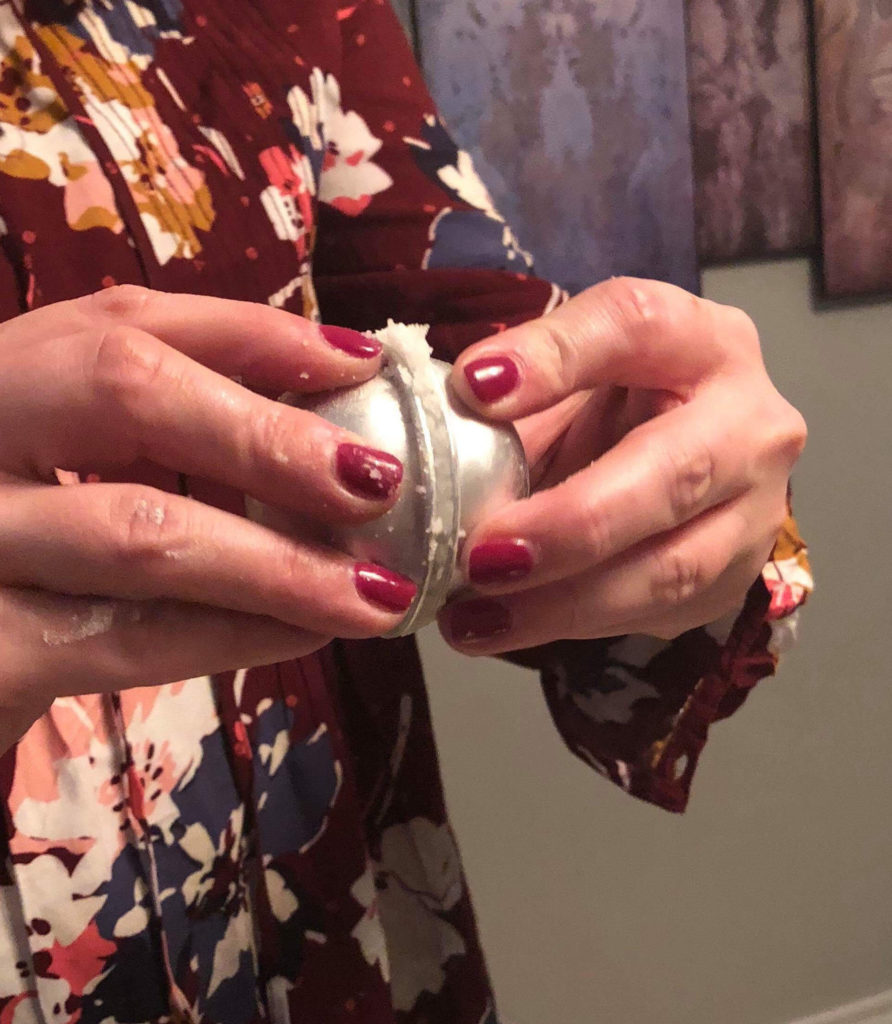
Your bath bomb should be pretty firm, but you want to handle with care. Lay the bomb gently on your cookie sheet and leave it to dry.
You will repeat this process until all of your mixture is gone. I typically get 6 medium sized bath bombs out of a batch, and have enough left over for 1 small bath bomb. You can also opt for the large size but this recipe will likely only give you 3 large, along with a medium or a small. I use these bath bombs regularly and feel the medium size is perfect.
Bath bombs should dry overnight (at minimum) before you take them off the cookie sheet. I try to leave mine for 48 hours before moving them. As these dry the scent of the essential oil will permeate the space, so you may want to put them out of the kitchen or eating area for the time being.
If you are giving these as a gift, or putting them in a decorative basket in your guest bathroom, there are a few ways to get a little creative with them! Here are a couple of options:
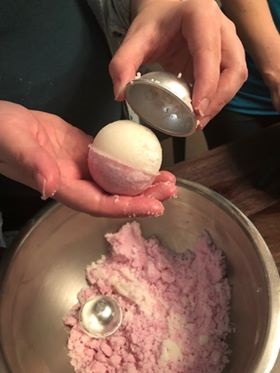
- Make two-toned bath bombs! Before adding soap colouring to the coconut oil and essential oil mixture, separate into two cups. Add colouring to one cup and leave the other cup clear. Separate your dry mixture so you essentially have a white mixture and a coloured mixture. When you go to fill your mold, take half from the white and half from the coloured mixture. This method is super pretty!
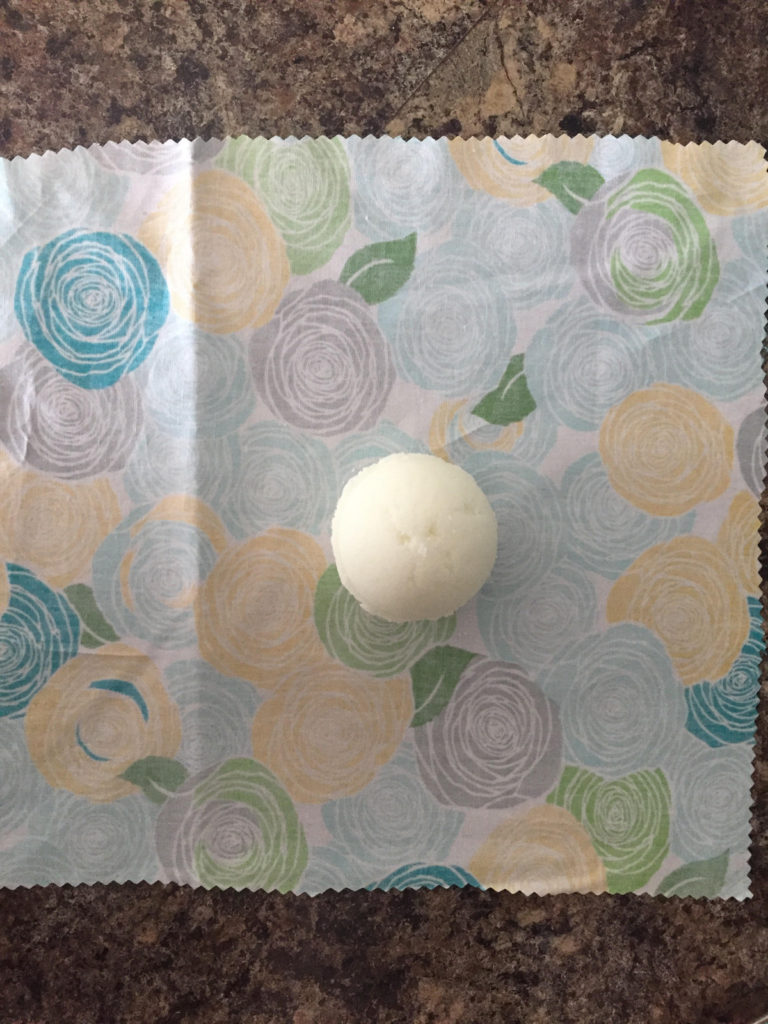
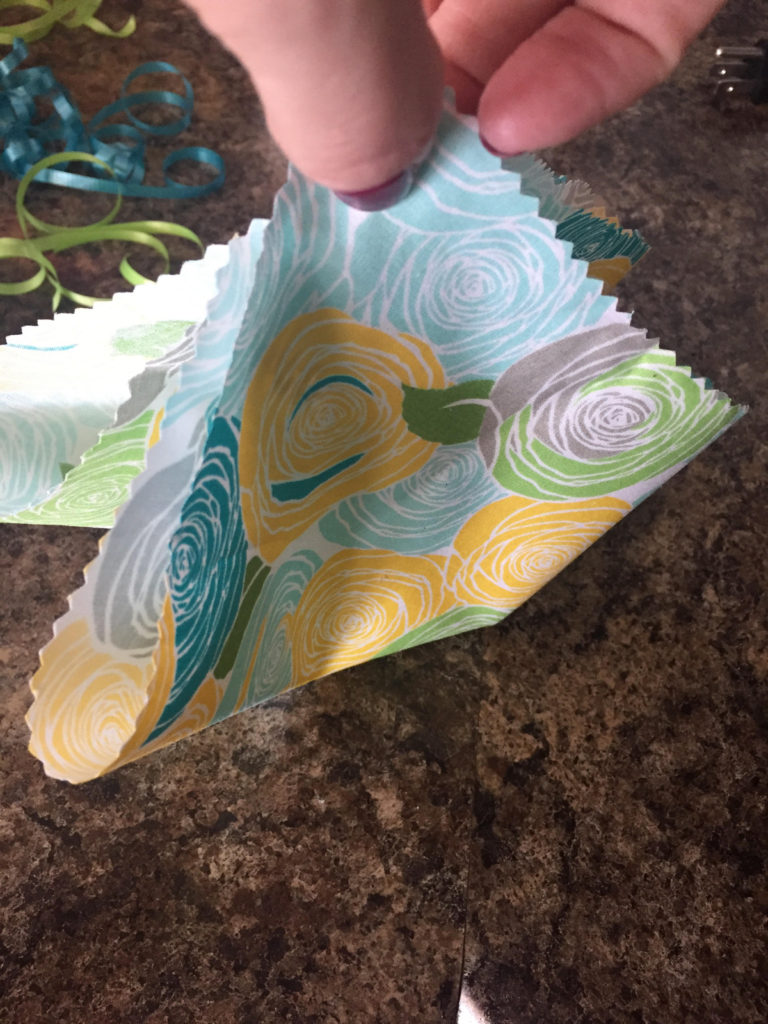
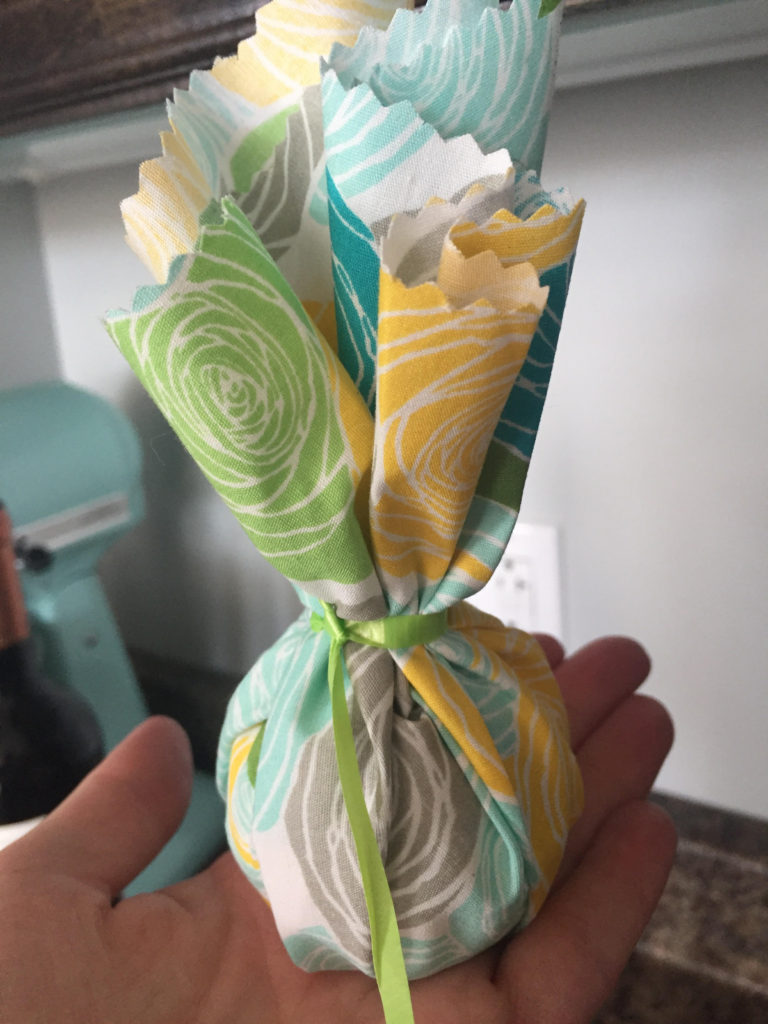
- Wrap your bath bombs in either printed cotton or tissue paper, with a little ribbon as a tie. For a medium size bath bomb you want to cut about a 9X9 square of either, with a ribbon maybe about 6 inches long. You can use curly ribbon or regular ribbon, and for the cotton it’s best to use pinking shears.
I hope you’ve enjoyed this post and are now inspired to whip up these little gems. If you do try this out I would love to hear your thoughts on the recipe and tutorial.
Happy bathing!
Heather
