
When a loved one passes, many people search for ways to keep them close – whether it’s keeping ashes in an urn on their fireplace, or maintaining a space in their home for treasured belongings.
Enter: the Memory Bear.
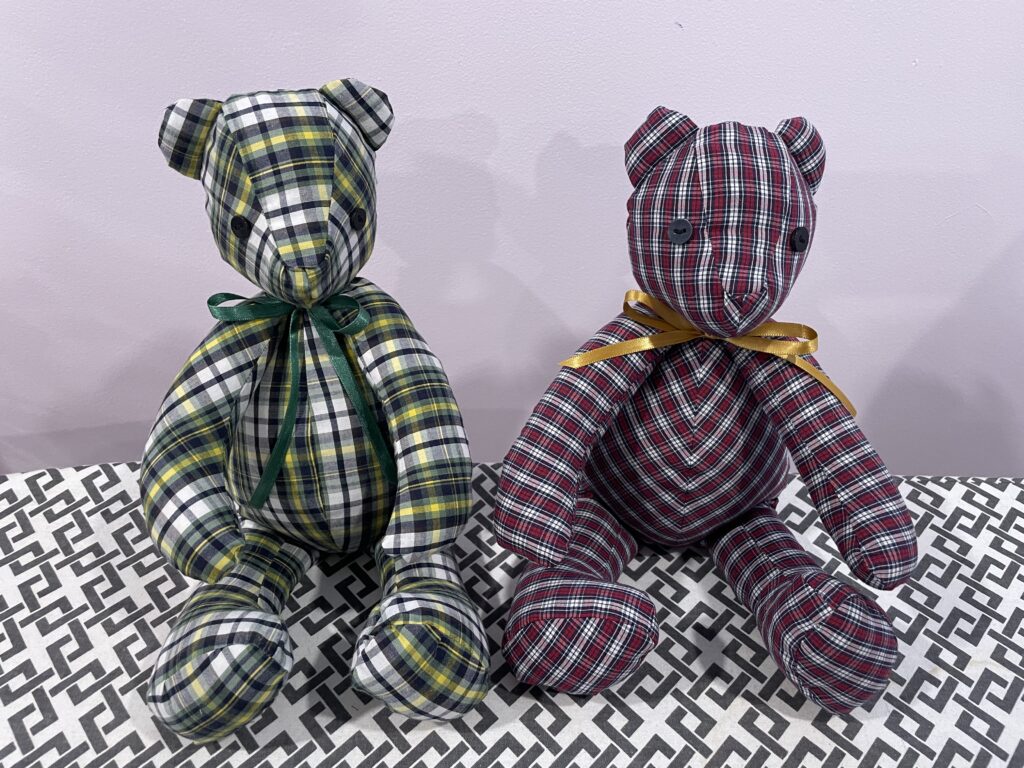
Memory bears are made from garments of loved ones who have passed are incredible keepsakes. Over the years, I’ve made stuffed animals, but I’d never been content with the outcomes.
So, recently when a dear friend asked me to make memory bears, I scoured Etsy for a pattern that had good reviews. The link to the pattern is here: https://www.etsy.com/ca/listing/1723157457/pattern-memory-bear-and-bunny-video?ref=yr_purchases
This pattern was easy to follow, and the video was very helpful. I was very pleasantly surprised at the outcome, and the bears are just adorable.
The materials I used for this project are:
- A shirt in good condition, washed and dried
- Stuffing (I used approximately 3 oz per bear)
- Needle and thread
- Pattern pieces
- Small buttons (for eyes)
- Ribbon (for the neck)
I started out by disassembling the shirt – removing sleeves, removing seams, buttons, etc. I used the sleeves (cut open and laid flat), the back of the shirt and part of the front of the shirt. Be mindful to avoiding using stained or ripped fabric.
Cut out the pieces, and set them all aside. Assemble per the instructions in the pattern.
I used small buttons for the eyes (you can even use the buttons from the shirt, if it’s a button-up shirt!). I finished the bear with a coordinating ribbon around the neck, to dress it up a bit.
The bear took just over an hour to create. If you’re into embroidery, one suggestion would be to embroider a message or name on the bear, perhaps on one of the soles or the chest of the bear.
Happy sewing!!
Heather