For as long as I can remember, crafting has been one of my greatest passions in life. I love creating, customizing, and dreaming up new projects and bringing them to life.
When I was just 4 years old my amazing mama taught me how to sew. She would do the cutting, of course, and she would sit with me while I used her Singer sewing machine, but with her passion (and patience!!!) she taught me to make small things like pillows and blankets for my Barbies. The first project I ever did, though, was a hair scrunchie. I made a million of them and I wore them proudly.
Lately I’ve been seeing scrunchies popping up all over the place, including Lululemon. I guess they really are making a comeback! I am still hooked on the Invisibobbles but scrunchies really are a cute accessory.
Last night I found some cute fabric in my stash and decided to put it to good use. This tutorial includes measurements for a small scrunchie and a regular scrunchie. Small might be best for people with thin hair (or for children). This project shouldn’t take more than 15 minutes once you master turning this thing right-side out.
Materials needed:
- Scraps of fabric (cotton, lightweight denim, etc)
- 1/4 inch wide elastic
- Safety pin
To start you can cut a piece of fabric 3 inches wide by 9 inches long (for a small scrunchie), or 3 inches wide by 16 inches long (for a regular scrunchie).
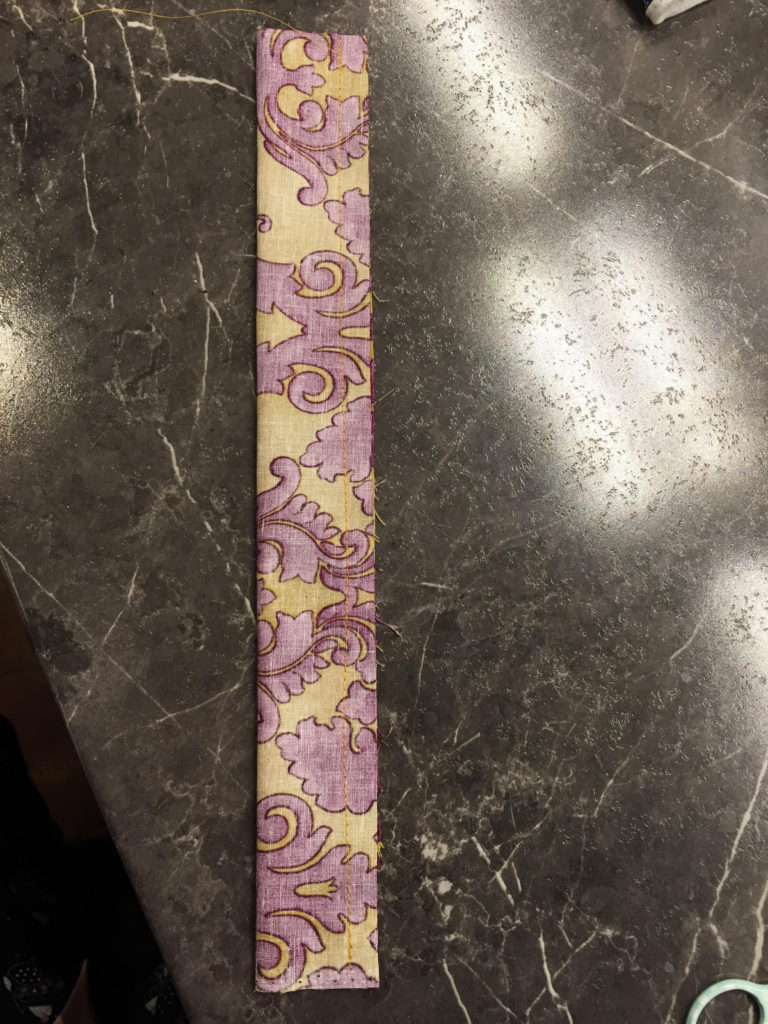
Fold your fabric lengthwise with right sides (printed sides) together. Stitch the long edge with a 1/4 inch seam allowance.

Turn the tube of fabric right-side out. I’d tried a few techniques for turning fabric and I’d never found a really easy way until I saw this YouTube tutorial:
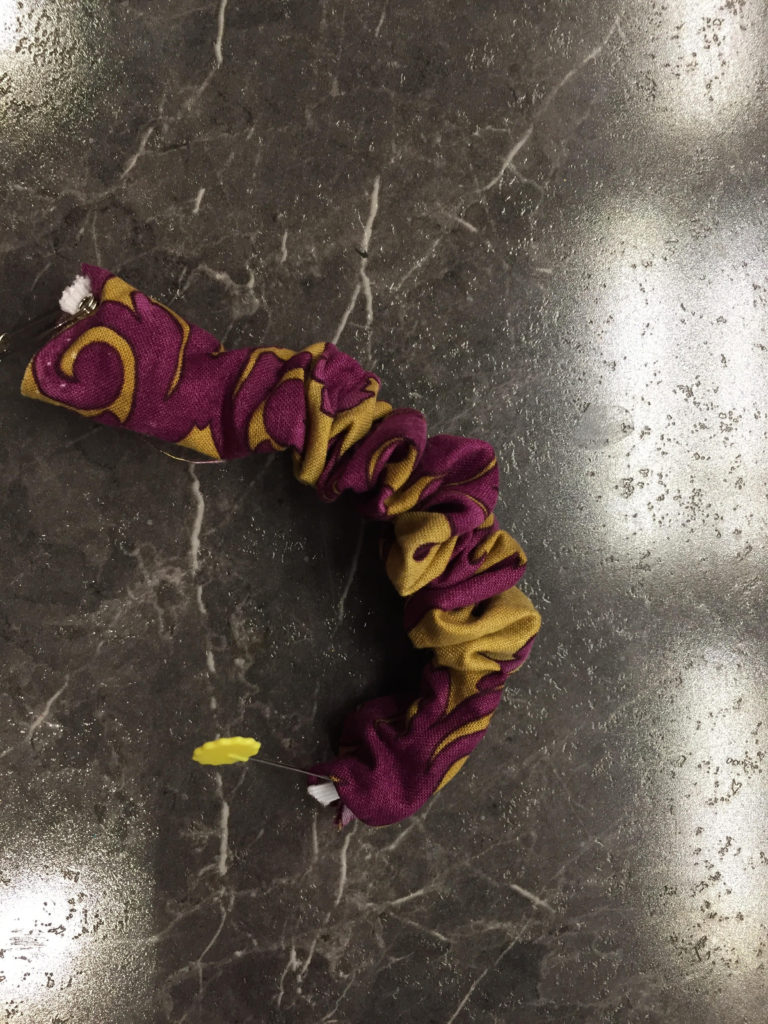
Next take your elastic and put a safety pin through one end, and close it up. In the other end you can put a stick pin or another safety pin. This needed should be big enough that it kind of acts as a holder at the end of the tube – it sits lengthwise across the bottom of the tube so the elastic doesn’t pull through.

Once both ends of elastic are visible you want to stitch them together, with about a 1 inch overlap. If you’re machine stitching I would use a zigzag stitch.
Next you want to close up the ends of the tube. So you will feed one end into the other, and then on the raw edge of fabric you want to tuck it under so no raw edge is visible. It should only be about a 1/4 inch tuck.
You can sew the end of the tube by hand or with your machine. I use my machine for this part. Sew directly across the opening. You’re done!

If you want a fuller scrunchie you can add 1 inch to the width of the fabric (instead of 3 inches, go with 4) and it will do the trick.
I hope you’ve enjoyed this tutorial! While writing this I have the sudden urge to throw on some neon clothes and watch Full House. Weren’t the 80s just the best?!
Heather
