
Anybody who knows me IRL knows I will never say no to learning a new craft. If I hear about it, I must try it!
Last year I came across a tutorial online for wood burning. A lot of the images I was finding online were very elaborate. I always like to start small, though.
A very special person in my life was getting married and two very important people would be missing from her big day – her grandparents, who she adored more than anything.
I started to think about how I could do something special for her to take with her on her wedding day that would be a little reminder of them. As they are also my grandparents I went digging through my box of cards (yes, I keep cards……) and found cards signed by each of them.
Fondly remembering my grandfather, his signature saying came into mind. With that, a wood burning idea popped into my head. I could transfer their signatures onto a wooden disc. Drill a hole and run a ribbon through it to make a gift tag sort of thing.
I found cards with each of their signatures, and thankfully my grandfather had written his famous words “God bless” next to his name.
I ran out and bought a wood burning tool at Michaels. While I was there I picked up a pack of their small wooden discs and a few other small wooden things to practice on. I was convinced I could do this.
This is the tool I purchased:
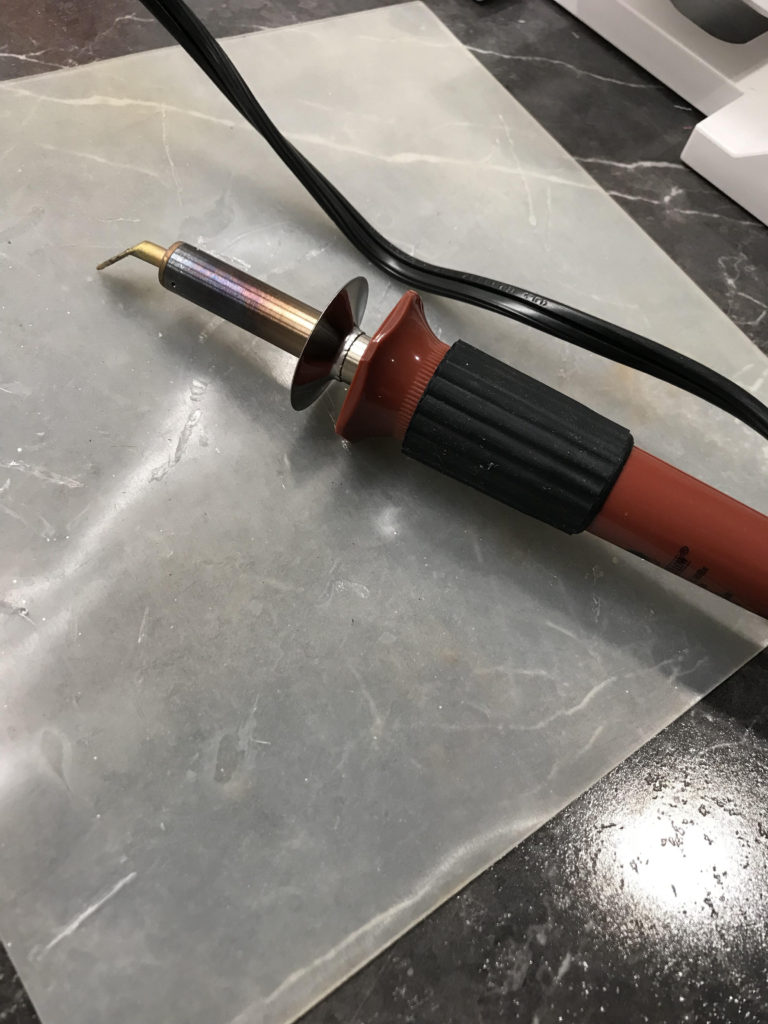
Once I got home I fired up the tool and started to practice. It was a LOT harder than I thought.
Within a couple of days, though, with the use of carbon paper (for tracing their signatures) I was able to get the disc done. I gave it to her the night before her wedding. She wore it on the handle of her bouquet. As I watched her walk down the aisle in her beautiful dress, knowing that she had this little thing with her brought tears to my eyes. They would have loved to see her marry her sweetheart. They will be forever missed.
For this project you will need the following materials:
- Any raw wood (not painted or stained)
- Wood burning tool
- Ribbon (optional)
- Stamp (optional)
- Ink pad (optional)
You can either write or trace something onto the wood, or you can totally cheat like I do and take a rubber stamp, dip it in ink, transfer to the wood, and start burning over the ink lines.
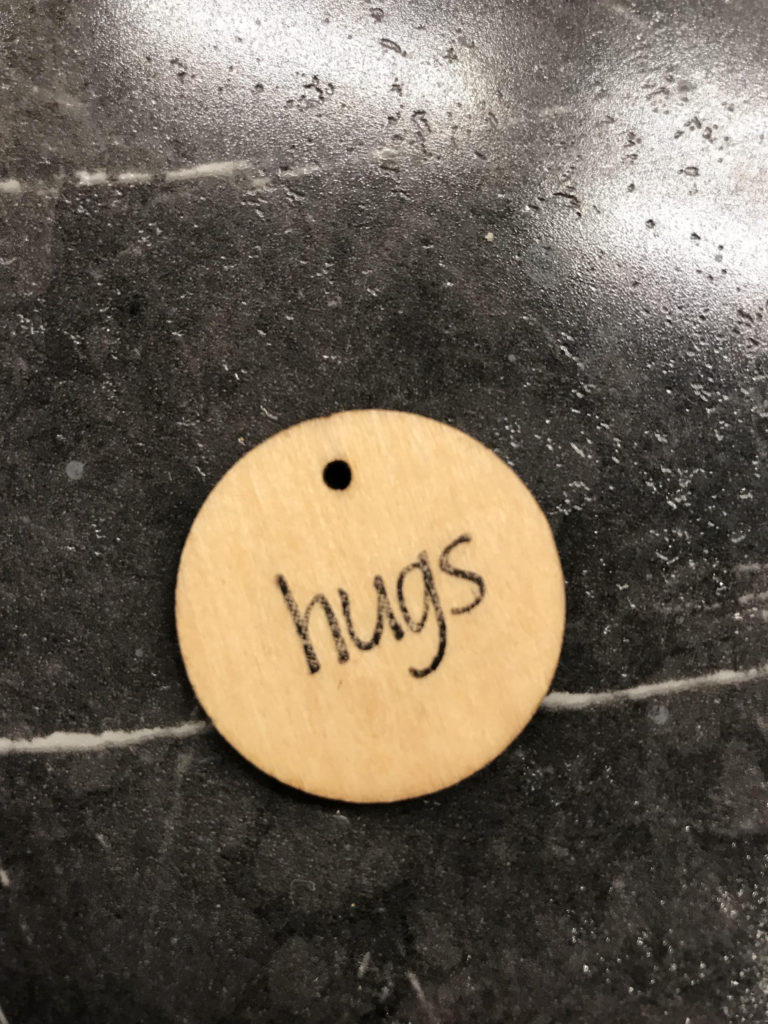
So this image above is simply stamped with plain black ink. I let my tool heat up for about 10 minutes before attempting to use it. It is EXTREMELY hot. I put a silicone mat underneath it to protect my counter top.
Once your tool is heated up and your image is prepared, you can start burning. The trick is to resist the urge to press the tip of the tool into the wood. Lightly and very slowly glide the tip of the tool over the ink lines.
If you are finding it’s not burning dark enough, you can always go over it again.
Try not to leave the tool in any one place too long as you will scorch your wood and likely leave a bit of a hole in the surface.
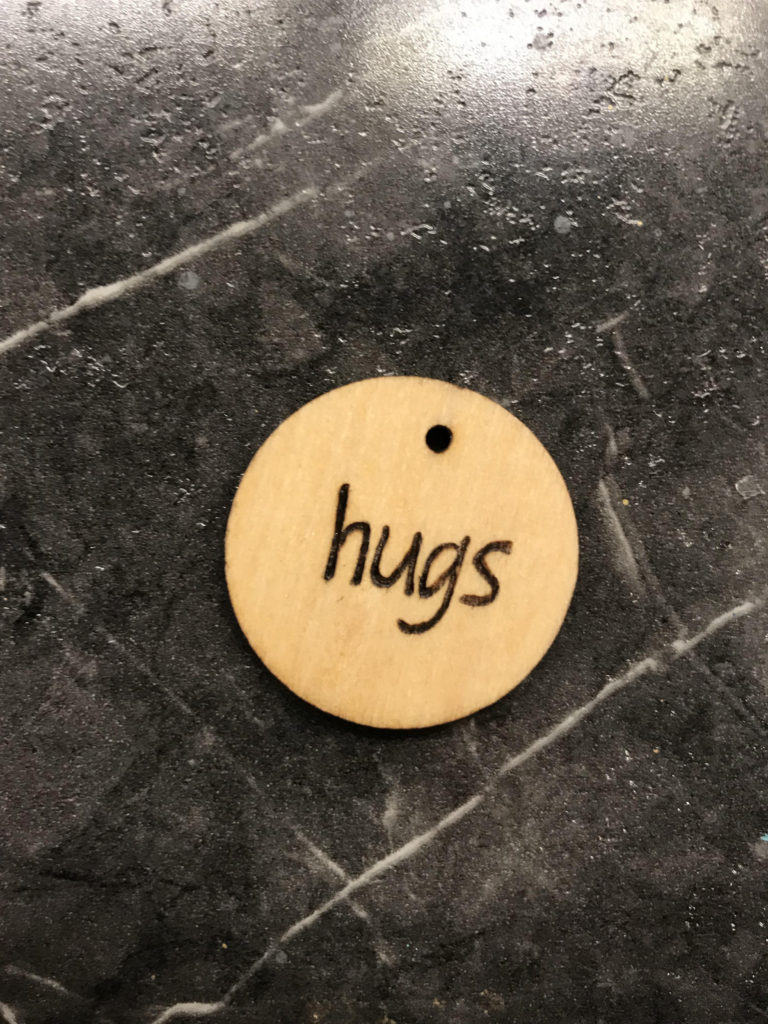
This is after the burning is complete. Looks a bit boring to me….
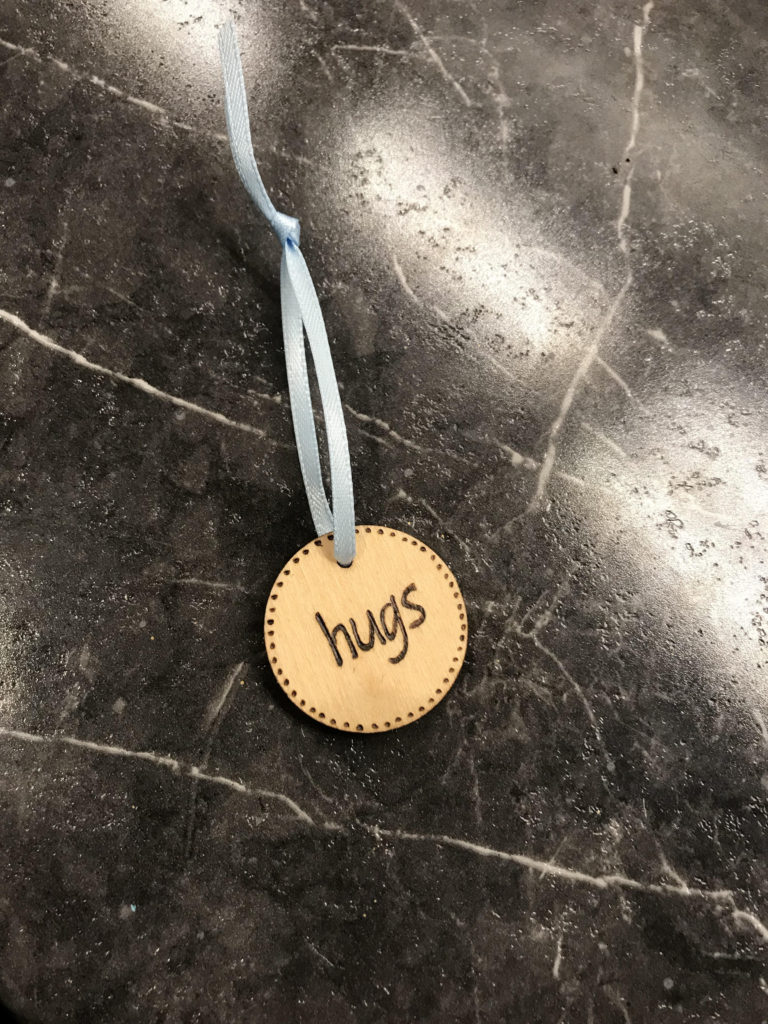
I just made some tiny dots around the perimeter (the tool doesn’t have to burn these for very long as they are tiny), and strung a ribbon through the hole. Gift tag complete!
You can literally burn anything onto these tags, this is just a simple example of what you can do. I would encourage you to practice on a scrap piece of wood for awhile until you get the hang of it.
I’ve seen some pretty cool wood burning on wooden spoons and cutting boards, which makes a fantastic bridal shower gift!
I hope you’ve enjoyed this simple tutorial.
Heather